


About
Gurrr.... argh,,,,
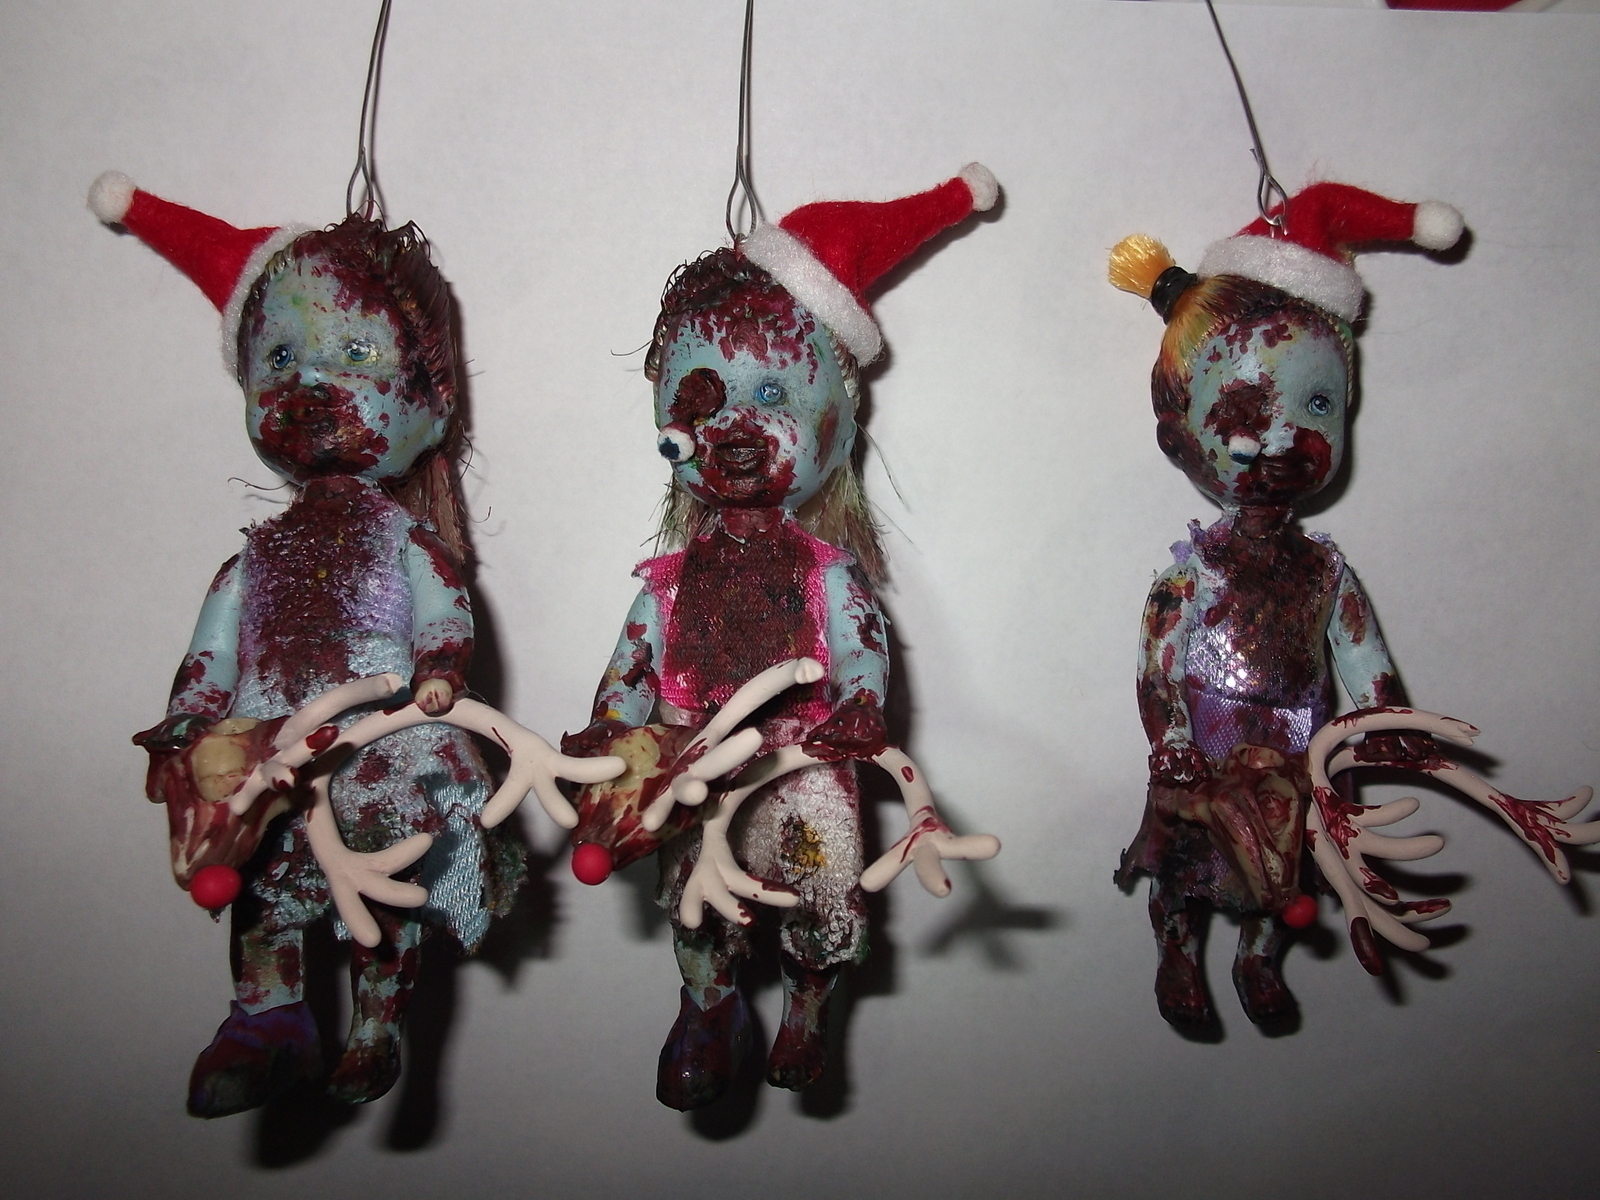
So last year, 2010, for Christmas I made "Christmas Pterodactyl" tree ornaments for my friends. So I decided to make creepy strange tree ornaments every year. And this last Christmas, I made "Christmas Zombie". It's a creepy little Zombie feasting on the brains of Rudolph. My friends thought that I was so twisted. I love it!! ^_^ Sadly I don't have step by step pics. I forgot to take them. But there are quite few how-to paint/make Zombie dolls on this site. I just hope this makes sense with out the right pics. I think for next Christmas I'll do something with a melting snowman...
Tags
-
 Barbara M. favorited Christmas Zombie
20 Dec 19:36
Barbara M. favorited Christmas Zombie
20 Dec 19:36
-
 liza.minelli.564 added Christmas Zombie to ornaments
03 Feb 04:58
liza.minelli.564 added Christmas Zombie to ornaments
03 Feb 04:58
-
 Stormy E. favorited Christmas Zombie
08 Apr 16:09
Stormy E. favorited Christmas Zombie
08 Apr 16:09
-
 Harley Q. favorited Christmas Zombie
08 Apr 08:49
Harley Q. favorited Christmas Zombie
08 Apr 08:49
-
 Amy C. added Christmas Zombie to wanna
31 Oct 19:57
Amy C. added Christmas Zombie to wanna
31 Oct 19:57
-
 kessgaveithell favorited Christmas Zombie
13 Oct 16:12
kessgaveithell favorited Christmas Zombie
13 Oct 16:12
-
 stephanie.goodsell.54 added Christmas Zombie to Clothing
04 Feb 19:10
stephanie.goodsell.54 added Christmas Zombie to Clothing
04 Feb 19:10
-
 AlterEgo Designs favorited Christmas Zombie
24 Dec 21:25
AlterEgo Designs favorited Christmas Zombie
24 Dec 21:25
-
Karina B. favorited Christmas Zombie
12 Sep 05:47
-
Annika G. favorited Christmas Zombie
07 Sep 08:30
You Will Need
-
 Step 1
So first I started with the dolls. I found these little Kelly style dolls from the dollar store. I bought five of them. Their hands and heads move, but the legs don't. Sorry, no pic before I stared painting them. This doll was a spare that I started painting, but didn't finish.
-
Step 2
I mixed a light blue-greyish paint color. It dried a lot bluer then I wanted, and I ran out of white. I didn't have time to get more paint and mix a lighter more white grey color, so I just went with it.
-
Step 3
First I stripped the dolls of their dresses and shoes. I saved them for later. Then I painted them their dead blue color. I made sure to do several coats, but mostly on the arms, legs and face areas. The torso will be covered, so no need for a lot of paint to the chest or back. I didn't paint over the eyes though. I didn't want to have to draw new ones.
-
 Step 4
While the paint was drying, I cut up the edges of the dress sleeves and bottoms, so the dolls looked ragged. I also add a few holes, and ripped areas.
-
 Step 5
Once the dolls were dried, I put the dresses back on. But being that these were cheap dollar store toys, the dresses and shoes were WAY to big for the dolls. So I hot glued the dresses to the backs of the dolls. Then I cut off the excess. Now the dresses look like they fit. I also glue one shoe on two of the dolls, and left the third barefoot.
-
 Step 6
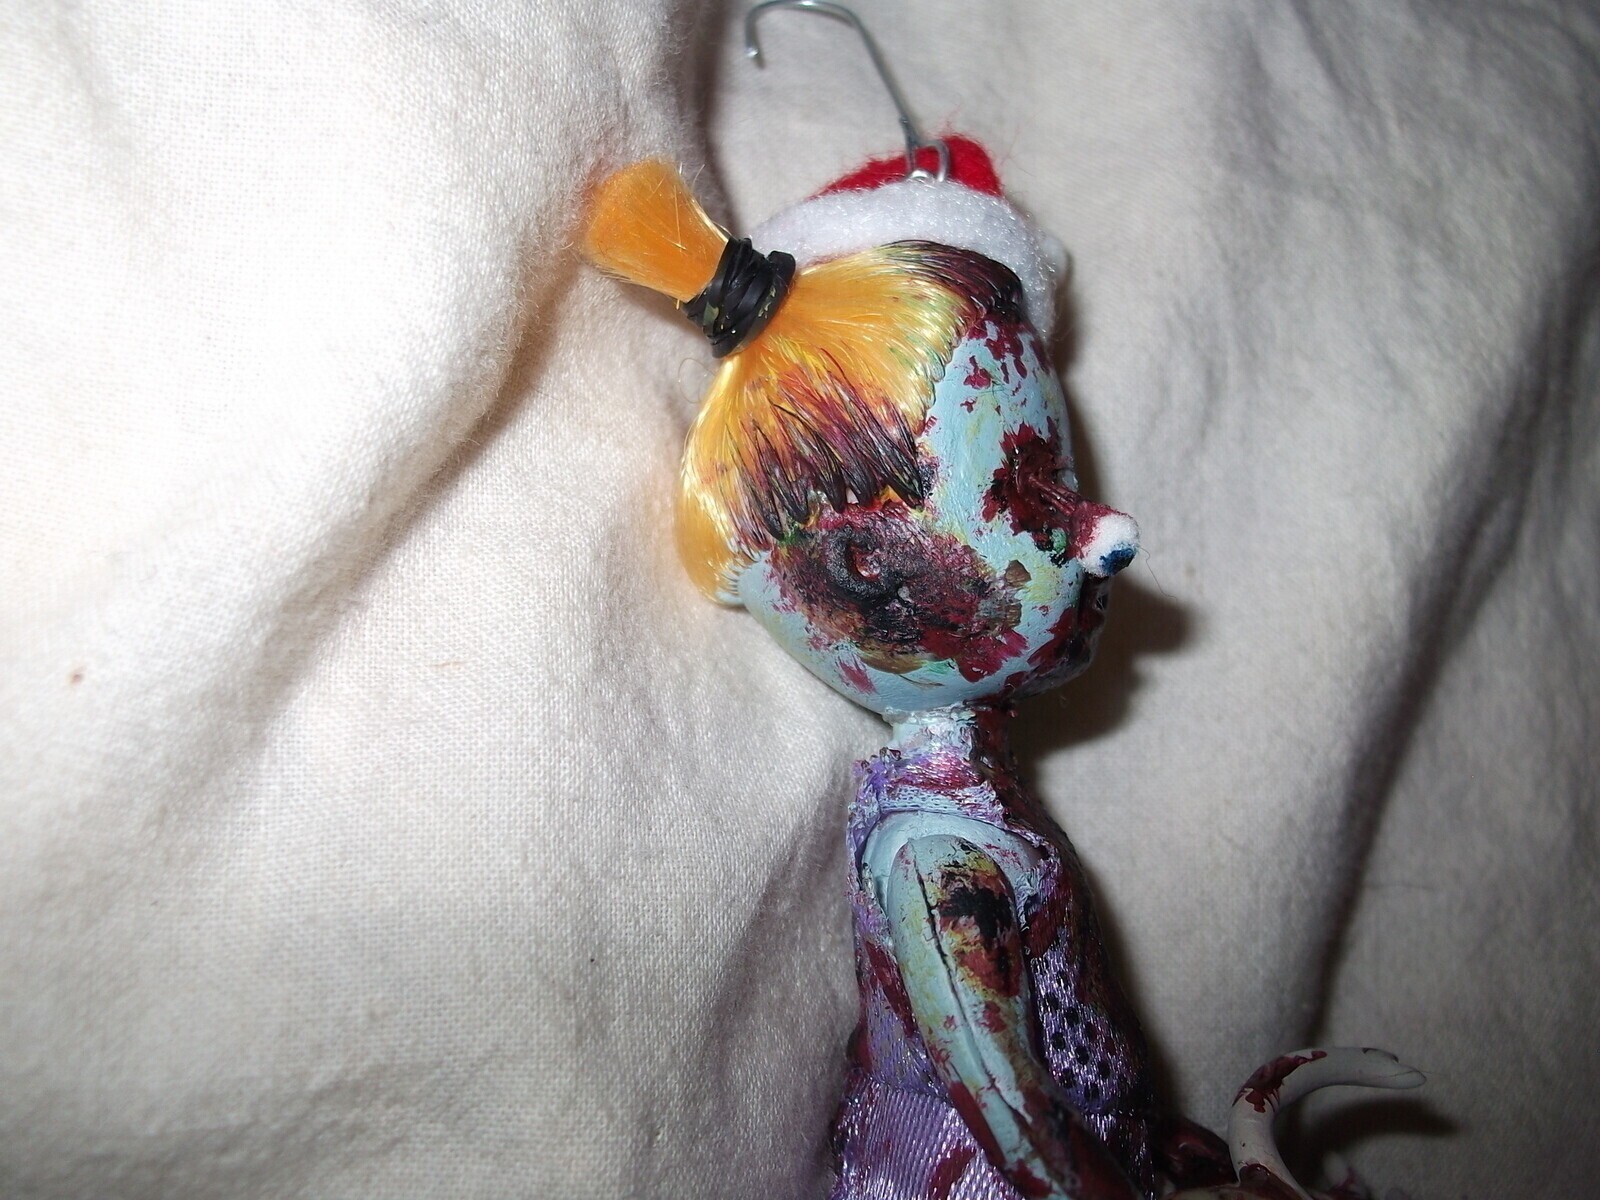
For the hair, I pulled the pony tails to the sides, as if another Zombie, or human, pulled on it and messed it up. And I pulled some of the hair out of the pony tails itself. As for the doll with the two perfect pig tails. I kept this doll for myself, and couldn't bare to mess up those tails, so I left them alone.
-
 Step 7
Now that the dolls are dressed, with messed hair, it's time to make them look gooey, bloody and muddy. I added different tones of yellow and green too the skin areas all over. For the puss, rotten sickly look. (It's a little hard to see the colors in this photo.) I mixed 2 blood red, 2 mud brown, and 2 grass green colors. One light set, and a darker set.
Note: I premixed these paints before mixing the dead blue grey paint. Which is why I ran out of white. Always have extra white!!
-
 Step 8
I add the darker brown and green to the feet, shoes, legs, as if they've been walking in mud and grasses, and just bit to the hands and arms. I added muddy smears and grass stains to the dresses as well.
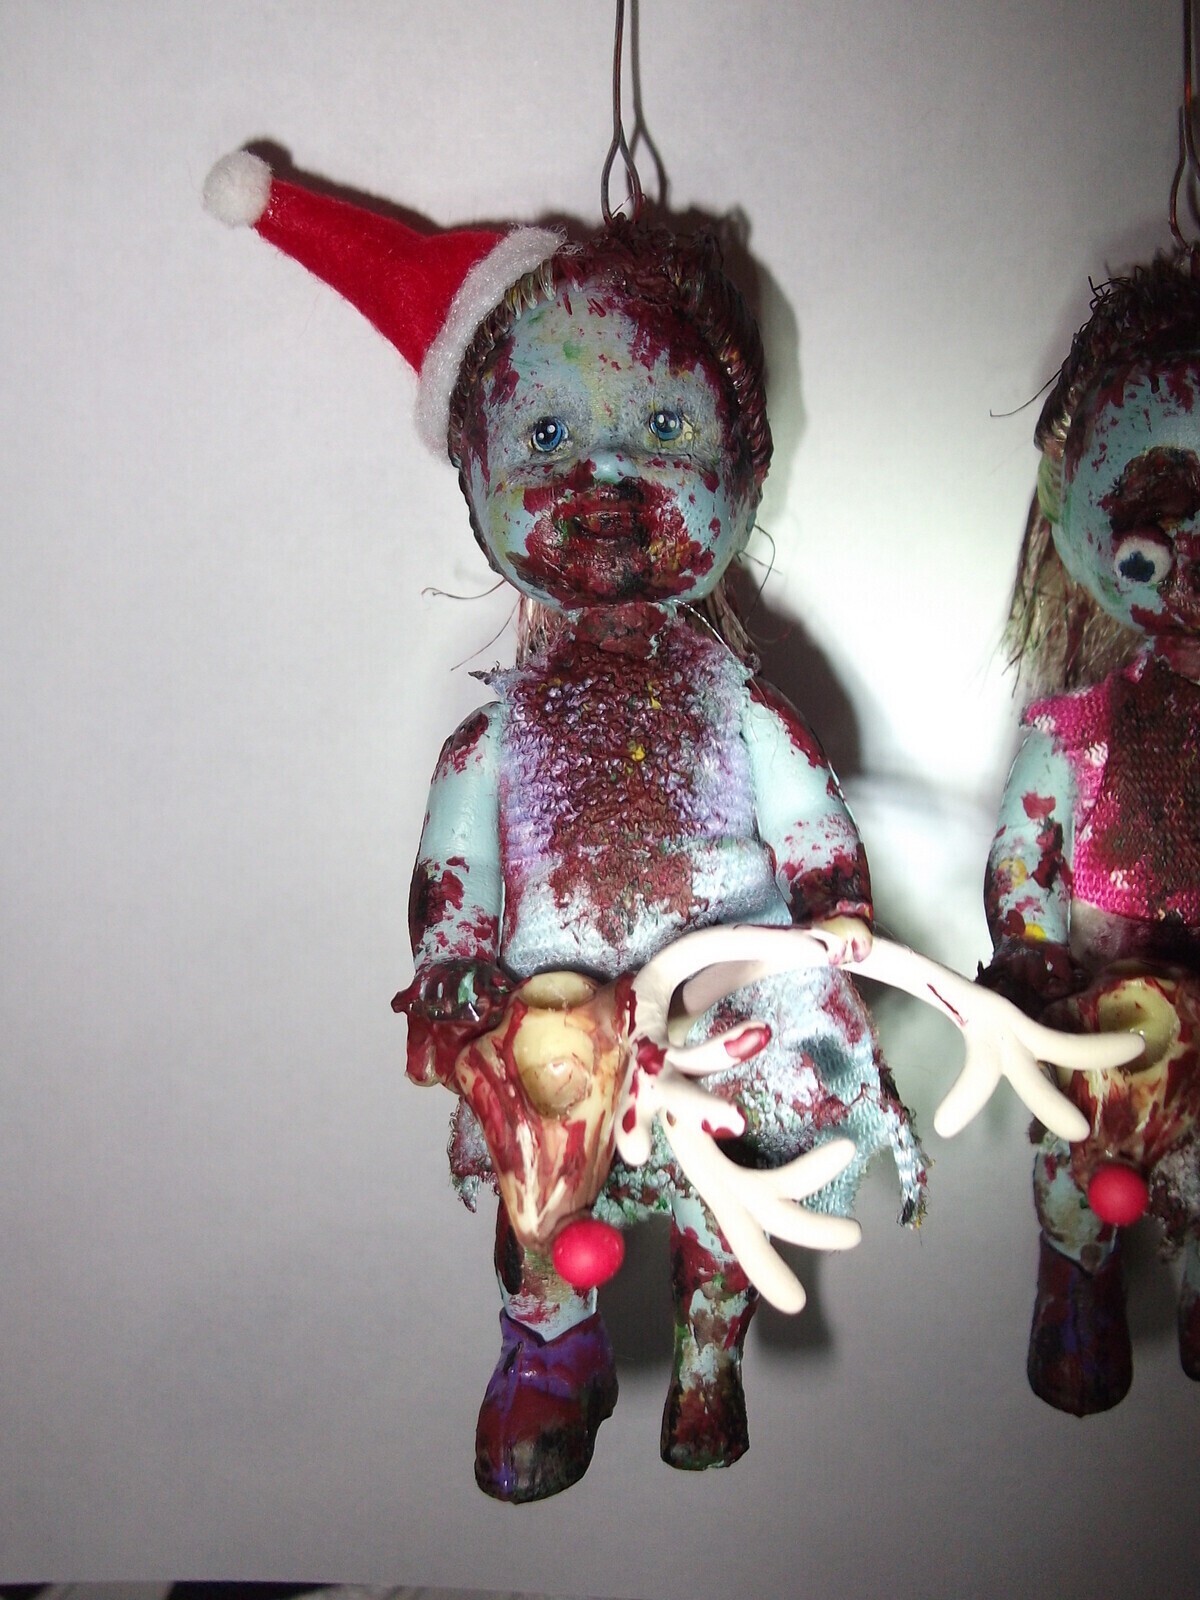
Then I took the dark red and blooded the mouths, hands, and necks and added blood smears to the dresses and random smears to the arms and legs. I wanted them to look as if they just ate and the blood is dripping down the neck onto the dress. Then I added a few head wounds.
-
 Step 9
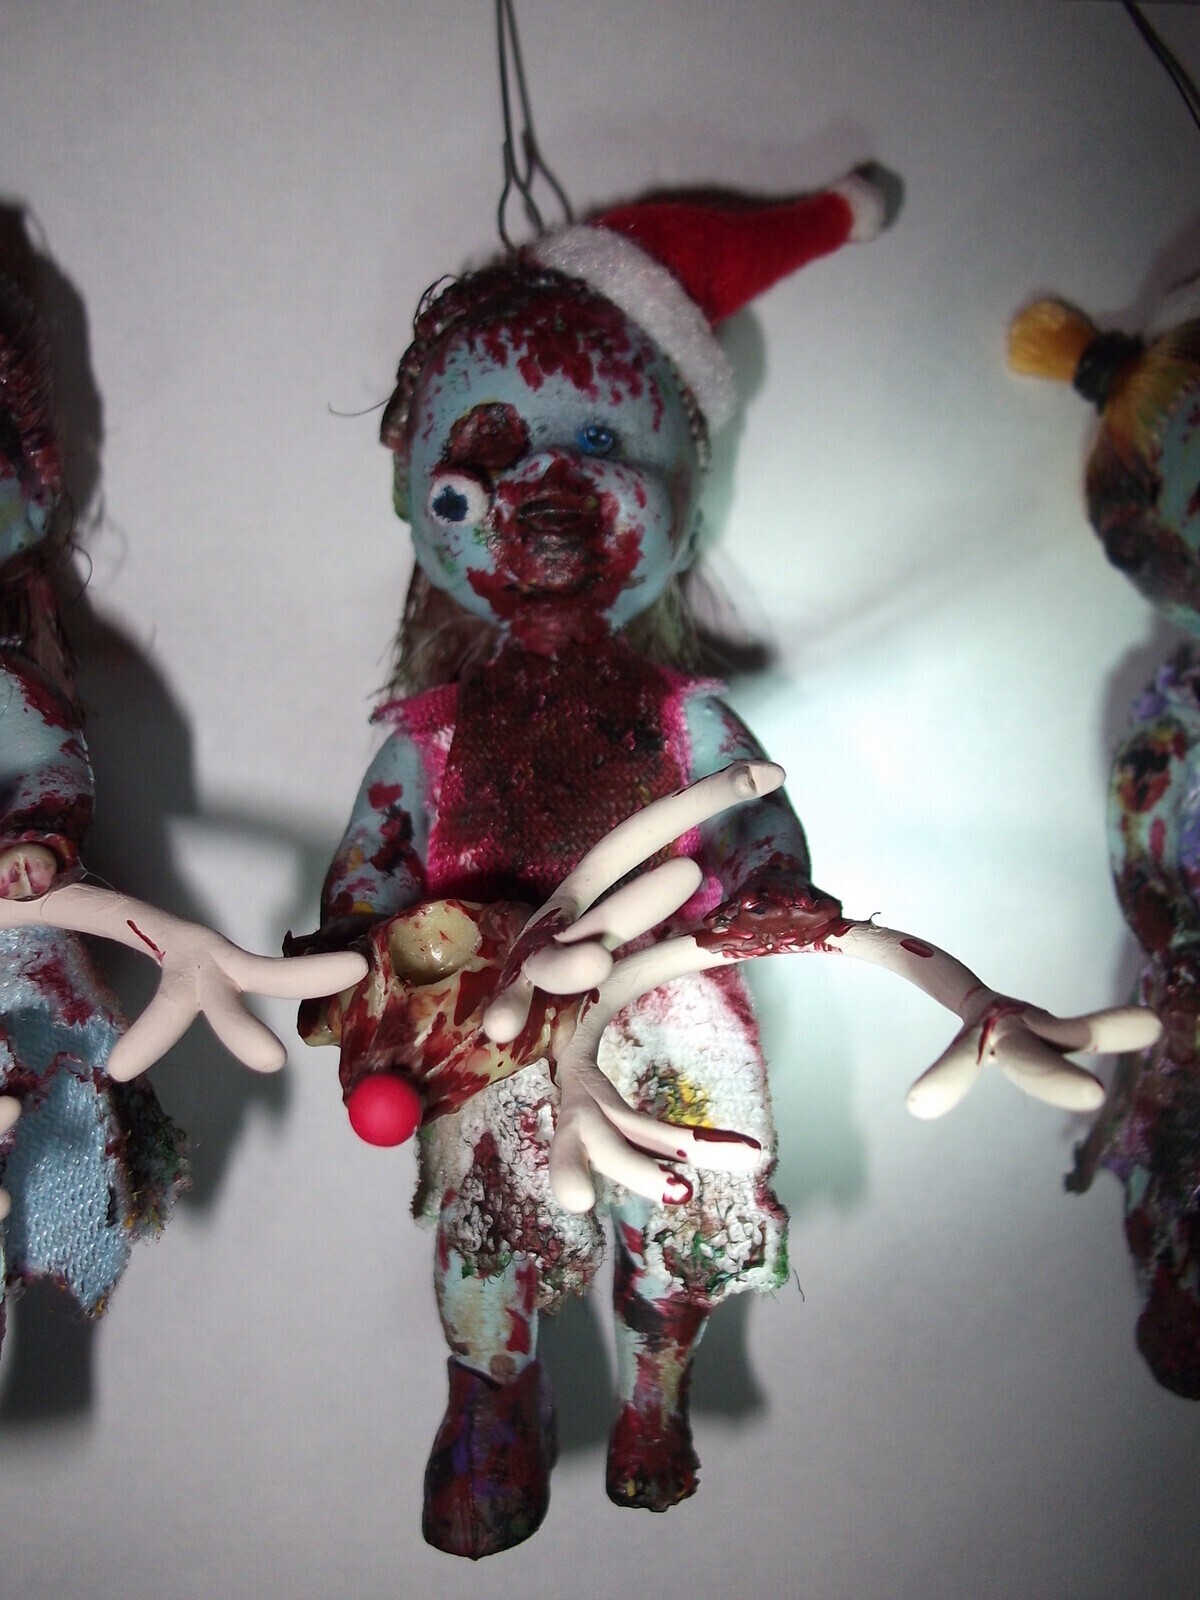
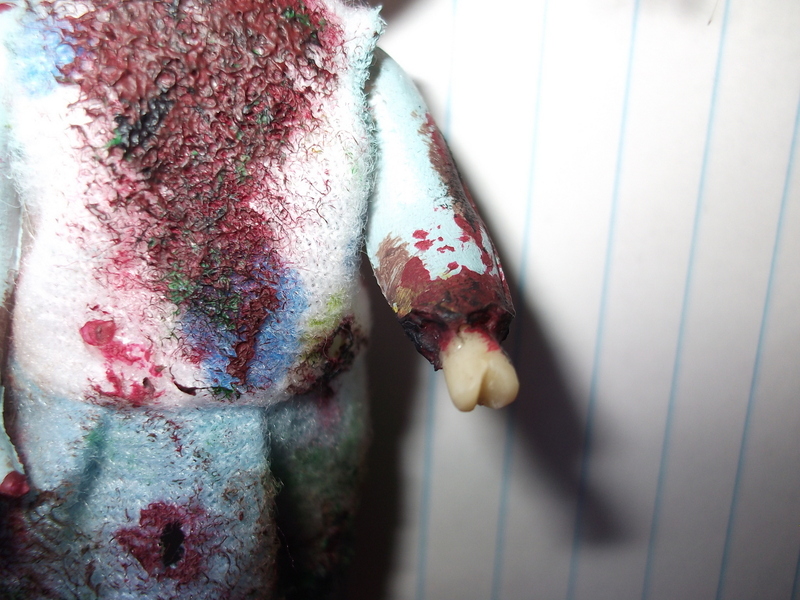
I didn't want each doll to look the same, so I gave each doll their own individual wounds. For two of the dolls, I took away their right eye. And the other doll, it's left hand. For the doll with no hand, I cut off the hand at half way up the arm.
I used a piece of the wing bone from a dinosaur toy, a spare pterodactyl, and cut it down to fit in the arm hole. Then I cut a notch into it to make it look broken. I glued it into the arm hole and added blood to cover the glue.
-
 Step 10
For the two with the missing eye, I took a tiny white pom pom, and carefully cut it smaller, but still round. Then I glued a thin string to the ball. I use a little dab of blue and black paint for eye color, and red for the blood veins. On the doll, I painted blood over the eye. I added a little black, yellow and green to give it depth. I glued the eye on, then added more paint over the glue.
-
 Step 11
I added the lighter blood, mud, and grass colors I mixed all over, to add color depth to the smears and wounds I already did. At this point it was all just tiny details and color layering. I used a toothpick to add the tiny tiny blood, mud, grass, puss, and gore details all over. I also added the smallest bits of hot glue to the wounds, and painted over, just give them texture.
-
 Step 12
Once I was happy with the paint job, I made the tiny felt hat, just like I did for "Christmas Pterodactyl" and glued them to the dolls heads. Then I pulled the head off the dolls body. I used my bead reamer to puncture a hole in the dolls heads, made a loop out of craft wire, then stuck it into the hole. Then I pored hot glue into the head to make sure that loop wouldn't come out. Then I glued the head back onto the body and added the ornament hook to the loop.
-
 Step 13
Now your doll should be finished. You can try to add other kinds of details I didn't. And some that I did add were on accident. It's hard to see, but on my doll, I added to much paint around the left eye before it could dry. And the paint did this little bubbly buckle affect and it looks like a diseased kind of rash. I also used paint and sharpies to add tones to the hair and dresses.
-
Step 14
Now as for Rudolph. That was the hardest part. I had to find a reindeer or any toy that resembled a reindeer. A horse, zebra, donkey, giraffe, something that would be size proportionate to the Zombie doll. Well I couldn't find any. And I wasn't going to hunt all over town for it. So I improvised.
-
 Step 15
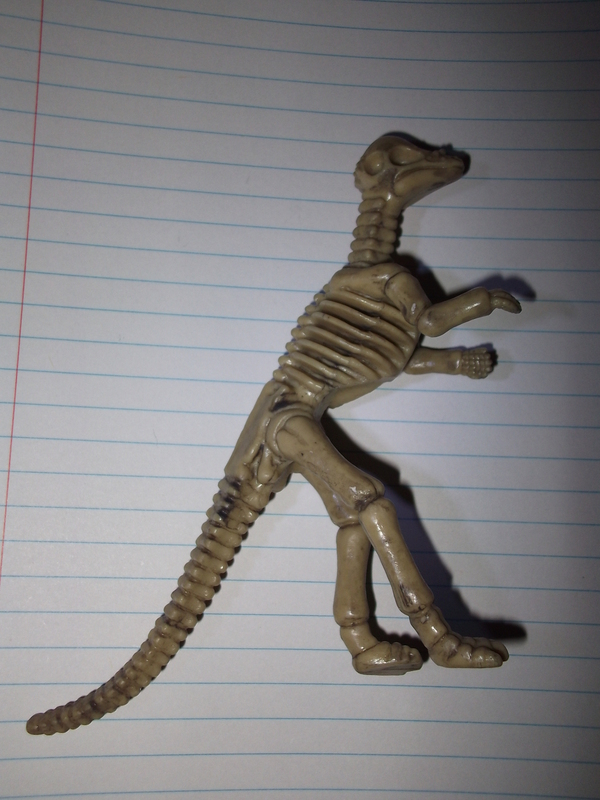
In my "Christmas Pterodactyl" project, I mentioned that I bought a dinosaur two pack. This the other dino that was in the pack. I used this dino for my Rudolph head.
-
 Step 16
I used a box cutter to carve off the dome top and shaped the head. I shaved off layers of plastic till I had a head that look enough like a deer head. I used my dads hunting magazines for comparison.
-
Step 17
Once I was happy with the shape of my deer heads, I had to make the antlers and noses. This is were the fimo comes in. I used red fimo and rolled little balls for the noses.
As for the antlers, I took white and mixed in just the tiniest amount of brown to make the light beige color. I made one full branched and one broken branched antler for each deer head.
-
 Step 18
I rolled the tan fimo into long branches and cut out 3 long ones and 3 short ones. Then I cut out 18 little tiny branches. On the long branches I curled them into half circles, and added 2 tiny branches to both ends. These will be the full branched antlers.
On the short branches, I curled them into a slight J shape. I only added 2 tiny branches to the bottom branch of these antlers. On the top, I cut a little notch out. These will be the broken antlers.
-
 Step 19
I made sure that the antlers were size proportionate to the heads I carved, and that the broken ones looked smaller then the full ones. Then I rounded the ends of all the branches, except the broken ends.
Regular deer have the sharp pointed ends on their antlers, but reindeer have the soft rounded ends. Then I smoothed all the edges and lines. Then I baked the antlers and noses at the recommended times and temps.
-
 Step 20
After they were done baking and cooling, I glued the antlers and noses to the deer heads I carved. Then I added blood and mud, or fur, paint to the heads and antlers. I didn't add to much paint to the antlers, and I only painted the bit of glue around the noses.
-
 Step 21
Then I glued the head to the dolls hands. And in the case of the doll with one hand, I glued the piece of bone popping out to the antler. Then I add just a few touch ups and I'm done.
-
Step 22
I know because of the pics this might be hard to follow. If I make another Zombie doll, I'll change out the pics in this tutorial.


 1
Paper Book Covers »
Shoe Inspired Spiral Notebook
1
Paper Book Covers »
Shoe Inspired Spiral Notebook
