

About
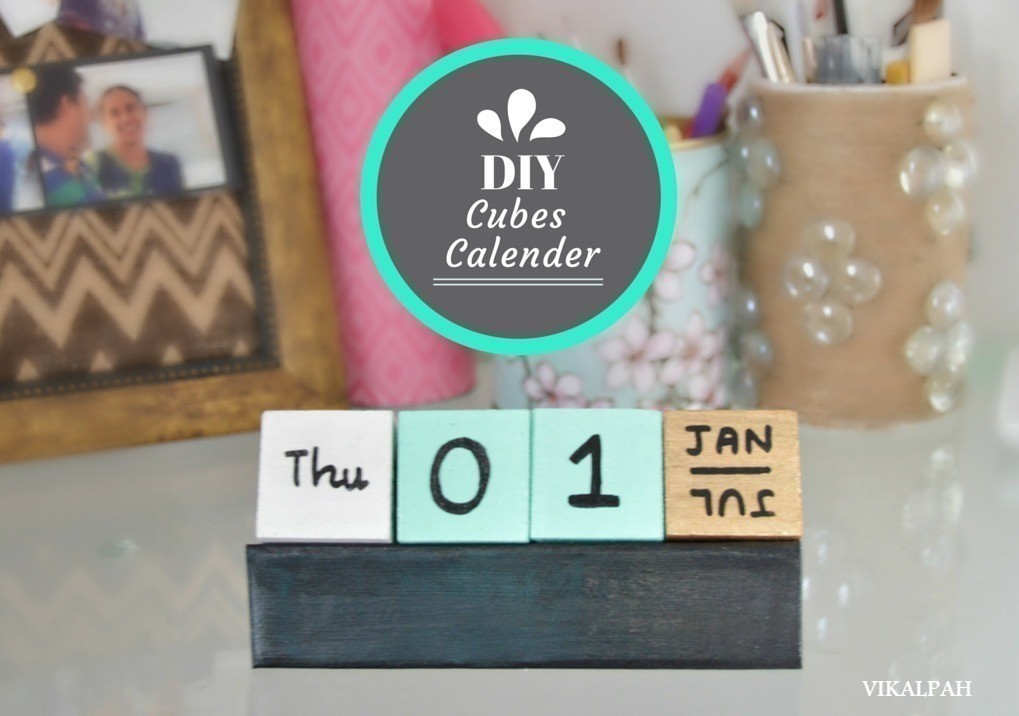
Make a DIY cube calendar
When I went to MoMA (Museum of Modern Art) during last summer , I loved the shop there compared to the museum because they had a lot of creative products and I was going through each one of them and I felt like having all of them.(Obviously, that is not possible :P)Then my DIY mind said that I can do some of them . One of them were this perpetual cubes calendar.. Of course, it can be any day of any year to start this as it is a never ending calendar.And it is a perfect gift to give year long and also serves as a desk accessory.Lets see how to make these.
-
 Mia added Diy Cubes Calender to Room Decor
18 Jan 08:11
Mia added Diy Cubes Calender to Room Decor
18 Jan 08:11
-
 Mia_Ferry added Diy Cubes Calender to Room Decor
18 Jul 10:36
Mia_Ferry added Diy Cubes Calender to Room Decor
18 Jul 10:36
-
 Ashly C. added Diy Cubes Calender to DIY The Room - Leslie Knope
07 Jun 23:11
Ashly C. added Diy Cubes Calender to DIY The Room - Leslie Knope
07 Jun 23:11
-
 mbubanj m. added Diy Cubes Calender to To-make list
03 Jun 10:07
mbubanj m. added Diy Cubes Calender to To-make list
03 Jun 10:07
-
 mumiavadasz favorited Diy Cubes Calender
01 Jun 18:57
mumiavadasz favorited Diy Cubes Calender
01 Jun 18:57
-
 Anima P. favorited Diy Cubes Calender
29 May 22:46
Anima P. favorited Diy Cubes Calender
29 May 22:46
-
 Crafterella featured Diy Cubes Calender
29 May 22:00
Crafterella featured Diy Cubes Calender
29 May 22:00
-
 Eilise P. favorited Diy Cubes Calender
17 May 15:54
Eilise P. favorited Diy Cubes Calender
17 May 15:54
-
 MandyCip_93 favorited Diy Cubes Calender
15 May 16:28
MandyCip_93 favorited Diy Cubes Calender
15 May 16:28
-
 Shafein B. favorited Diy Cubes Calender
09 May 17:52
Shafein B. favorited Diy Cubes Calender
09 May 17:52
-
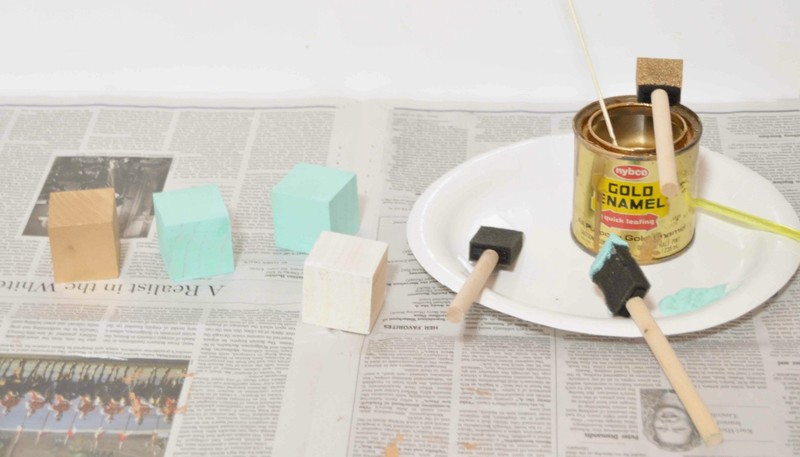
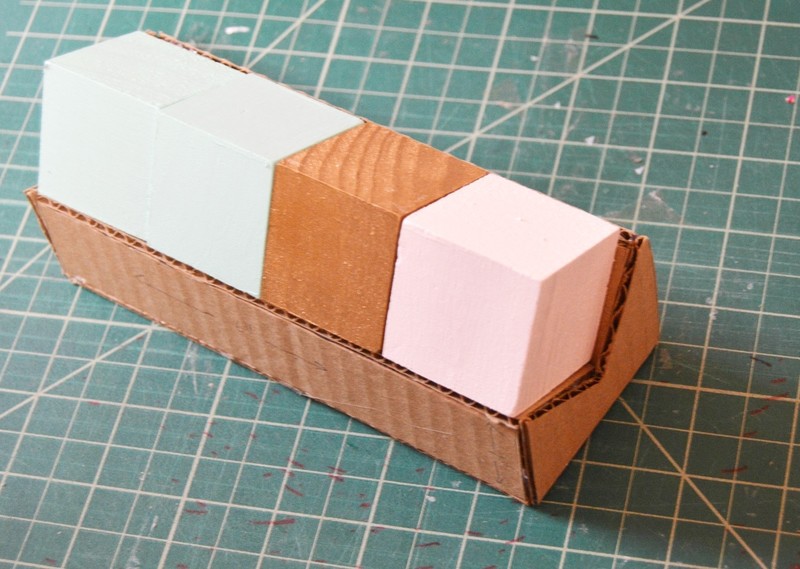
 Step 1
Decide the color scheme of the cubes . My current faves are teal ,gold ,black and white but you can chose your own favorite color scheme or go with mine. Paint the cubes in the colors you picked. I went with teal for date cubes, white for days cube and gold for months.Two to three coating will be perfect to mask the wood from showing through.
-
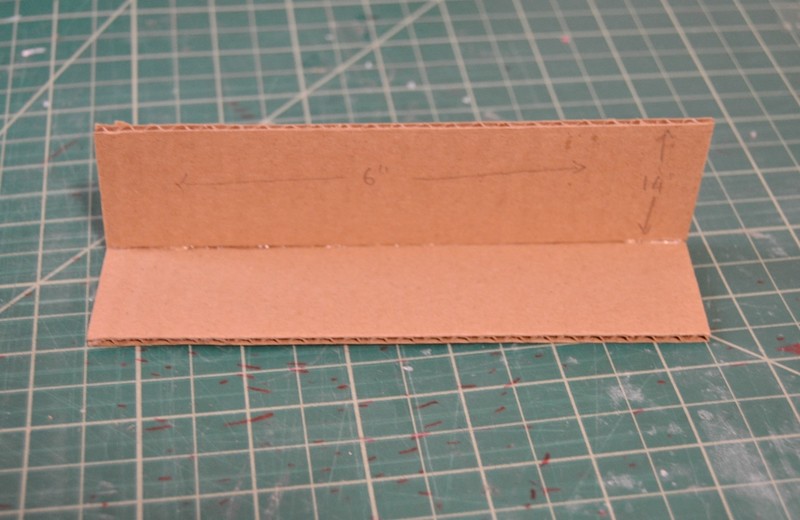
 Step 2
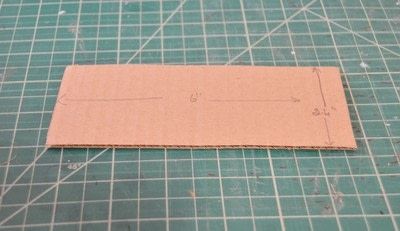
Now to the making of stand for cubes.I made this stand by trail and error method.With cubes measurement as key I started building the stand. You can pretty much make this stand for whatever size of cube you have. My cubes measured 1.4".So, if you also have the same cube measurement, then You will need
2 card boards(Middle) -- 6" x 1.4"
1 card board (Front) -- 6" x 1"
1 card board (Back) -- 6" x 2.6"
1 card board (Base) -- 6" x 2.4"Attach the middle two pieces with hot glue as shown.
-
 Step 3
Attach the front piece to the edge of the previously build piece.
-
 Step 4
In the same way , attach the back piece also
-
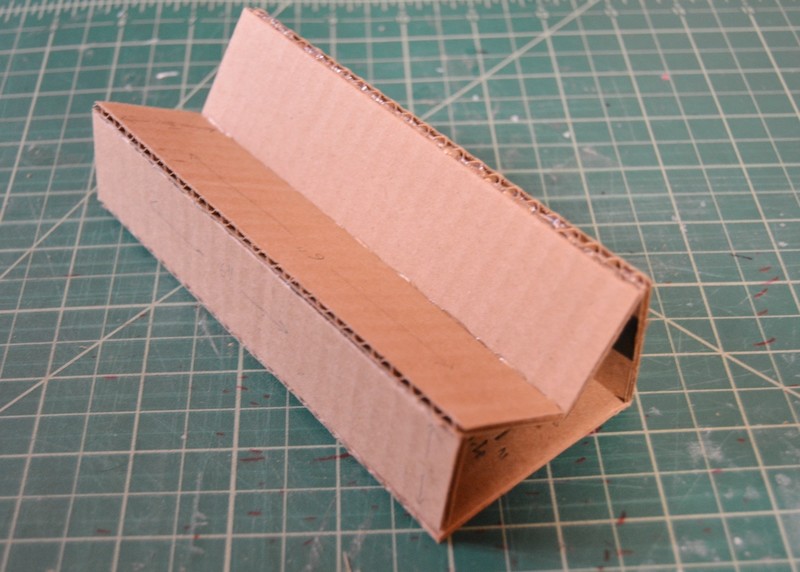
 Step 5
This is how it should look from the side.
-
 Step 6
Cut the base piece
-
 Step 7
Attach it to the base of the slant "M" piece.
-
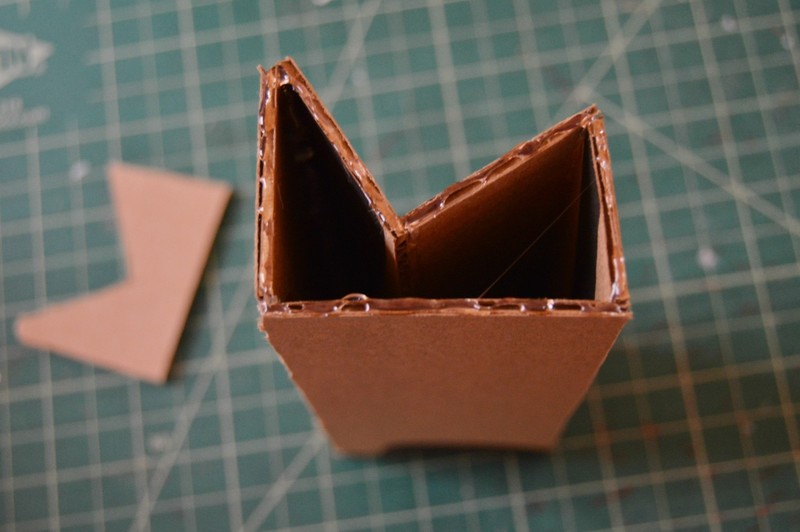
 Step 8
Once you are done building the base , trace the sides on to the cardboard and cut them.
-
 Step 9
Glue them to the sides using glue gun.
-
 Step 10
Your cardboard base is now ready.
-
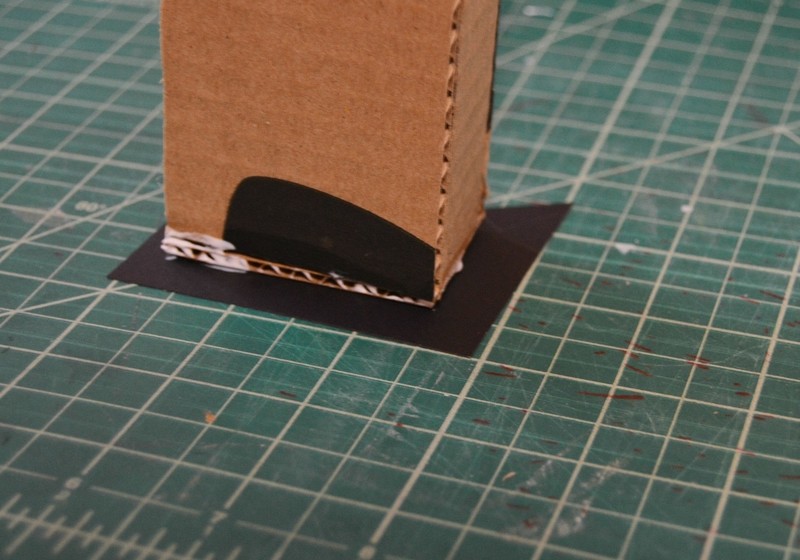
 Step 11
Cover your stand with black card stock and mod podge. Use the base that you just built as a template and trace around black cardstock leaving 1/2 inch extra on all sides .Cut it and use mod podge to glue it to the cardboard.
-
 Step 12
Once the glue is dry , use another coat of mod podge above the card stock to give a polished look. Your base is now ready. If you feel that is too much of work,cover it with paint.
-
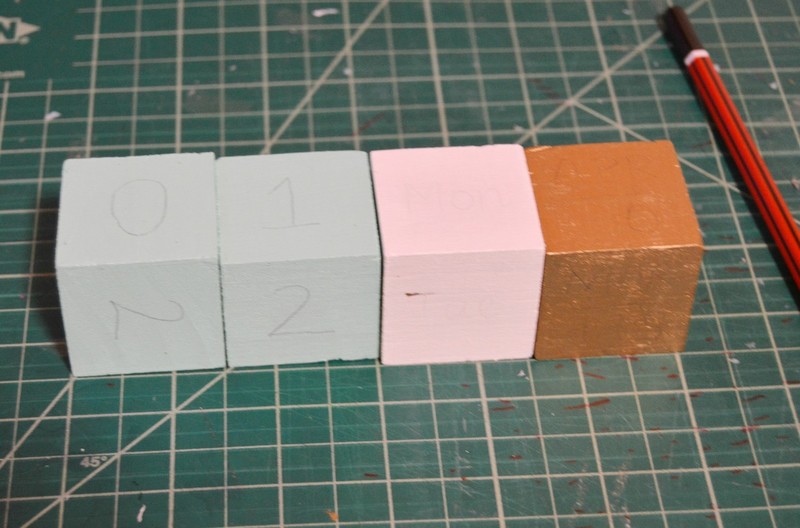
 Step 13
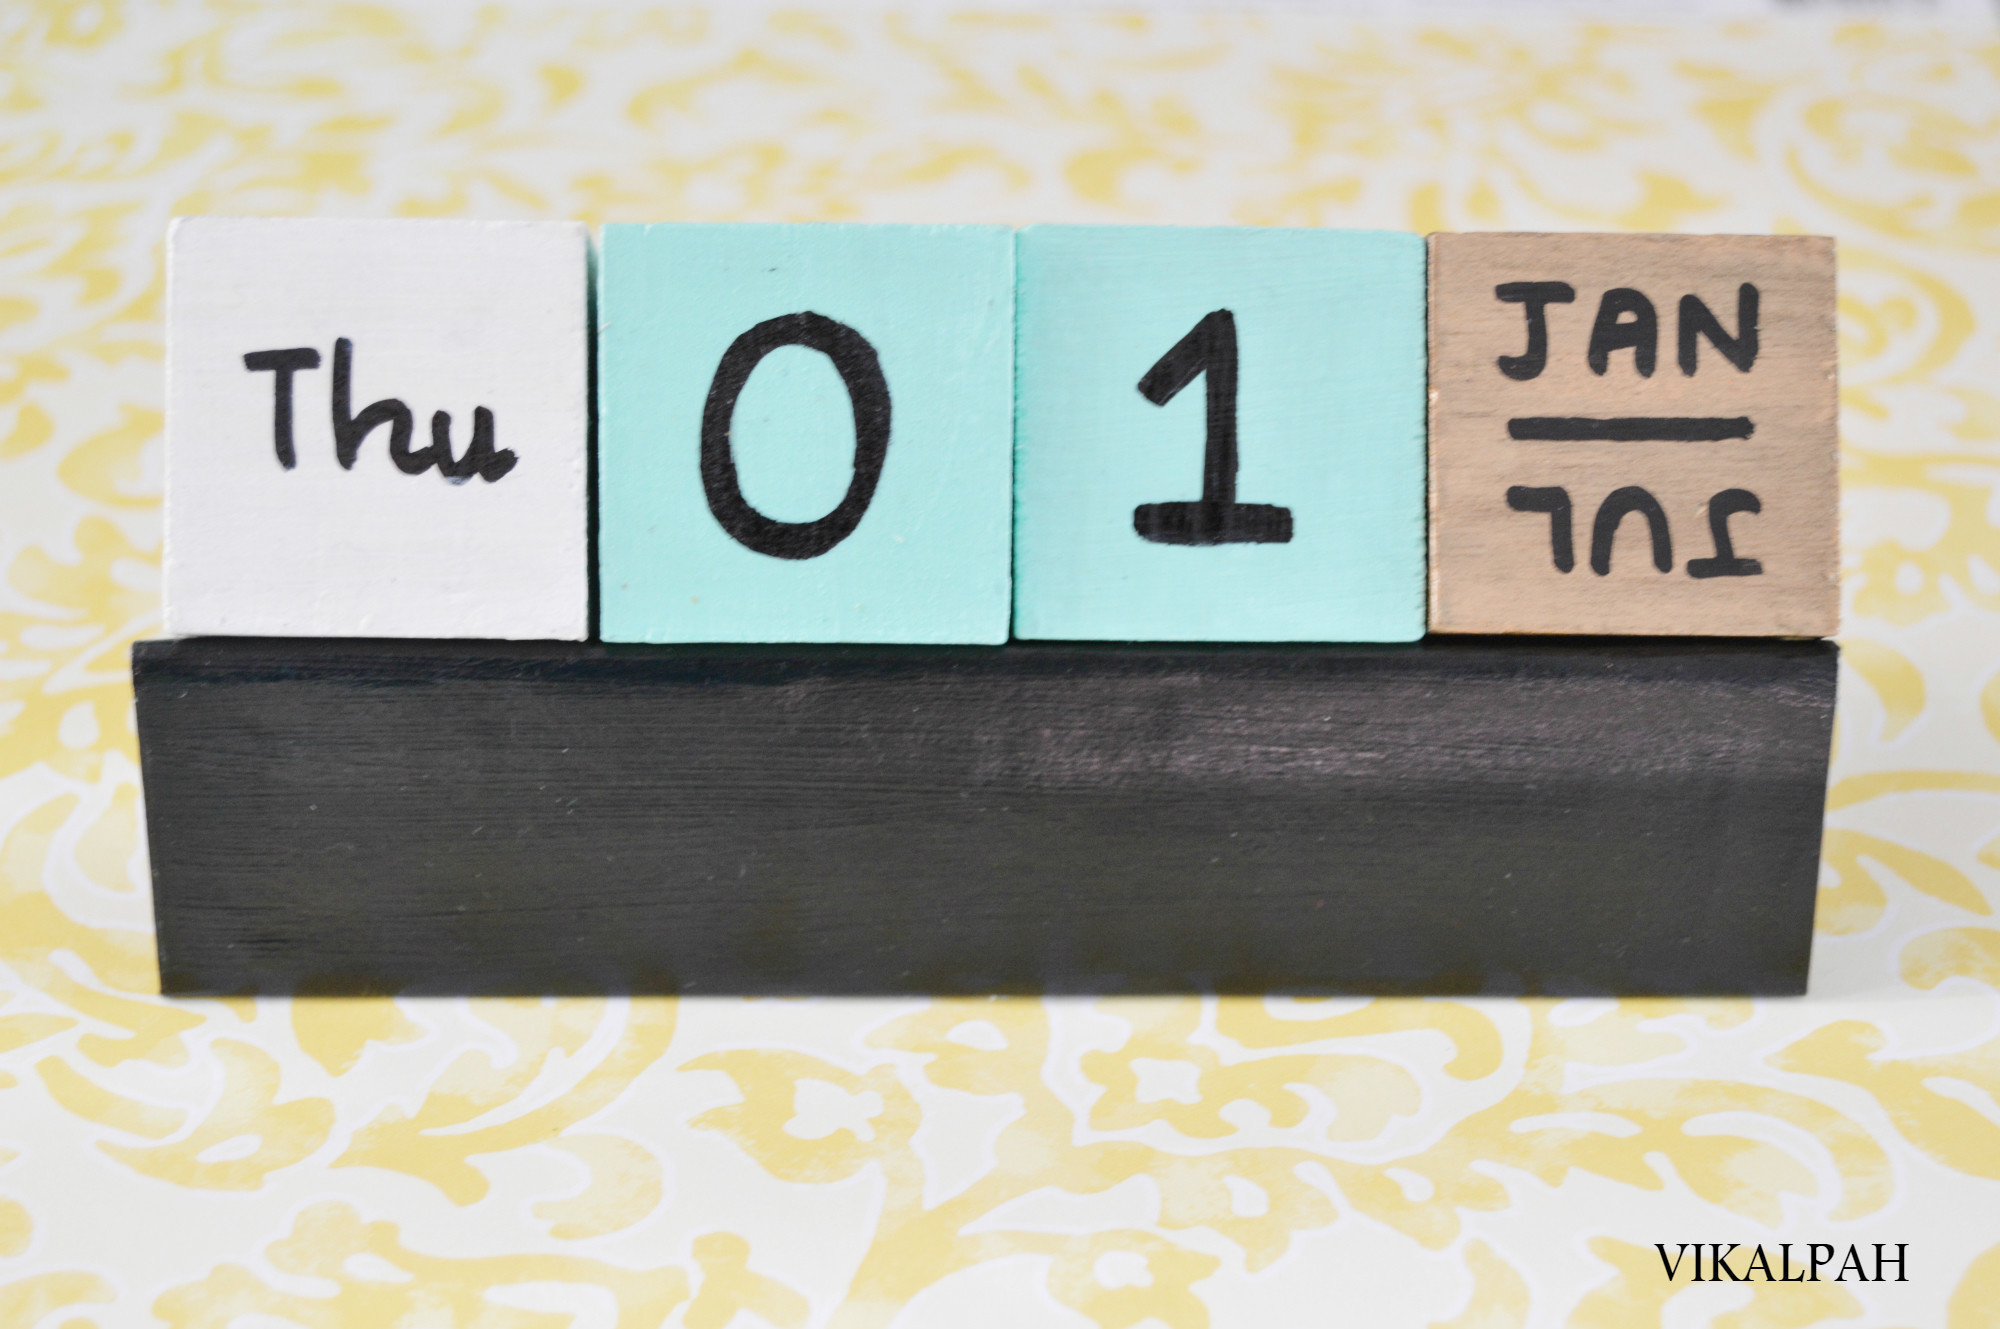
Once the wood blocks are dry. Write the date, day and months with pencil and then go over them with the paint pen for the final touch. If you are confident enough you can write directly with paint pen.
-
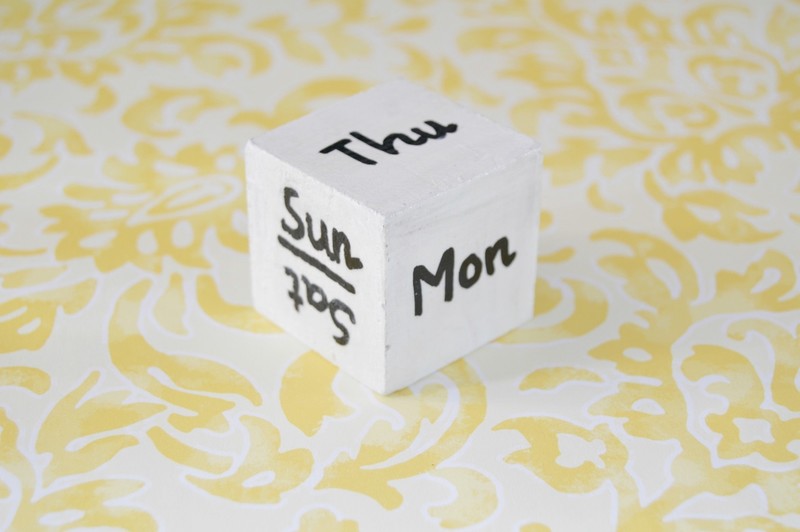
 Step 14
Cube 1 (Day) - Mon, Tue, Wed, Thu, Fri. Sat/Sun
-
 Step 15
Cube 2(Date) - 1,2,3,4,5,6
-
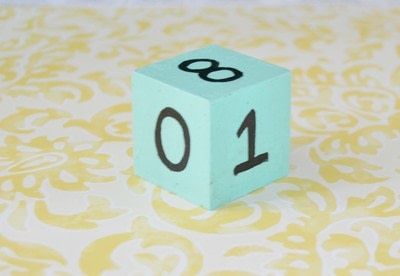 Step 16
Cube 3(Date) - 0,1,2,7,8,9
-
 Step 17
Cube 4(Months) - Jan/Jul , Feb/Aug ,Mar/Sep , Apr/Oct , May/Nov , Jun/Dec
-
 Step 18
Finish it with a coat of sealant like triple gloss paint or clear gloss spray paint.And then, you are done!


 1
Watercolor Art »
Watercolor Paints Made From Make Up
1
Watercolor Art »
Watercolor Paints Made From Make Up

