About
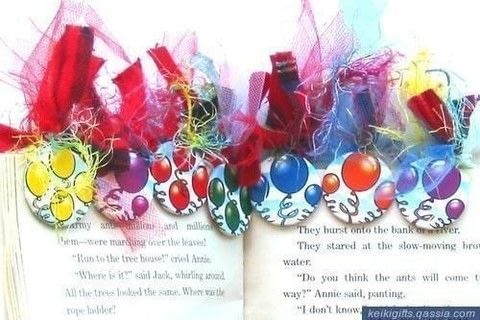
FRIENDSHIP CLIPS: A tutorial
-
 Carrie Alice added Friendship Clips / Bookmarks to Crafty
28 Jul 04:07
-
 Phoebe D. favorited Friendship Clips / Bookmarks
21 May 11:06
-
 L K. favorited Friendship Clips / Bookmarks
15 Aug 07:20
-
 kristy.d.jane favorited Friendship Clips / Bookmarks
03 Jul 03:05
-
 Grace commented on Friendship Clips / Bookmarks
24 May 22:22
-
 Miss_Fit added Friendship Clips / Bookmarks to Bookmarks
10 May 18:22
-
 Handmade Cute entered their project Friendship Clips / Bookmarks to PLAY CRAFT: Contest
07 Apr 05:46
-
 Step 1
First, cut the paper that will be used for covering the back of the chipboard. Using your chipboard as a template, place it on the backside of your paper and trace around it. Then cut out your circle shape just inside the line. This will make it smaller than the actual size of your chipboard and will cover the back of your chipboard. Put aside.
Comments
Grace
·
Halifax, Nova Scotia, CA
·
1 project
Awesome!
Crafter Monkey
·
Bolton, England, GB
·
6 projects
so simple yet so beautiful! Soon I shall be knee deep in bookmarks. 
Bead Crumbs
·
United States, US
·
24 projects
Just wanted to say "thanks" so much to all you who "love" this project and left nice comments! Keiki Gifts
Frankie
they look really cool me likey!

Dorothy K.
A very clever idea, simple and fun. It's a great use for little pieces of fabric. Or recycling old odds and ends.
Maraluce M.
·
Rotterdam, South Holland, NL
·
3 projects
Awesome! I love the simplicity of it 
GreenLeaf
·
Essex, England, GB
·
52 projects
Fantastic!
Cat Morley
·
London, GB
·
1432 projects
These are really pretty, good idea.


 1
Stud Earrings »
Miraculous Ladybug Earrings
 2
Pouches, Purses & Wallets »
Water Bottle Pack
