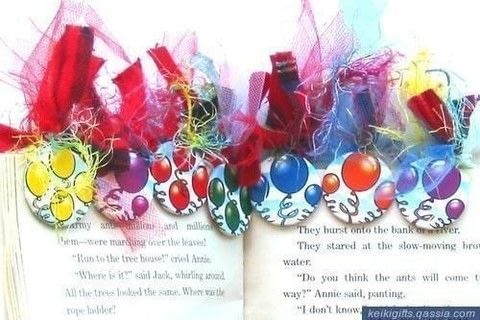
https://www.cutoutandkeep.net/projects/friendship-clips-slash-bookmarks • Posted by Bead Crumbs


First, cut the paper that will be used for covering the back of the chipboard. Using your chipboard as a template, place it on the backside of your paper and trace around it. Then cut out your circle shape just inside the line. This will make it smaller than the actual size of your chipboard and will cover the back of your chipboard. Put aside.

Now work on the front of the chipboard. Cover and center your paper over the chipboard. It should be a little larger than the board itself so that there is excess paper to fold over the back. Glue down front.

Turn over and cut slits along the excess edge, fold over and glue onto the chipboard.

We’re going to work on the back of the chipboard now. Slip the smaller bend of the paper clip over the circle you cut in step 1 and tape it down.

Glue this piece onto the “naked” side of the chipboard making sure the top of the clip aligns with the top of your design.

Allow glue dry and you’re done! Notes: Place a few of these in a cello bag, tie up with a pretty ribbon and give as a gift to a teacher along with pencils, erasers, note pads, etc.