Learn how-to make a box gift bag in #TechniqueTuesday with Peg from Peg's Crafting Corner.
-
Step 1
When I first started I was in need of a larger sized gift bag and searched everywhere to find a tutorial for one without luck so I created this one. It combines the large size that's perfect for gifts such as books and yet is still compact as to not take up much room on the gift table. This bag, also, allows you to use those sheets of patterned paper that have the wonderful main design that everyone hates to have to cut into.
-

Step 2
First, choose the sheets of paper that you want to use. They can either be the same pattern or to add interest use another design for the back.
-

Step 3
Leave the width at 12", but cut the length to 11" on the first sheet.
-

Step 4
Also, cut the second sheet the same way.
-

Step 5
Making sure that the pattern is laying correctly on the scoring board, score the first sheet which will be the front of the bag at 2" and 10". The top of the paper should be against the top of the scoring board.
-

Step 6
Rotate the paper so that the bottom of the sheet is against the left side of the scoring board and score at the 2" mark.
Repeat step #5 and #6 for the second sheet of paper for the back of the bag.
-

Step 7
On the piece to be used for the front, cut the corners out where the score lines meet.
-

Step 8
On the second sheet cut on the score lines from the sides of the bag inward. Do not cut from the bottom up.
-

Step 9
Fold the back of the box on the score lines.
-

Step 10
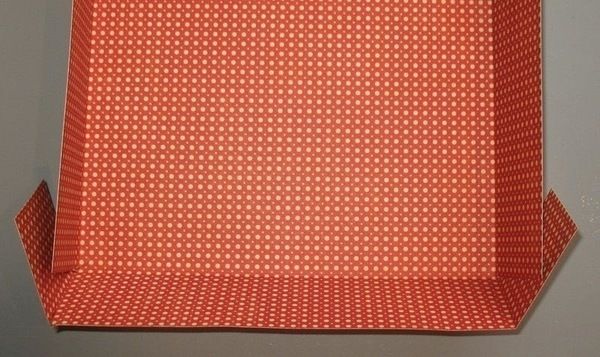
Fold the front of the box on the score lines.
-
Step 11
Now move onto the next part of the tutorial entitled,"Assembling and Decorating The Box Gift Bag" to finish the bag.
Got the hang of this technique?
Put your new skill to the test with this tutorial:
Is there a certain technique you'd love to learn or one that you could teach us? Send us a message!


