


About
A fun afternoon home with nothing to do project!
Tags
-
 ellie j. added Marbled Paper to cool stuff i can do
25 Dec 23:39
ellie j. added Marbled Paper to cool stuff i can do
25 Dec 23:39
-
 SteamAlyce favorited Marbled Paper
11 Jul 05:32
SteamAlyce favorited Marbled Paper
11 Jul 05:32
-
Nora E. added Marbled Paper to Projects to try
02 Jun 18:35
-
 yunasy favorited Marbled Paper
05 Feb 12:00
yunasy favorited Marbled Paper
05 Feb 12:00
-
Sandra M. favorited Marbled Paper
10 Dec 18:32
-
 Brittany Z. favorited Marbled Paper
23 Sep 22:48
Brittany Z. favorited Marbled Paper
23 Sep 22:48
-
Olivia W. favorited Marbled Paper
25 Jul 18:18
-
 Step 1
How to make your own pretty swirly marbled paper!
-
 Step 2
Gather your supplies.
-Bucket or pan for placing the paint into
-Liquid Starch (look in the detergent aisle of your supermarket)
-Liquid Dish Soap
-Acrylic Paint
-Paint Tray
-Stirrers (toothpicks, straws, etc)
-Newspapers (to lay your drying papers on) -
 Step 3
Pour a thin layer of liquid starch into a shallow bucket or pan. You only need enough to cover the bottom of the tray. Three-quarters of an inch to an inch should be fine.
-
 Step 4
Mix your paints. Here is the tricky step. I used one of those plastic paint trays with the small shallow areas for paint.
You want your paint to be extremely thin, so in each shallow compartment, I filled it 3/4 the way with water, and to it, I added 2-3 drops of paint and 1 small drop of dish soap.
Stir well. -
 Step 5
After your paints have been thinned, use the straw to blow out bits of paint onto the surface of the starch.
If the paint is too heavy (i.e. not thinned enough) it will sink.
If the paint has too much soap it will spread to thin. That is why the step above is so critical. Experiment until you find what works for you! -
 Step 6
You can leave your colors all blobby like they are above or "comb" them. I made a simple comb with toothpicks and cardstock, but a pick or single toothpick will work. Gently "drag" the comb through the paints so they swirl together. Do so until you like the pattern.
Don't swirl too much or you'll get mud! -
 Step 7
As soon as it's as you like it, gently place the paper into the tray. You want to start in one corner, and lay it down gently so you don't trap bubbles underneith.
Any heavier paper will work--cardstock, construction paper, watercolor paper, etc.
I was practicing using the inserts that come with photo boxes. They work nice!
Leave the paper on the surface for a few seconds, and gently lift up.
Let the excess paint drip off. -
 Step 8
Take your paper to the sink, and rinse off the extra starch. Don't worry--your colors will stay!
After you have rinsed the paper, lay it flat on newspaper to dry.
It may be gently ironed with a warm iron to remove any curls later. -
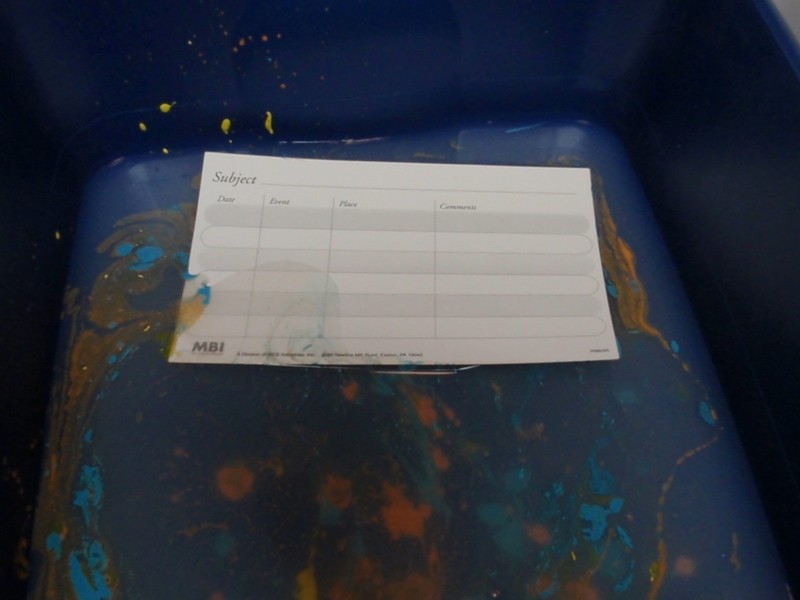
 Step 9
Some bigger pieces I did
-
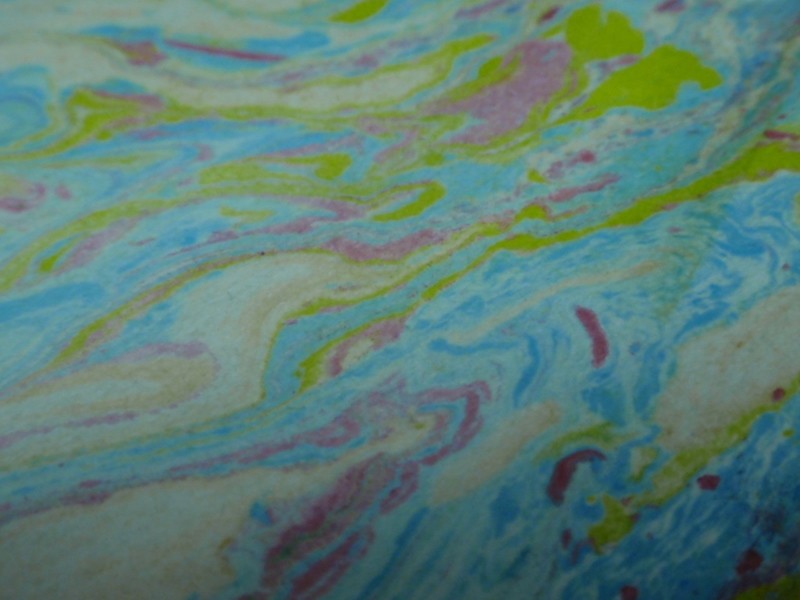
 Step 10
A close up of a favorite
-
 Step 11
Another favorite
-
 Step 12
And another favorite.
I plan on using these in scrapbooking, covering journals, or making cards with.
Have fun and don't be afraid to experiment!


Versions


Comments

 1
Stud Earrings »
Miraculous Ladybug Earrings
1
Stud Earrings »
Miraculous Ladybug Earrings
