


About
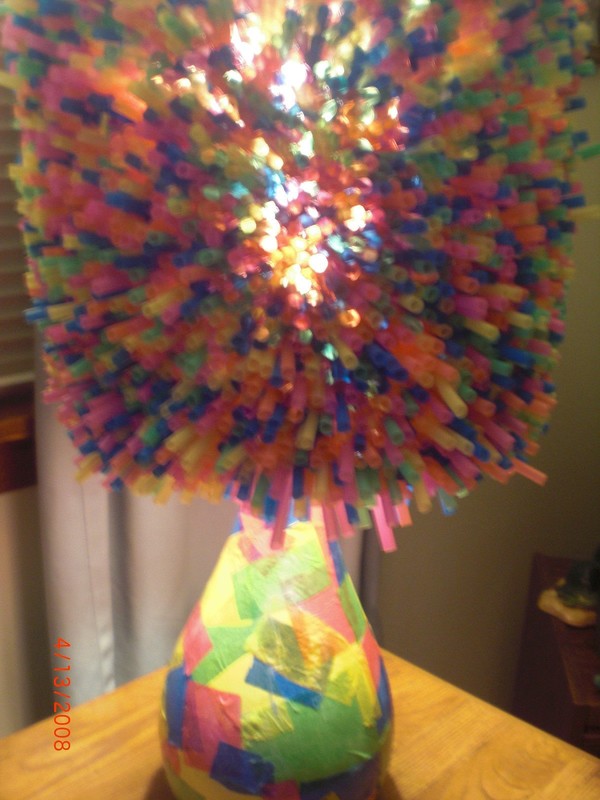
with colorful decoupage lamp base. :D
so, this isnt exactly an original idea of mine. i was inspired by the drinking straw starbusrt hanging light fixture by mark montano on this site and went looking for something similar and i found this lampshade on another DIY website and decided i NEEDED to make/have it! :) it was more of a challenge than i thought it was gonna be. it took me a couple days to get it done, working a few hours at a time. the decoupage on the lamp base was a piece of cake, though. haha :) i love the end result, though and would love to see your version!
-
 James A. commented on Sweet Bendy Straw Lamp
11 Aug 09:43
James A. commented on Sweet Bendy Straw Lamp
11 Aug 09:43
-
 Esteph H. commented on Sweet Bendy Straw Lamp
13 Jul 07:05
Esteph H. commented on Sweet Bendy Straw Lamp
13 Jul 07:05
-
Esteph H. favorited Sweet Bendy Straw Lamp
13 Jul 07:05
-
 Georgia favorited Sweet Bendy Straw Lamp
30 Jan 16:16
Georgia favorited Sweet Bendy Straw Lamp
30 Jan 16:16
-
 Karen D. favorited Sweet Bendy Straw Lamp
06 Oct 01:11
Karen D. favorited Sweet Bendy Straw Lamp
06 Oct 01:11
-
Jessica N. favorited Sweet Bendy Straw Lamp
18 Mar 19:21
-
scarlett b. favorited Sweet Bendy Straw Lamp
09 Feb 19:34
-
erin s. favorited Sweet Bendy Straw Lamp
16 Dec 01:55
-
Annemarie B. favorited Sweet Bendy Straw Lamp
30 Nov 13:32
-
 Anna Bean favorited Sweet Bendy Straw Lamp
18 Sep 05:09
Anna Bean favorited Sweet Bendy Straw Lamp
18 Sep 05:09
-
Step 1
take your old lamp shade and remove the boring fabric, leaving just the ring frame.
-
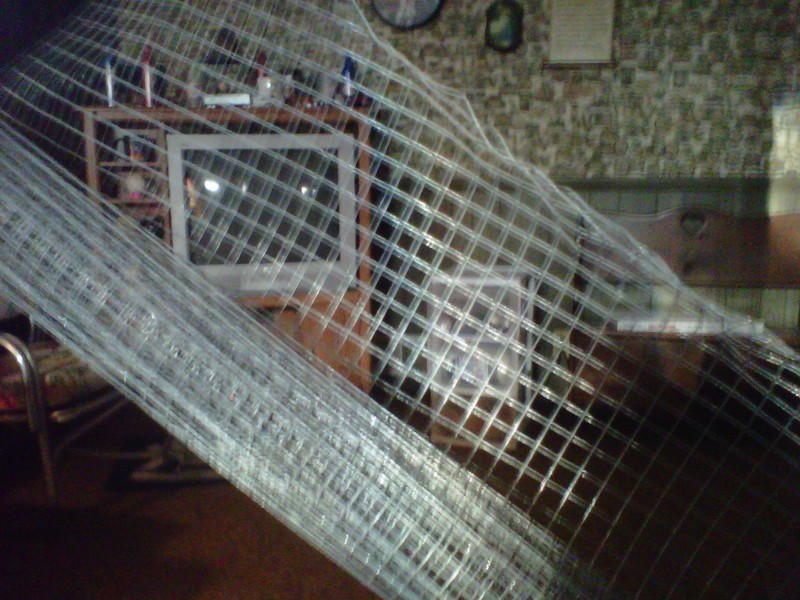
 Step 2
attach the hardware cloth around the top ring of the lamp shade skeleton with wire (you can use the wire the hardware cloth came wrapped in).
<--that's hardware cloth. :)
-
Step 3
using the wire cutters, cut off the excess hardware cloth at the end of the top lamp shade ring. you then can decide how long you want your lamp to be and cut the wire off at that point. note: the longer the shade, the more straws you'll need.
-
Step 4
wire the loose ends of the hardware cloth together, again using the wire the cloth came wrapped in and you have your straw lamp shade skeleton!
-
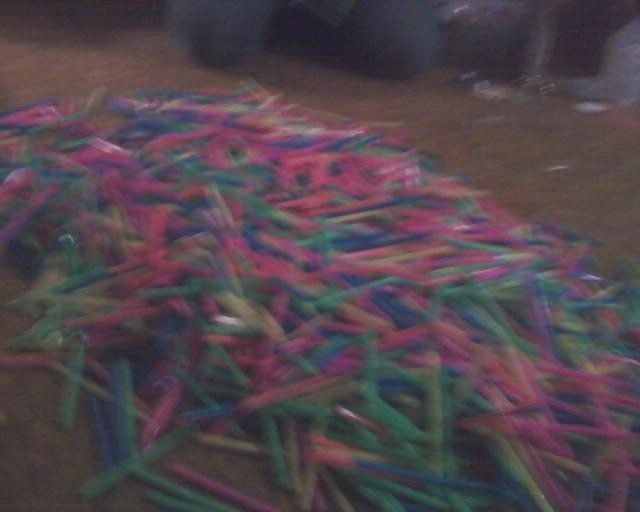
 Step 5
now for the straws. CUT THEM IN HALF. all of them. and don't worry about making them all perfect. the different lengths will make it look pretty cool. you will end up with a massive pile of bendy straw halves on your floor. that's a good thing. you'll need em.
-
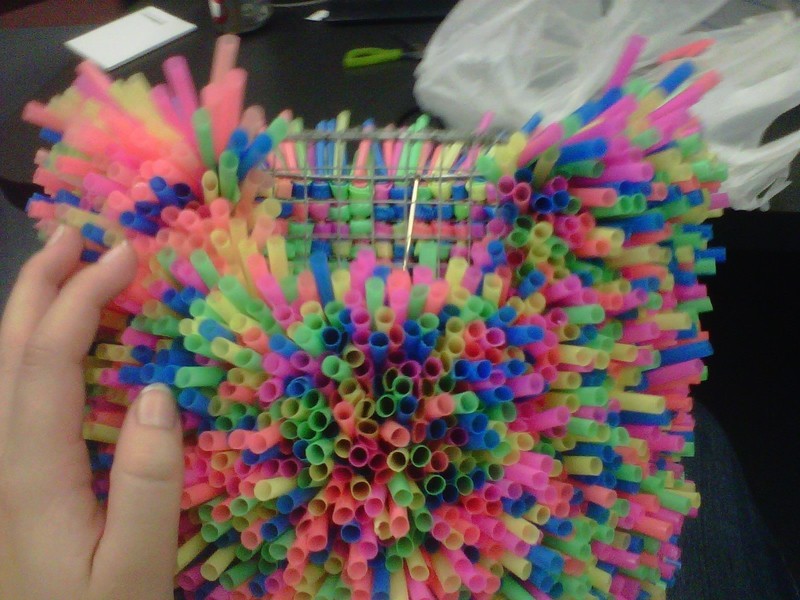
 Step 6
after all your straws are halved, it's time to start attaching them to your shade. starting from the inside of the shade, fold each straw half in half and wrap around the hardware cloth. do this FOUR TIMES for EACH 1/2 inch opening. at times it may seem totally impossible. not gonna lie. but it's possible. sometimes it needs a little bit of elbow grease to jam them in there, especially when you're getting closer to getting finished.
-
 Step 7
do this over and over. and over. and over. and over and over and over and over. and over.
-
 Step 8
hang in there. keep inserting the straws. YOU CAN DO IT! :)
-
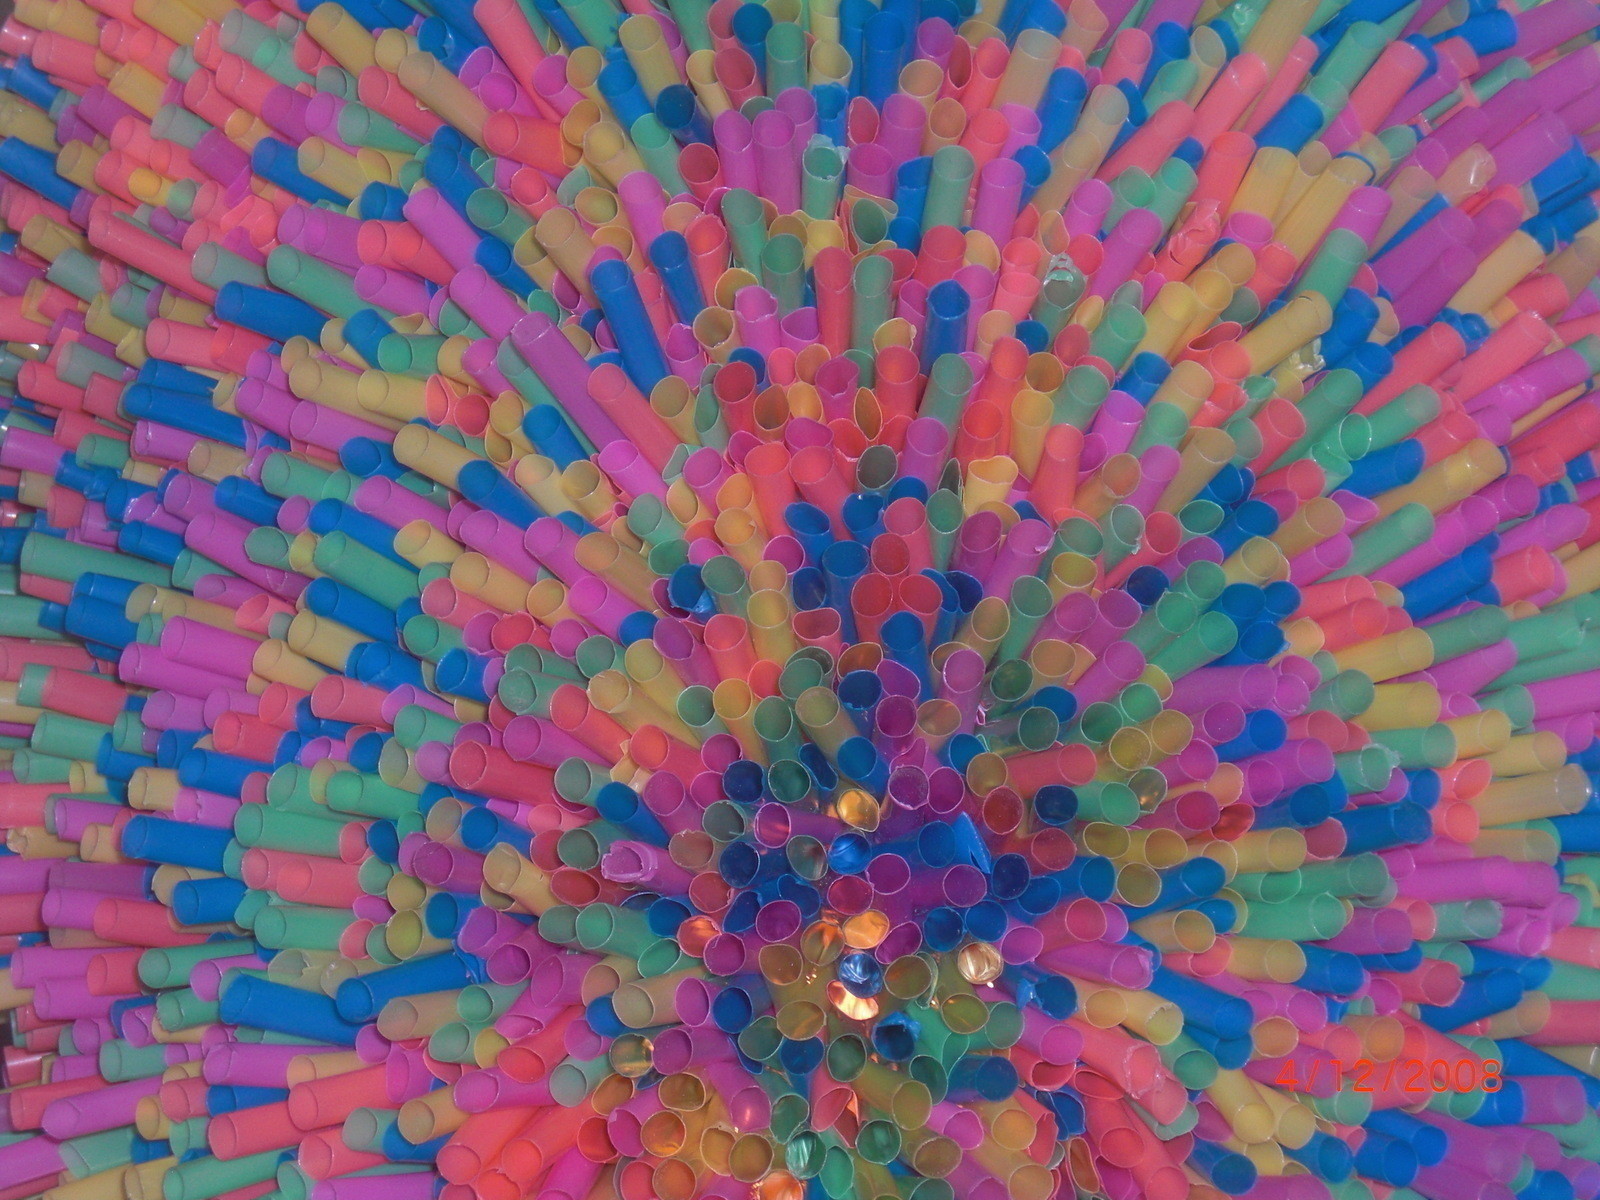
 Step 9
TA DA! all the 1/2 holes are filled with four straw halves. you did it!
-
 Step 10
now it's time to light it up. :) do this however you wanna. set a candle night light underneath and make it a table lamp. invest in a pendant light kit and hang it from your ceiling. i decided to attach mine to the old lamp the shade came on and added a little more color to make it a table lamp. get creative here. :) enjoy!


 1
Bracelets »
Gifts From The Village Of Shadows Bracelet
1
Bracelets »
Gifts From The Village Of Shadows Bracelet
 2
Charms »
Akuma No Otto Pendant
2
Charms »
Akuma No Otto Pendant
 3
Stud Earrings »
Miraculous Ladybug Earrings
3
Stud Earrings »
Miraculous Ladybug Earrings

How many straws did you used???? its super cute =)
so i thought perhaps i can find something out for myself, but you have such a smart solution, soooo thank you very much for sharing this and the great tute as well.
love it!!!!;-D
mod podge
pieces of tissue paper (any colors you want)
and a paint brush.
it's really easy. just paint a layer of mod podge on the entire base and place your tissue pieces however you want em. cover the whole thing with the pieces and let it dry. once it's totally dry, go over it again with mod podge to seal it. easiest part of the whole project
im sososo glad you guys like it! i worked my ass off on this thing!
Wait...what did you put on the vase of the lamp??
And what do you need to do it??
<333
I love it.
<3!