


About
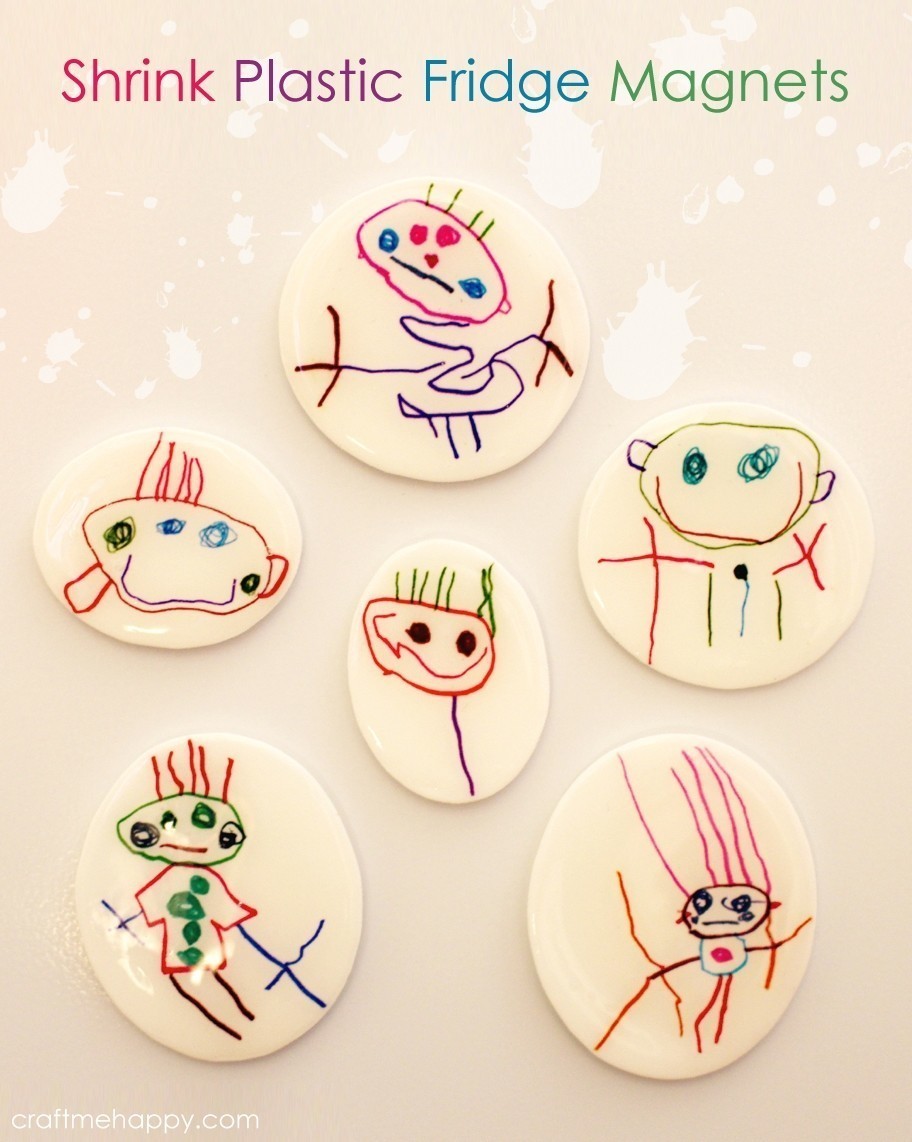
Preserve your child's first drawings by turning them into fridge magnets
My daughter first started drawing pictures of people, as opposed to just scribbles, when she was a little over three. She spent an afternoon drawing pictures of all the people in our family. I wanted to preserve those drawing by turning them into something that we could look at everyday, instead of stuff them away in a box.
Here's how to make inkjet shrink plastic fridge magnets that should stand the test of time.
-
 Sarah Sylvia S. favorited Shrink Plastic Fridge Magnets
19 Jul 04:01
Sarah Sylvia S. favorited Shrink Plastic Fridge Magnets
19 Jul 04:01
-
 Tess added Shrink Plastic Fridge Magnets to home
10 Aug 16:41
Tess added Shrink Plastic Fridge Magnets to home
10 Aug 16:41
-
 KBunker favorited Shrink Plastic Fridge Magnets
27 May 20:17
KBunker favorited Shrink Plastic Fridge Magnets
27 May 20:17
-
 Valerie B. favorited Shrink Plastic Fridge Magnets
20 Jan 02:58
Valerie B. favorited Shrink Plastic Fridge Magnets
20 Jan 02:58
-
 ale_corason favorited Shrink Plastic Fridge Magnets
06 Dec 07:18
ale_corason favorited Shrink Plastic Fridge Magnets
06 Dec 07:18
-
 Kathryn {Craft me Happy} published her project Shrink Plastic Fridge Magnets
08 Jul 12:18
Kathryn {Craft me Happy} published her project Shrink Plastic Fridge Magnets
08 Jul 12:18
-
 Step 1
Scan in your child's drawing and draw an oval around them using your favourite drawing software. Paste all of the ovals onto a light coloured background which will make it easier to cut them out later.
Print them onto inkjet shrink plastic and then leave them for half an hour for the ink to dry a little.
-
 Step 2
Cut them out and then shrink them in the oven -
Put all of your cut out pieces on a baking tray, lay a sheet of paper over the top of them all (to prevent them from completely curling up and sticking to themselves) and then put them in the oven for 2 minutes at 170° Centigrade or 340° Fahrenheit.
After 2 minutes they should be beginning to shrink down into little bowls. Take off the piece of paper and then watch intently as they start to flatten out. When they're pretty much flat, take them out and flatten them down with the base of a glass. If some of them are resisting flattening down, put them back in for another minute and they should flatten down beautifully.
-
 Step 3
Spray the shrunken discs with and acrylic sealing spray and leave them overnight for the sealer to harden.
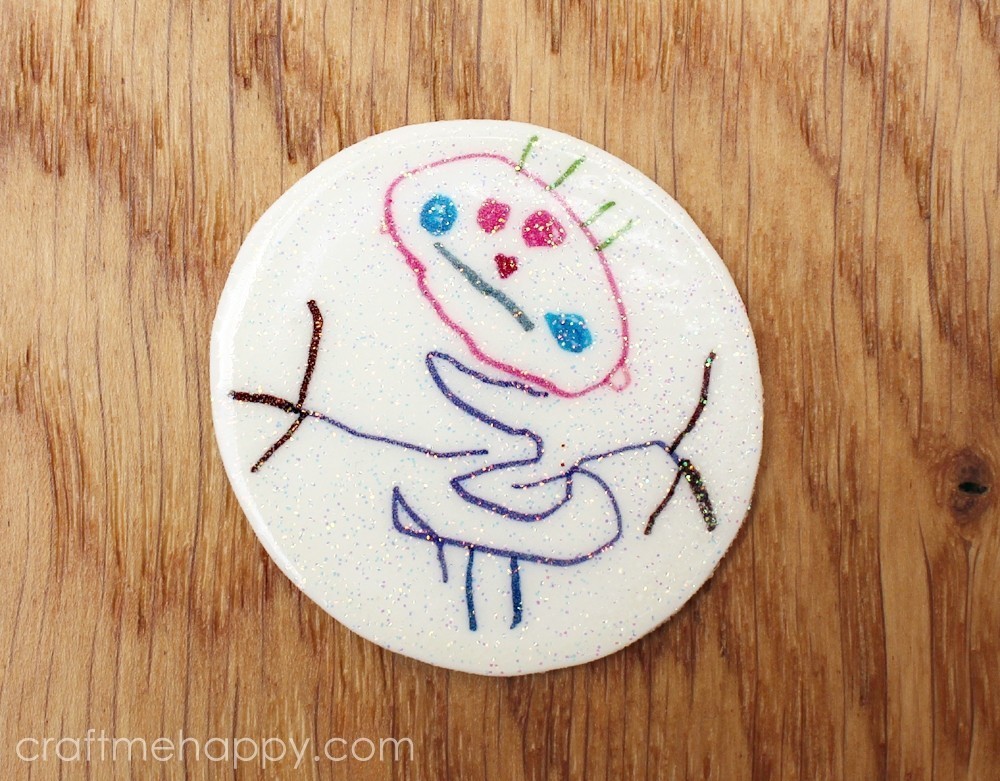
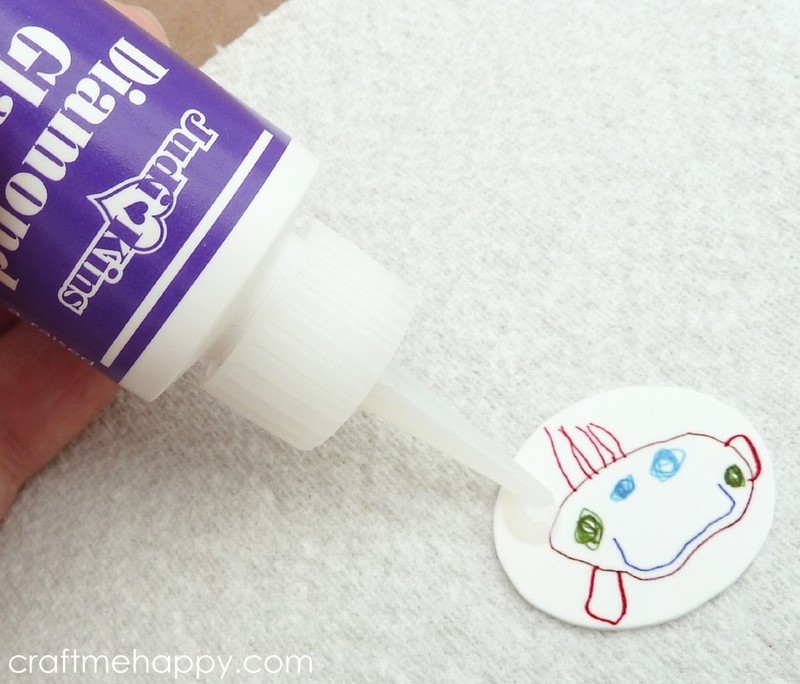
The disc are ready to be used now, but if you want a shiny, glazed look, a layer of Diamond Glaze will do the trick.
Without shaking the Diamond Glaze, squeeze out a small amount onto some kitchen roll to remove any bubbles in the tip and then slowly squeeze the diamond glaze onto the shrink plastic piece whilst continually moving the tip, spreading the glaze evenly in a gentle motion so that the piece is completely covered. The Diamond Glaze will look milky while it is wet, but it dries to give a clear shiny glaze.
-
 Step 4
Finally you just need to add the magnets to the back. I used a couple of 10mm x 1mm extra strong neodymium magnets as 2 slim magnets are strong enough to hold up both the shrink plastic image and 6 or 7 pieces of A4 paper. Stick them to the back of your shrink plastic discs with a good strong glue like E6000, super glue or a two part epoxy resin glue.
-
 Step 5
And there you have a set of unique fridge magnets that should hopefully last many years.
For much more information on the design process, please check out my blog.


 1
Paper Art »
How To Fix A Smoking Toilet
1
Paper Art »
How To Fix A Smoking Toilet
 2
Bracelets »
Gifts From The Village Of Shadows Bracelet
2
Bracelets »
Gifts From The Village Of Shadows Bracelet
 3
Charms »
Akuma No Otto Pendant
3
Charms »
Akuma No Otto Pendant
 4
Gadgets »
Kitchen Hook
4
Gadgets »
Kitchen Hook
 5
Trays »
Trays For Breakfast
5
Trays »
Trays For Breakfast

