


About
Keep those eggs toasty warm!
Today we’re going to show you how to make a monogrammed egg cosy. They make perfect presents for adults and children alike, great for birthdays, weddings and anniversaries.
Tags
Downloads
- 104007_2F2014-08-21-113959-Egg+Cosy+template.pdf 8.61 MB [ Download ]
-
 Lisa C. published her project Monogrammed Egg Cosy by Sew Over It
21 Aug 11:29
Lisa C. published her project Monogrammed Egg Cosy by Sew Over It
21 Aug 11:29
-
 Step 1
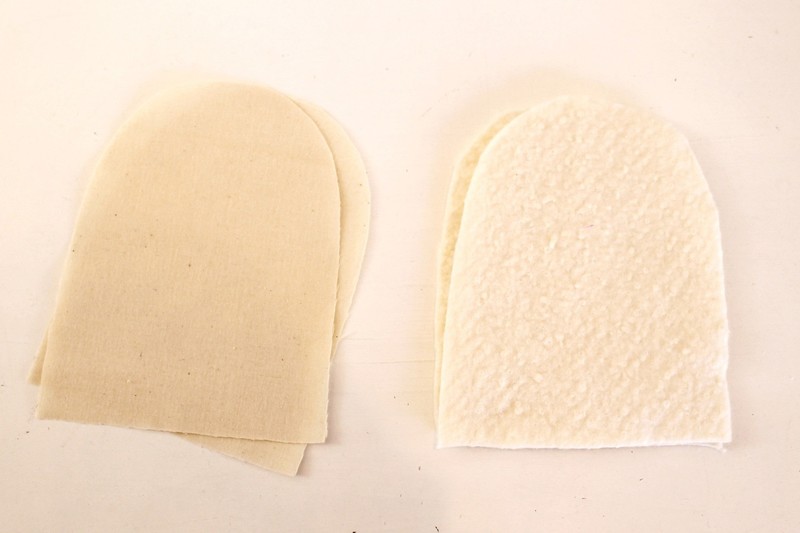
Download the egg cosy template attached above, and use it to cut out four pieces of outer fabric, and two pieces of wadding.
-
 Step 2
Next, cut out your letters from your contrasting fabric. You can make these any size you like, but they’ll need to fit nicely into the middle of the egg cosy.
Cut out Bondaweb in the same size, and apply these to the letters.
-
 Step 3
Fuse the letters to the egg cosy front using a hot iron.
-
 Step 4
You can leave the letters stuck on like this, but for extra longevity, we’re going to sew the letters onto the egg cosy using a zig zag stitch.
-
 Step 5
Cut out the tabs for the top of the tea cosy. Fold the raw edges into the centre and press, and then fold in half again before giving it a final press.
-
 Step 6
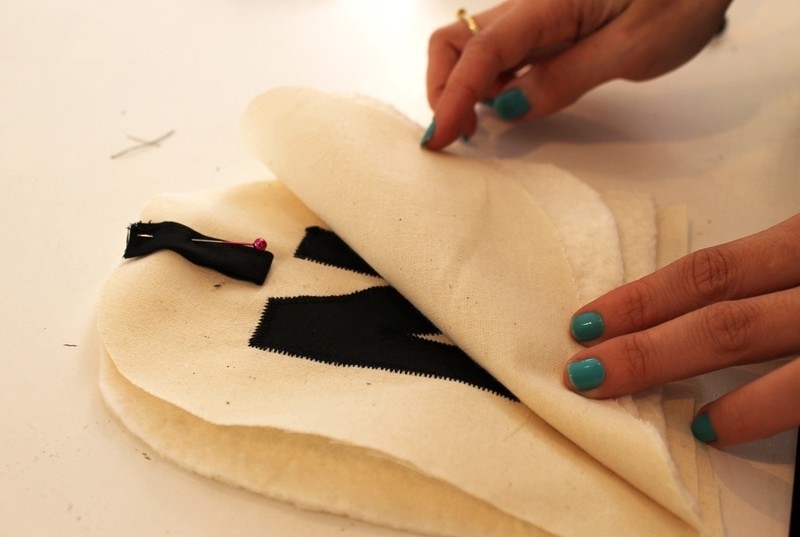
Now it’s time to start forming the egg cosy. On top of a piece of wadding, place the egg cosy front right sides up. Fold the tab over to form a loop and pin this to the centre top, making sure the loop is on the inside as shown above. Then place the egg cosy back right sides down on top of this, before placing the remaining wadding piece on top. Pin these together, and sew all the way around the long curved edge, leaving the bottom open.
-
 Step 7
Turn the egg cosy the right way out.
Place the remaining two fabric pieces right sides together and sew all the way around the long curved edge. Clip into the curves.
-
 Step 8
Once sewn snip little notches into the curves around the top of the egg cosy. This will allow the seam to be turned out smoothly. Trim down the seam allowances all the way around to reduce bulk.
-
 Step 9
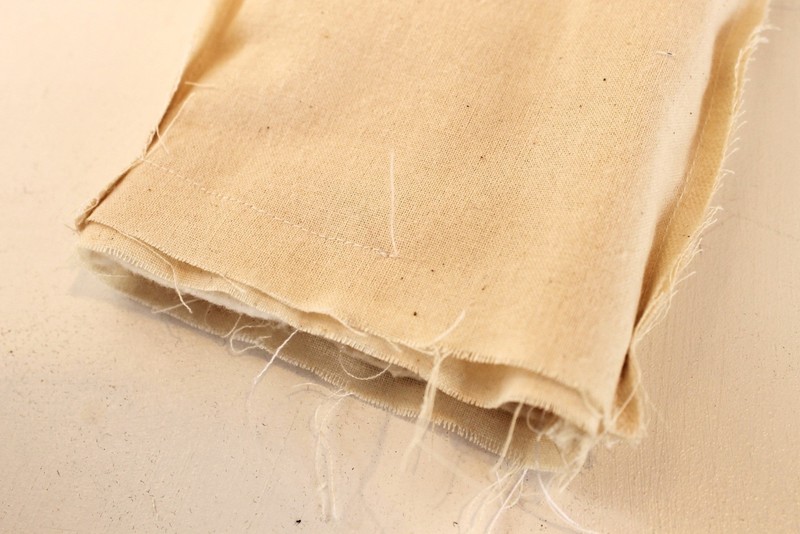
Leaving this piece inside out, slot it over the top of the outer egg cosy pieces, matching up the bottom edges. Right sides should be facing. Keeping 1.5cm away from the edge, sew around the bottom, leaving a gap of about 7cm so you can turn it the right way out.
-
 Step 10
Turn the egg cosy the right way out through the hole.
-
 Step 11
The only thing left to do is close up the hole, so finger press the seam allowance into the inside, and sew up the hole with an invisible slip stitch.
-
 Step 12
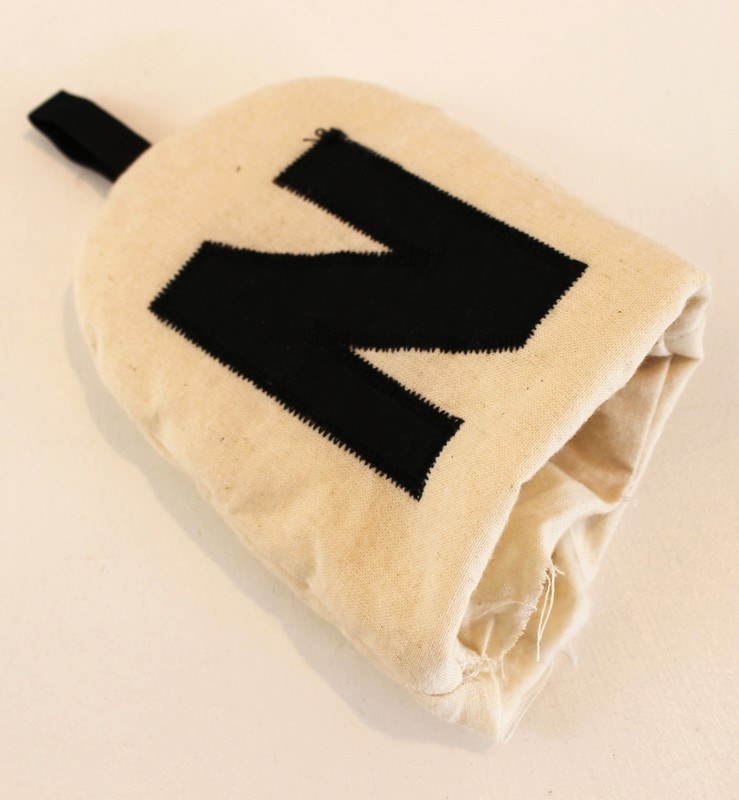
And voila! They're done!


 1
Stud Earrings »
Miraculous Ladybug Earrings
1
Stud Earrings »
Miraculous Ladybug Earrings
 2
Pouches, Purses & Wallets »
Water Bottle Pack
2
Pouches, Purses & Wallets »
Water Bottle Pack
