


About
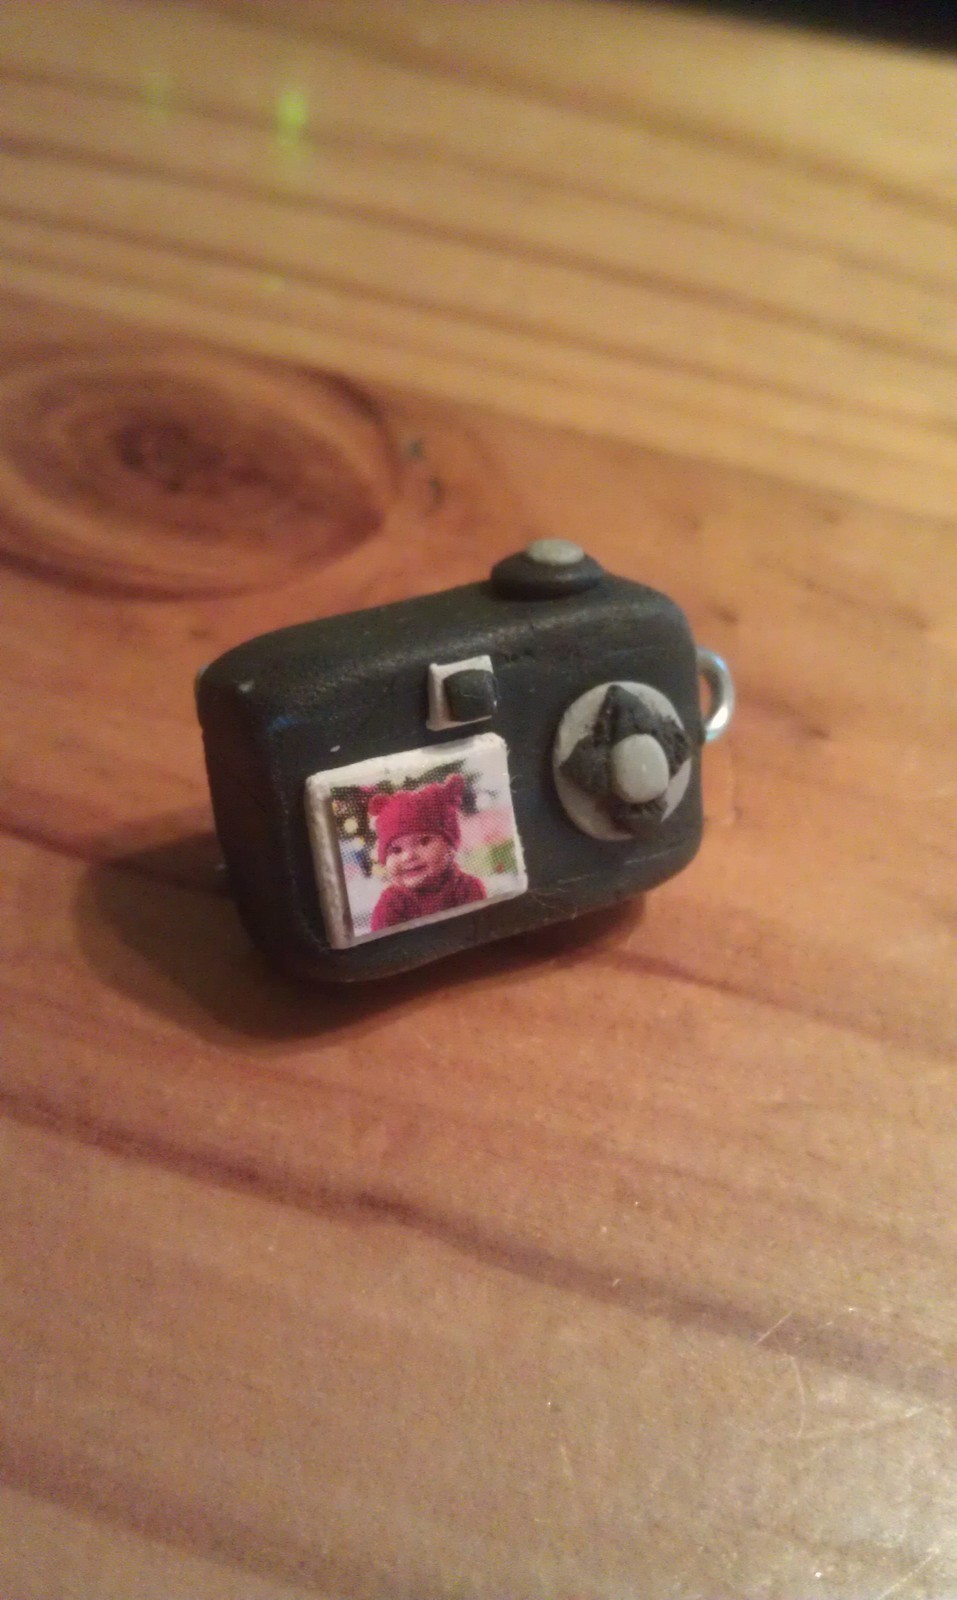
A cute little charm, with a personalised touch.
This is just a little project i made as a gift to a friend of mine who loves cameras and photography. I hope you enjoy my tutorial. :)
Tags
-
 Marrian favorited Mini Polymer Clay Camera Charm... Featuring Your Favourite Photo.
24 Jul 18:45
Marrian favorited Mini Polymer Clay Camera Charm... Featuring Your Favourite Photo.
24 Jul 18:45
-
 rheabird favorited Mini Polymer Clay Camera Charm... Featuring Your Favourite Photo.
22 Jan 10:15
rheabird favorited Mini Polymer Clay Camera Charm... Featuring Your Favourite Photo.
22 Jan 10:15
-
 Misti M. favorited Mini Polymer Clay Camera Charm... Featuring Your Favourite Photo.
30 Nov 21:40
Misti M. favorited Mini Polymer Clay Camera Charm... Featuring Your Favourite Photo.
30 Nov 21:40
-
 Cupcake_Warrior =) commented on Mini Polymer Clay Camera Charm... Featuring Your Favourite Photo.
17 Nov 21:16
Cupcake_Warrior =) commented on Mini Polymer Clay Camera Charm... Featuring Your Favourite Photo.
17 Nov 21:16
-
Cupcake_Warrior =) favorited Mini Polymer Clay Camera Charm... Featuring Your Favourite Photo.
17 Nov 21:15
-
 almosthope favorited Mini Polymer Clay Camera Charm... Featuring Your Favourite Photo.
26 Jun 21:49
almosthope favorited Mini Polymer Clay Camera Charm... Featuring Your Favourite Photo.
26 Jun 21:49
-
Rachel B. entered her project Mini Polymer Clay Camera Charm... Featuring Your Favourite Photo. to Photo Jewelry Making
03 Jun 08:04
-
Rachel B. entered her project Mini Polymer Clay Camera Charm... Featuring Your Favourite Photo. to Lomography
03 Jun 07:55
-
 Step 1
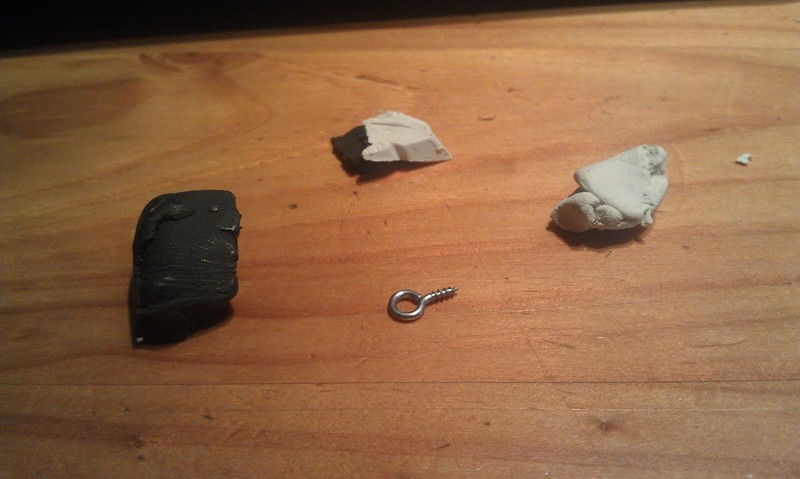
Gather all the polymer clay, you can make the grey clay like i did or you can choose to buy some.
-
 Step 2
Take a little bit of black clay for later on and put aside, roll the rest of the clay into a ball then shape into a solid rectangle, this is the main part of the camera.
So size it how ever big you want the camera to be.
-
 Step 3
Divide the grey clay into three pieces, roll two into 'sausages' and put one aside. Make a small white square to be used in the next step.
-
 Step 4
Attach the sausages to the camera and cut off the excess. press the sausages gently until the are almost flat. attach the white square as shown.
-
 Step 5
Roll four balls, one large-ish black one, one smaller white one, an even smaller black one and a tiny white one. this makes the lense. attach all on top of each other and flatten slightly as shown.
-
 Step 6
Attach this lense to the camera.
-
 Step 7
Make two white squares as shown, the larger is for the screen so make it how ever big you want the screen to be.
-
 Step 8
Roll a piece of the black clay until its slmost flat, cut it into triangles and set aside.
-
 Step 9
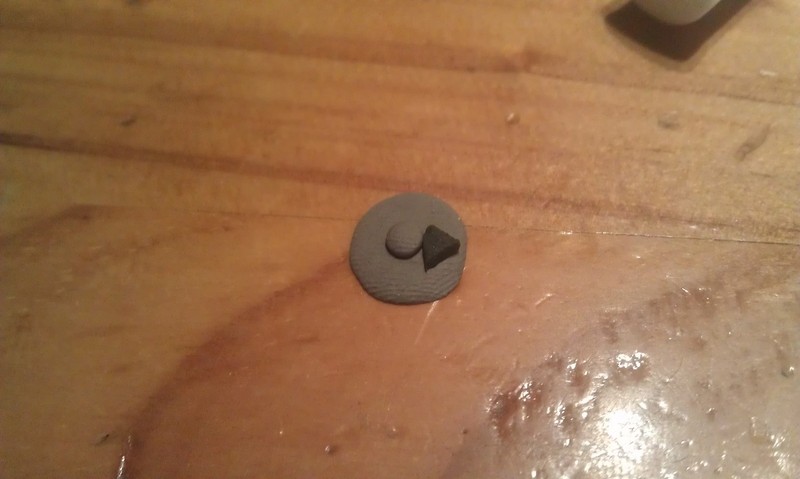
Roll two grey balls, gently flatten the larger ball and place the smaller on top.
-
 Step 10
Attach all the little tringles from step 8 as shown.
-
 Step 11
Attach all pieces to the camera and place a tiny black square on the little white square as shown.
-
 Step 12
Attach a little grey circle on the bottom of the camera for extra detail. i did this in step 6 but thought i would add it anyway :)
-
 Step 13
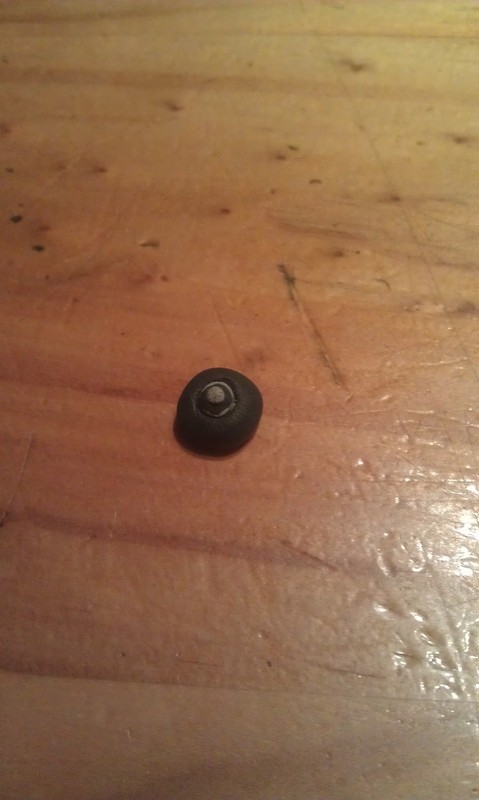
Roll a smal black ball and a little grey ball. flatten the smaller ball on top of the larger and attach to camera for the 'button'.
-
 Step 14
Push in the tiny screw and then remove to bake. Bake according to packet instructions and then allow to cool.
-
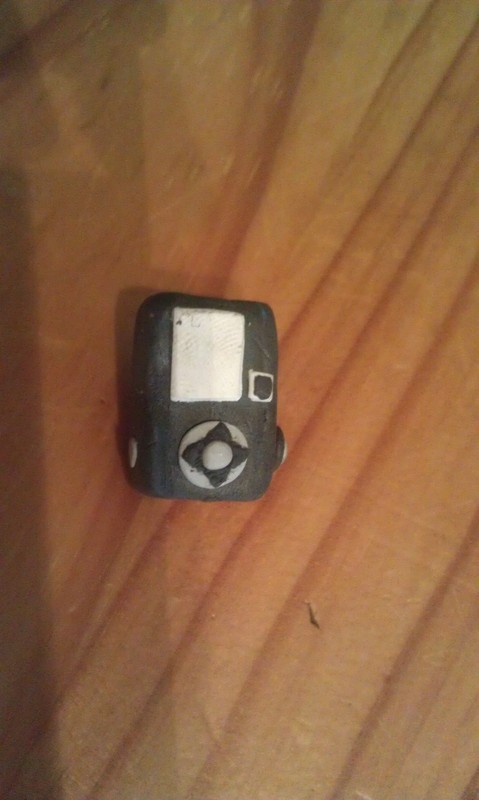
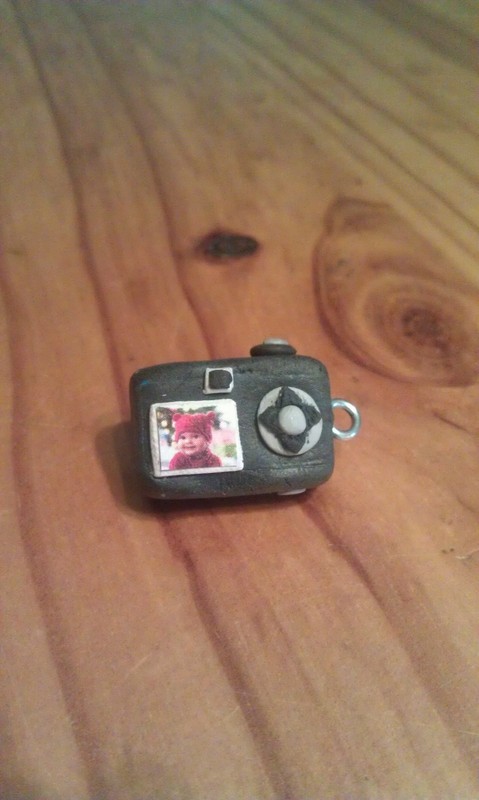
 Step 15
Once cool, re-insert the screw and glue on your favourite photo.
-
 Step 16
And your finished! Enjoy! :)


Comments


 1
Stud Earrings »
Miraculous Ladybug Earrings
1
Stud Earrings »
Miraculous Ladybug Earrings
