


About
Video game craft = win #12
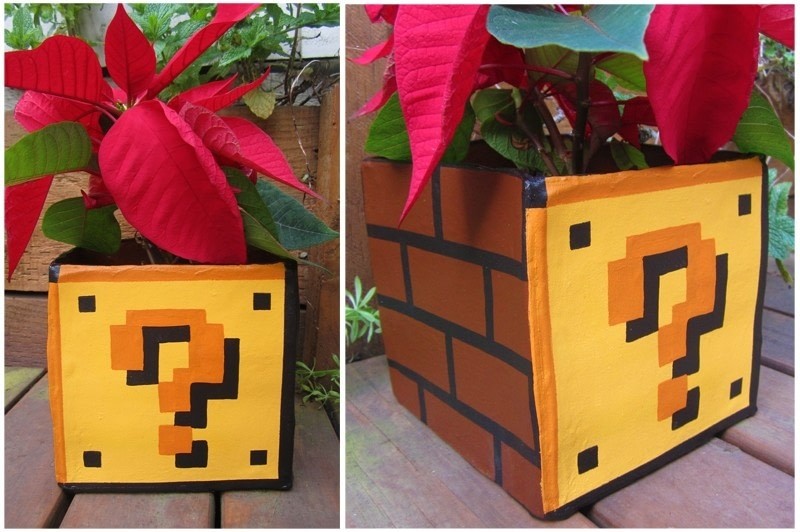
A super awesome Mario planter box. You can modify this DIY and make a pencil holder or box for your crafts or a remote control holder....Anything your imagination can think up!! Scale it down or make it gigantic!
I have added a picture of a Question Mark Box in the 'attachment' section if you need it for a reference.
Tags
Downloads
- mario-box-question-mark.gif 4.24 KB [ Download ]
-
 Barbara M. favorited Mario Planter Box
29 Jul 04:04
Barbara M. favorited Mario Planter Box
29 Jul 04:04
-
 Pam favorited Mario Planter Box
07 Mar 03:48
Pam favorited Mario Planter Box
07 Mar 03:48
-
 Xion added Mario Planter Box to nintendo
12 Sep 09:38
Xion added Mario Planter Box to nintendo
12 Sep 09:38
-
 Sarah D. favorited Mario Planter Box
28 Jul 01:17
Sarah D. favorited Mario Planter Box
28 Jul 01:17
- JaydeyLikesMac&Cheese favorited Mario Planter Box 17 Jun 14:33
-
 panda of doom <3 favorited Mario Planter Box
16 Jun 05:19
panda of doom <3 favorited Mario Planter Box
16 Jun 05:19
-
 Chaos favorited Mario Planter Box
03 Jun 23:15
Chaos favorited Mario Planter Box
03 Jun 23:15
-
 BeautifulDizazter favorited Mario Planter Box
27 Apr 20:47
BeautifulDizazter favorited Mario Planter Box
27 Apr 20:47
-
 morgan.waymire favorited Mario Planter Box
27 Apr 00:56
morgan.waymire favorited Mario Planter Box
27 Apr 00:56
-
 sweetpsalms added Mario Planter Box to Love! <3
08 Apr 11:32
sweetpsalms added Mario Planter Box to Love! <3
08 Apr 11:32
-
 Step 1
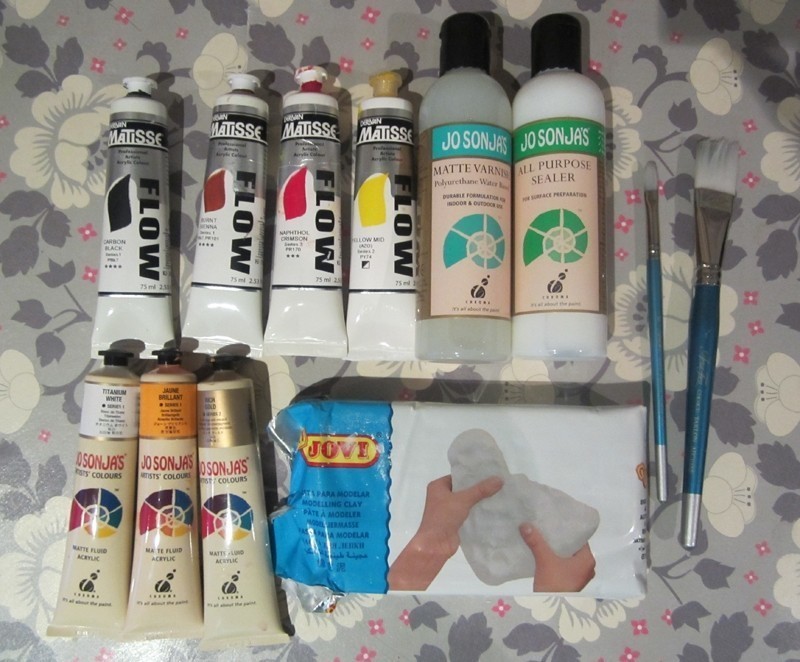
Grab your clay and cut off a nice chunk. Put down some baking paper and roll the clay out nice and flat, I made mine 1/2cm thick.
I found a square box lid so used that like a cookie cutter to cut out the sides of my planter. If you don't have one you can use a ruler to measure and make sure all the sides are completely the same, then cut it out with a butter knife.
-
 Step 2
After I cut out all the sides I used a bottle lid to cut a hole in the base, this is so the water can drain out the bottom. If your not making a planter box you can skip this step.
I then spread out all my pieces on baking paper to let them dry.
-
 Step 3
You need to wait until the sides are semi dry, this is so that they are still soft enough to score but hard enough to stand up without flopping over. Scoring the sides helps the box grip together, do this with a toothpick or knife.
Mix up some clay and water into a paste, use this on the sides to join the box. make sure you do it on the inside and outside. Smooth it all out using your hands and once all the sides are together leave it to dry for at least 24 hours in a mid temperature room.
-
 Step 4
Next, If you are making a planter box you must put a sealer over the clay, this will help keep moisture out so it doesn't get into the clay and destroy it. I did about 3 coats on mine.
-
 Step 5
Time to paint!
You can use a paint brush but I found a foam roller and tray to be the most effective and give the best finish.Mix up some brown and paint the box leaving just one side blank. Make sure to paint the bottom and inside. I did 2-3 coats.
-
 Step 6
Use making tape around the box horizontally to create lines, mine were about 7mm wide. Roll black paint all over the surface, once dry remove tape.
Mask vertical lines on the box and paint them black also. When you remove the tape you should have a brick pattern!
-
 Step 7
Using a picture of the Question Mark Box for a reference, mix up the colours and paint the side we left blank. Use masking tape to mask around the bricks so you don't have any paint spilling over.
I painted the question Mark using transfer paper and a print out of the original blown up to size. I found this to be the easiest but you can use making tape to achieve this if you want.
-
 Step 8
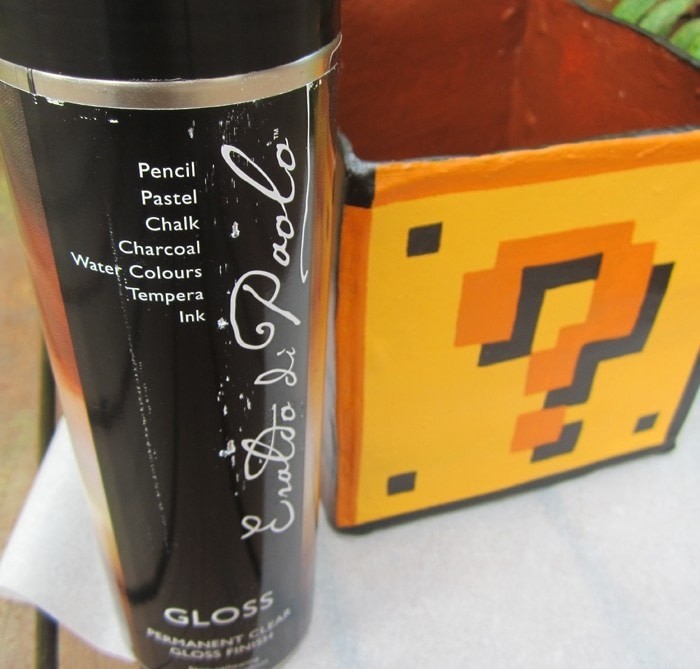
When paint is dry you can either use a brush on or spray varnish. Brush on: do about 2 coats. Spray on: 3-4 coats. I used gloss to give it a shine.
-
 Step 9
Done! Now plant a Fire Flower and you're ready to tackle any enemy that may come your way.


Comments


 1
Stud Earrings »
Miraculous Ladybug Earrings
1
Stud Earrings »
Miraculous Ladybug Earrings
 2
Pouches, Purses & Wallets »
Water Bottle Pack
2
Pouches, Purses & Wallets »
Water Bottle Pack
