

About
Get into the holiday spirit a little early with this festive Hair Wrap
I'm trying to get into the holiday spirit this year, but it still seems a bit early. I did a festive hair wrap this morning though, so it's a slow, but steady start!
Want to learn how to make one for yourself?
-
 Jade S. favorited Holiday Hair Wrap
28 Sep 18:36
Jade S. favorited Holiday Hair Wrap
28 Sep 18:36
-
 Carla B. added Holiday Hair Wrap to Style my locks...
21 Jul 18:45
Carla B. added Holiday Hair Wrap to Style my locks...
21 Jul 18:45
-
Carla B. favorited Holiday Hair Wrap
21 Jul 18:45
-
 Hemophobic Vampire favorited Holiday Hair Wrap
08 Jun 00:39
Hemophobic Vampire favorited Holiday Hair Wrap
08 Jun 00:39
-
 Tawny B. commented on her project Holiday Hair Wrap
10 Apr 23:26
Tawny B. commented on her project Holiday Hair Wrap
10 Apr 23:26
-
 Jess W. commented on Holiday Hair Wrap
10 Apr 23:16
Jess W. commented on Holiday Hair Wrap
10 Apr 23:16
-
Jess W. favorited Holiday Hair Wrap
24 Jan 17:06
-
 Taba__tina favorited Holiday Hair Wrap
05 Oct 12:39
Taba__tina favorited Holiday Hair Wrap
05 Oct 12:39
-
 KozmicBlues added Holiday Hair Wrap to Anti-aburriment
14 Aug 20:31
KozmicBlues added Holiday Hair Wrap to Anti-aburriment
14 Aug 20:31
-
 michaela.vincent2 favorited Holiday Hair Wrap
09 Aug 08:32
michaela.vincent2 favorited Holiday Hair Wrap
09 Aug 08:32
You Will Need
-
 Step 1
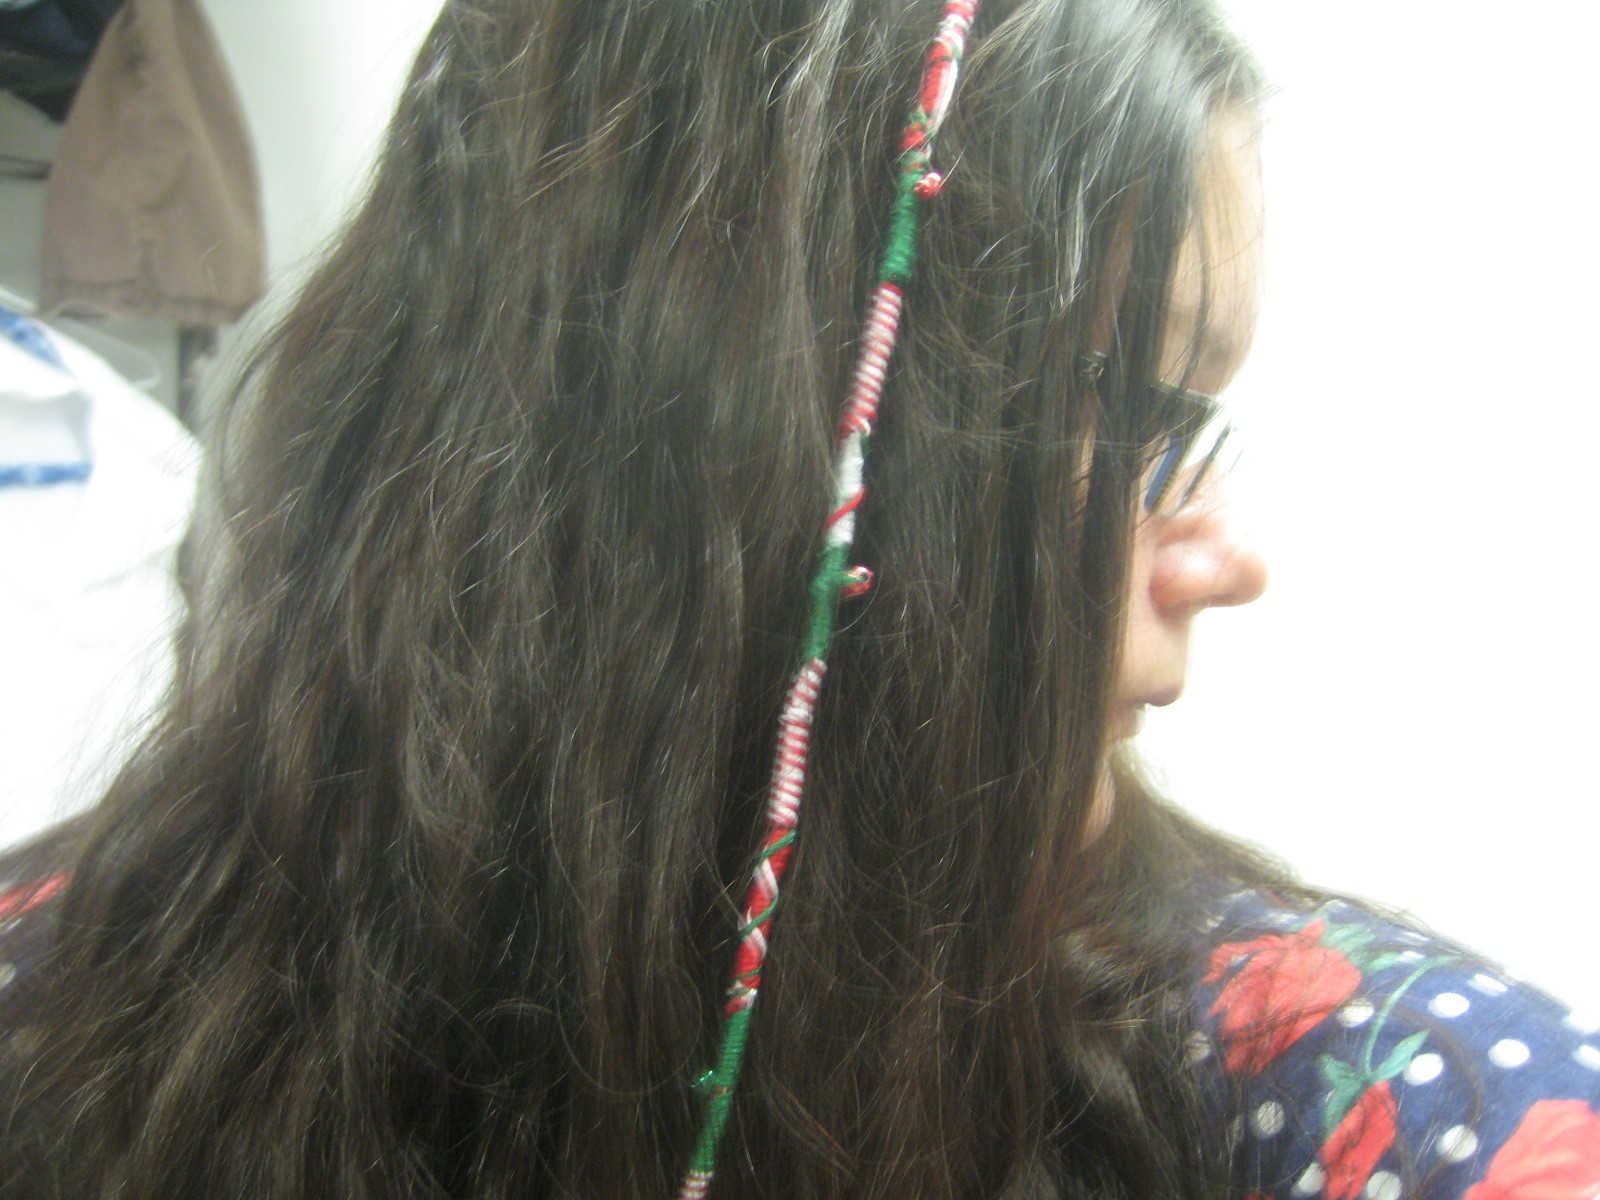
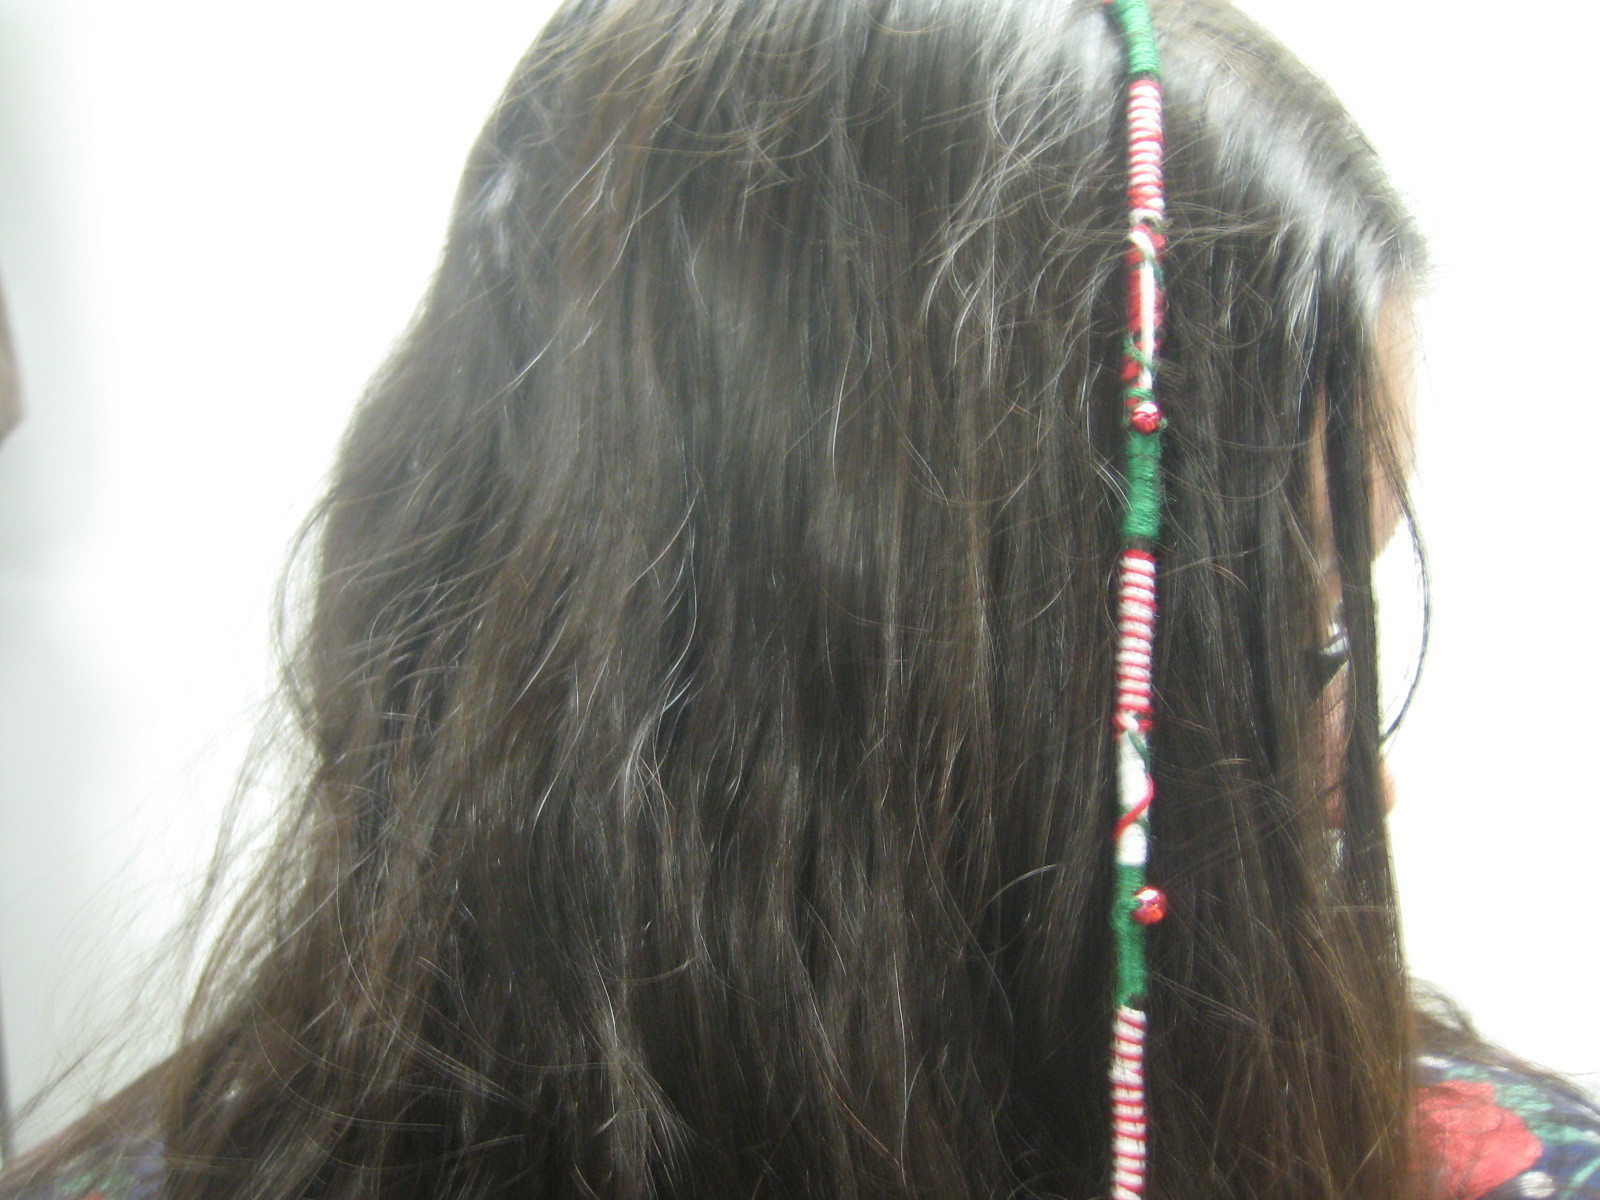
Choose the colours that you would like for your hair wrap. I chose red, green and white to make it festive. You can choose up to 6 colours if you like.
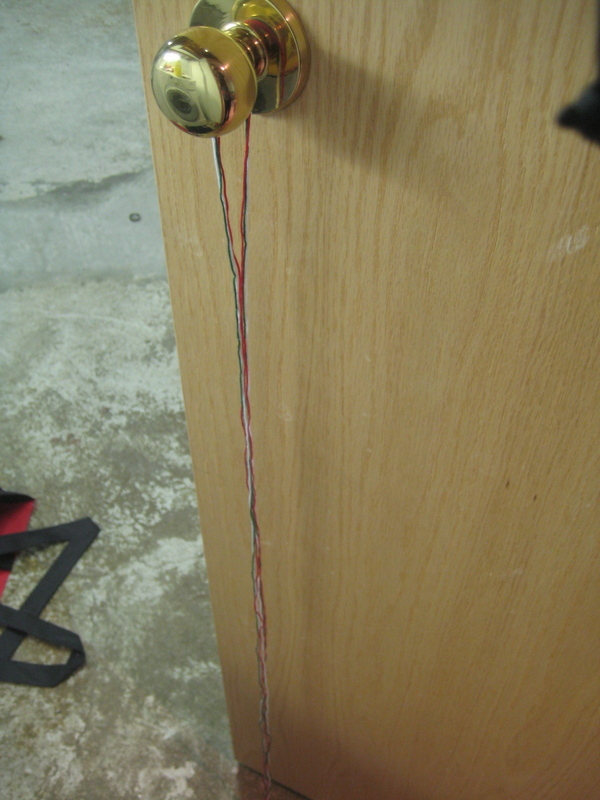
Cut very long strands of these colours out of your embroidery floss. Don't split the floss, use all six strands for the wrap. To give you an idea about how much floss you will need, I hung mine on a door with both ends of each colour hitting the floor. But don't worry if you miscalculate - you can either add more with a knot or cut off the excess at the end. -
 Step 2
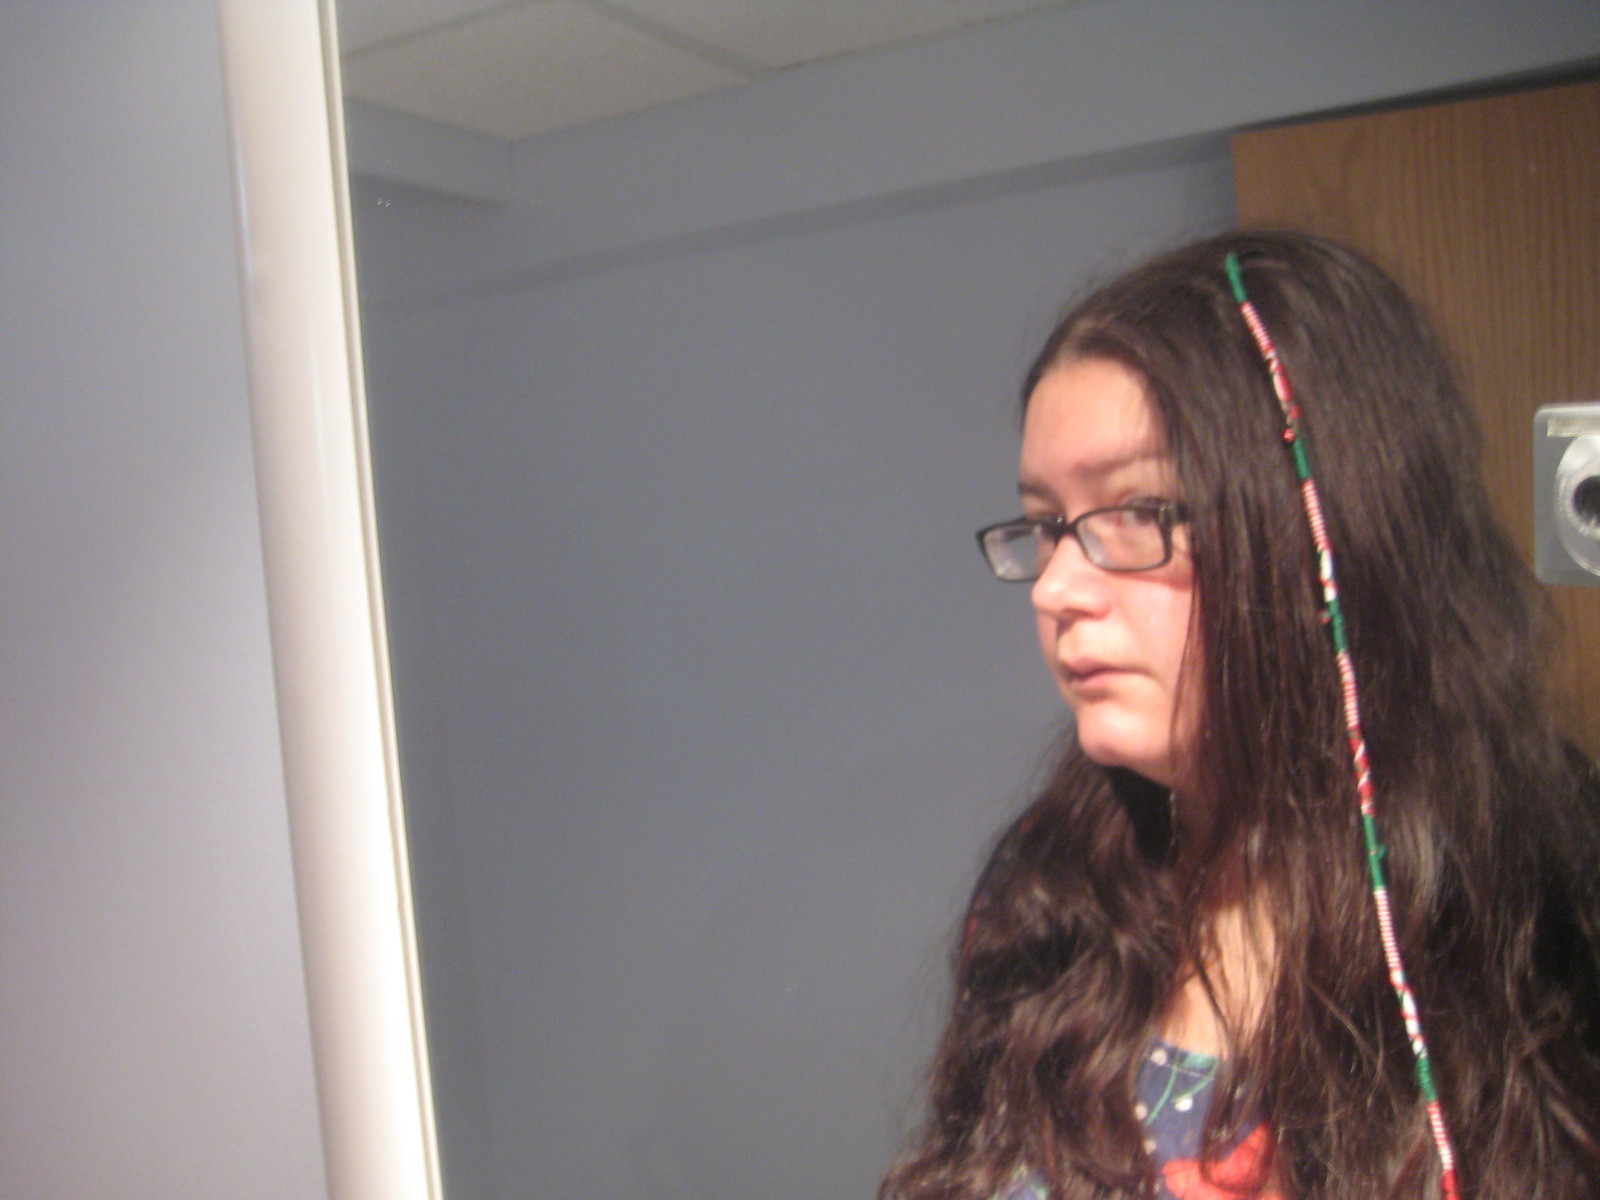
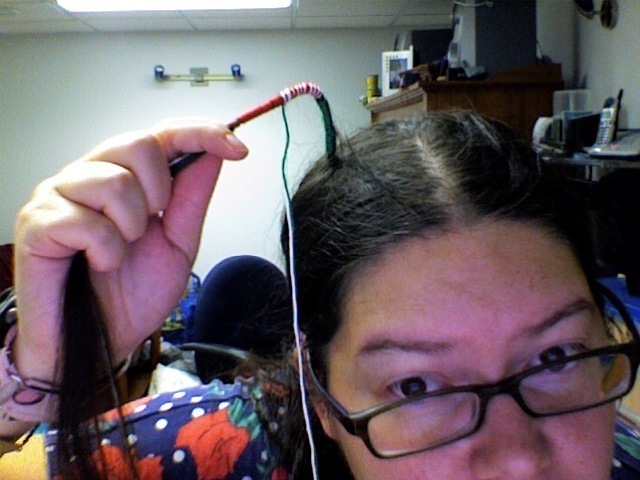
Decide where on your head you would like the wrap to be placed. Section off a strand of hair to wrap the floss around. Warning: Don't choose a place on your head that you want to part or that you brush over a lot. These hair wraps can last for months with good care, so choose wisely!
-
 Step 3
With each strand of floss folded in half, tie a knot in all the strands around the top of the sectioned piece of hair.
-
 Step 4
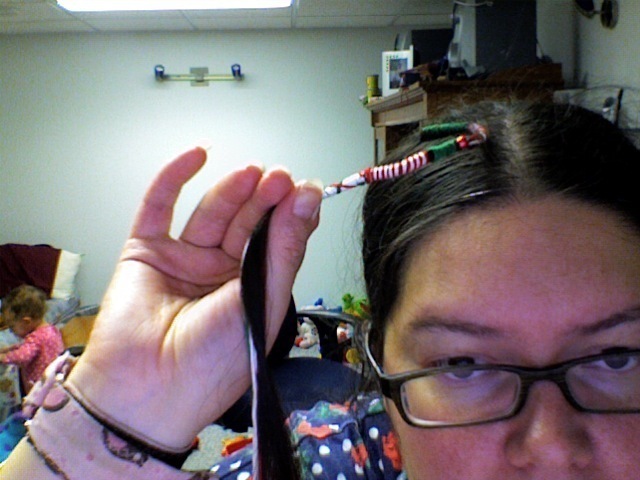
For a solid design, choose a colour and find both strands of it. It chose green first. Place the unused strands of floss in line with the sectioned hair. Begin wrapping the green strands around your hair. Around and around and around. The beginning is frustrating if you're doing it on your own hair because you have to see it in a mirror. But keep trying.
-
 Step 5
For a striped design, choose one strand of each colour you want in the stripe. I chose red and white for a candy cane kinda look. Place the unused strands in line with your sectioned hair again. Begin wrapping around and around again.
-
 Step 6
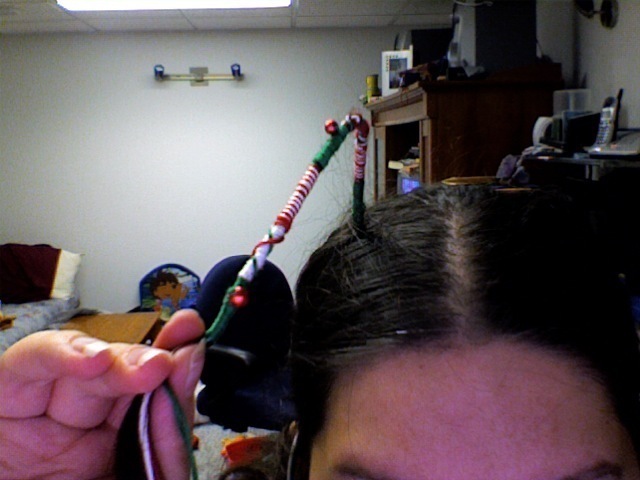
For a solid background with an X design - first choose two strands of floss that you want for the X. I chose green and white. Then choose the background solid. I chose red. Leaving the white and green X strands at the top of the section, start wrapping the red strands as if you were doing a solid piece.
-
 Step 7
You see how I left the white and green strands singled out at the top of this piece? Now we can take those and wrap them in an X design around the background.
It hard to see in this photo, but you'll see later on how the X works.
-
 Step 8
Repeat all the designs over and over again until you have a finished piece. You can continue to wrap the unused strands past where your real hair ends if you like your hair wrap to be longer. If you run out of floss, just cut more, knot it onto the wrap and continue.
-
 Step 9
If you want to add some pretty beads, then just thread a bead onto a strand of floss and keep wrapping! I recommend using plastic beads that are shower safe. Glass ones might break with a lot of wear.
-
 Step 10
Once you reach the end, string a few plastic beads onto the bottom if you like, then tie all the strands in a tight knot and cut off the excess.
Done!


Comments

 1
Stud Earrings »
Miraculous Ladybug Earrings
1
Stud Earrings »
Miraculous Ladybug Earrings

