


About
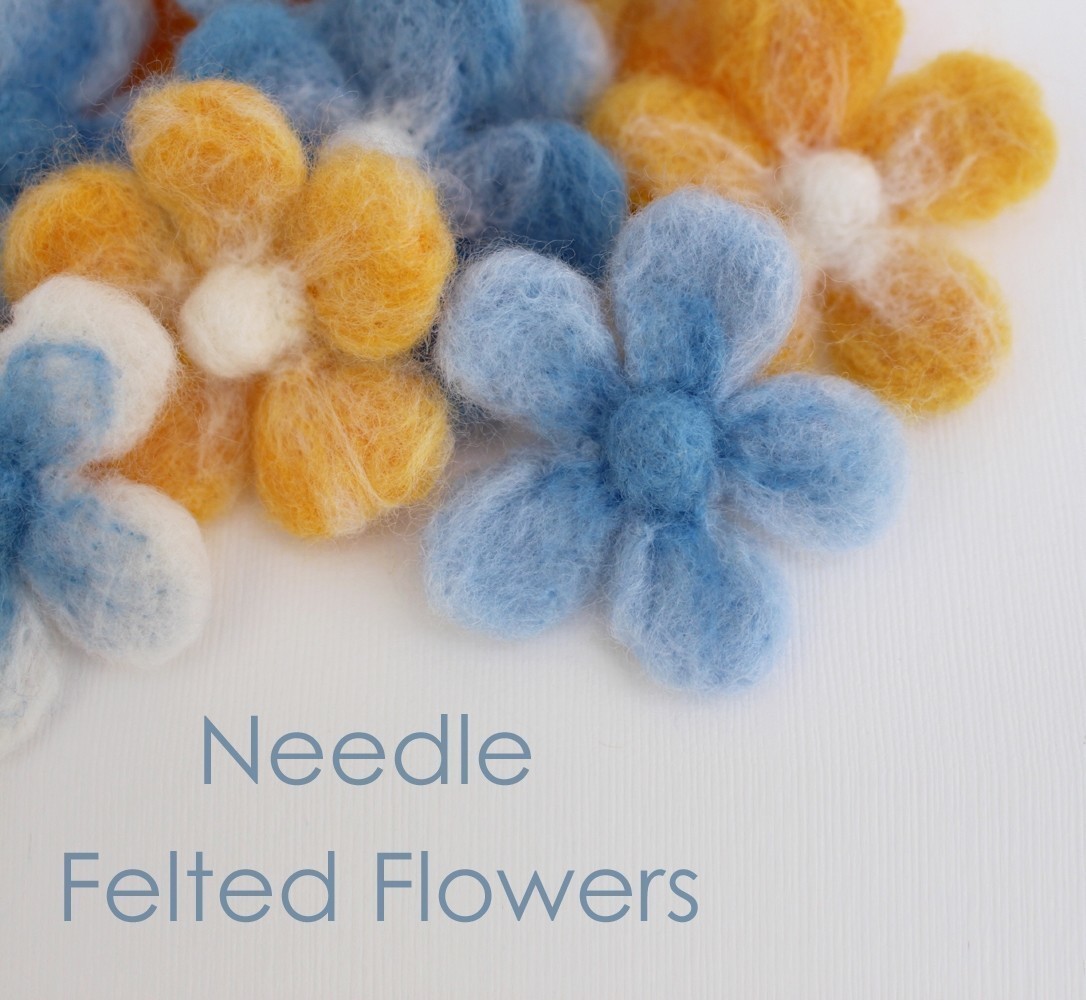
If you've never tried needle felting before, these flowers are a great place to start
Let me share how I made these cute little flowers.
Anyone that has tried needle felting will tell you what a hugely satisfying craft it is. There's something strangely therapeutic about stabbing a big ball of fluff and watching it turn into a solid piece of sculpture. It's the perfect craft for letting off steam.
These needle felted flowers are shaped using the "cookie cutter method", which is just about as simple as needle felting gets.
Tags
-
 FallenBeyond added Easy Needle Felted Flowers to Aid
03 Oct 02:49
FallenBeyond added Easy Needle Felted Flowers to Aid
03 Oct 02:49
-
FallenBeyond favorited Easy Needle Felted Flowers
03 Oct 02:49
-
 Penny F. added Easy Needle Felted Flowers to Needle felting
04 Jan 20:03
Penny F. added Easy Needle Felted Flowers to Needle felting
04 Jan 20:03
-
 Michelle R. added Easy Needle Felted Flowers to Felt projects
25 Jan 16:50
Michelle R. added Easy Needle Felted Flowers to Felt projects
25 Jan 16:50
-
Amie F. favorited Easy Needle Felted Flowers
21 Jan 05:32
-
 Val t. favorited Easy Needle Felted Flowers
31 Dec 15:04
Val t. favorited Easy Needle Felted Flowers
31 Dec 15:04
-
 Linda B. favorited Easy Needle Felted Flowers
19 Dec 15:56
Linda B. favorited Easy Needle Felted Flowers
19 Dec 15:56
-
Lyndal W. favorited Easy Needle Felted Flowers
08 Dec 22:47
-
 bkind2me08501 favorited Easy Needle Felted Flowers
08 Dec 01:15
bkind2me08501 favorited Easy Needle Felted Flowers
08 Dec 01:15
-
 jacqueline.kubik.5 favorited Easy Needle Felted Flowers
04 Dec 19:44
jacqueline.kubik.5 favorited Easy Needle Felted Flowers
04 Dec 19:44
You Will Need
-
 Step 1
Firstly you need to prepare your wool fibres for felting. I use dyed merino tops, however the fibres are a little too neatly lined up for felting, so they need teasing and mixing up a bit. I hand card the fibres, but just separating the fibres with your hands will help in the felting process. I blended 2 colours together to get a more natural look.
I've used a sugar flower cutter as opposed to a cookie cutter as it's just a bit more comfortable to hold and the extra circle around the base of the cutter keeps your fingers a little further away from the felting needles - watch out, those needles are sharp!
-
 Step 2
Place your cutter on a thick piece of foam (I use a foam pillow) or felting brush and then stuff your combed fibres into the cutter, making sure that they all pass across the centre, so that all the petals are firmly attached. With practice it's possible to get a finished flower that has lighter outer petals and a darker centre (or vice versa).
-
 Step 3
Now take your felting needles and just keep prodding inside the cutter until all the fibres have reduced down and are just filling the bottom of the cutter.
The felting needle has little tiny barbs on the edges causing the fibres to become tangled and compacted with each insertion. The more you poke and prod, the denser your wool will become and the more it will shrink or felt.
-
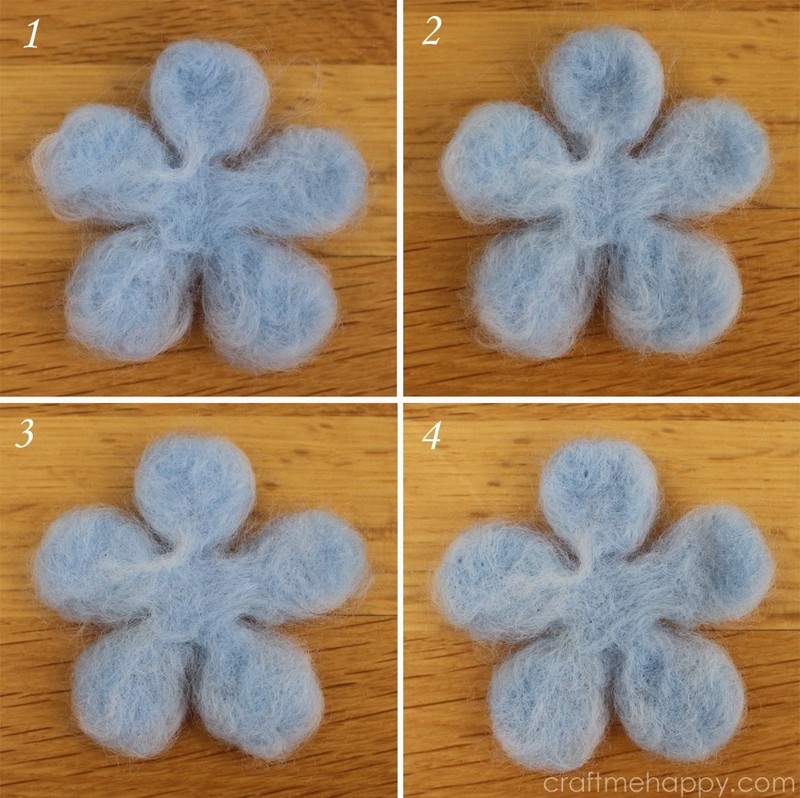
 Step 4
I found that turning my flower and repeating the felting process when it appeared to be quite compacted at the base of the cutter helped to create a nice dense flower. Here it shows the flower becoming more and more felted with each turning.
By the end of the 4th stabbing it was time to move onto the next stage.
-
 Step 5
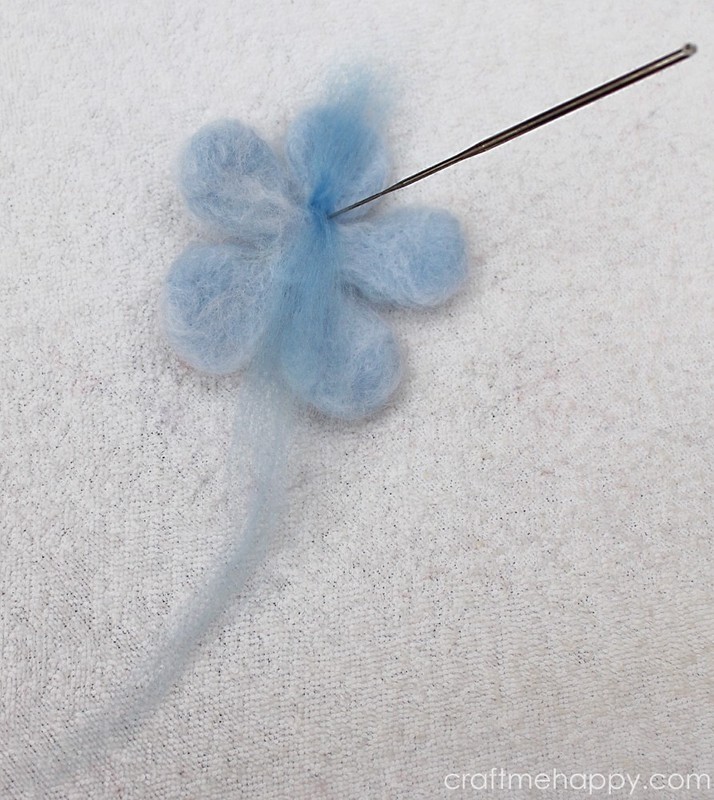
This process combines 3 steps in 1 - adding additional colour to the petals, creating a flower centre and further felting of the petals. I use just a single needle for the remainder of the flower.
Pull out a thin wisp of fibres in a contrasting colour and lay it over one of the petals. I tend to place it so that one end is positioned just past the length of the petal I want to work on. Now insert the needle repeatedly at the base of the petal and gradually work your way up the petal until there is no more contrasting fibre left to secure into the petal.
-
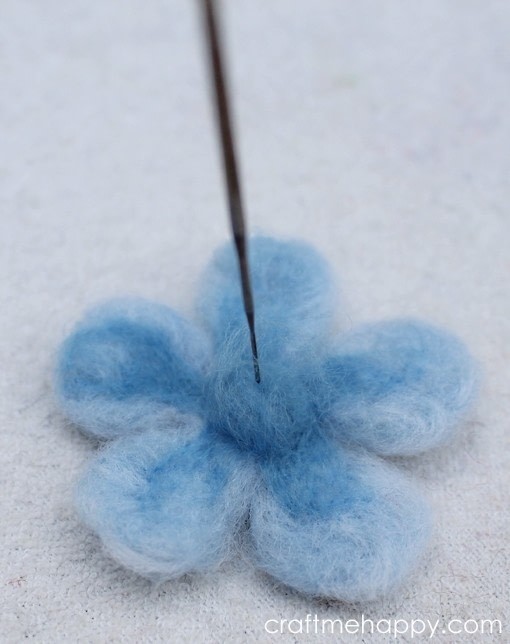
 Step 6
Secure the tail end of the contrasting fibre by needling it into the flower centre. Try to work it into a dense circle. To speed up the process of bringing the long, loose tail together I use a combination of gently swirling it around the needle end and prodding the loose fibres into a circle shape. The flower centre will become bigger, denser and higher as each petal is worked.
-
 Step 7
Work your way around each petal, adding a thin layer of colour and needling the remainder into the centre. Keep working on the centre until it becomes quite dense with very few fibres sticking out.
-
 Step 8
Once the centre has come together, the flower just needs a little neatening around the edges to get rid of its slight fuzziness. I tend to do this by lifting the loose fibres with the end of my needle and almost 'folding' the stray fibres in.
-
 Step 9
Needle felting is not an exact science and everyone's style is different. Some people leave their pieces quite loose, while others keep working until it is very dense and solid. I tend to keep poking and prodding until it feels like a fairly durable piece, with very few fibres sticking out, but it's still fairly soft and squashy.
These flowers would be great on a little girl's hair accessory, or strung together on a garland and hung on a wall.
Please take a look at my blog for more information.


 1
Wire Charms »
Time Turner Inspired Fidget Necklace
1
Wire Charms »
Time Turner Inspired Fidget Necklace


