About
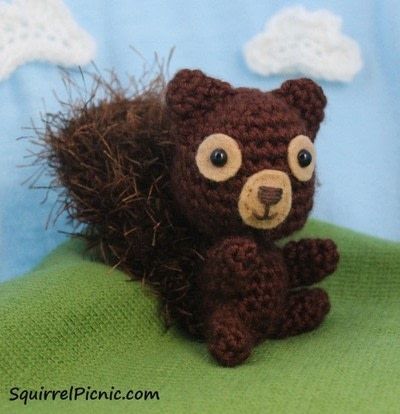
This amigurumi face is super cute and easy to do!
In this tutorial, you'll learn how to add a face to your amigurumi using safety eyes, felt, and simple embroidery techniques.
First a few notes about safety eyes. If you're making your amigurumi for a small child or pet, please consider embroidering your ami's eyes instead. Despite the name, they can still pose a choking hazard if they accidentally get ripped out of your ami. Also, safety eyes can really only be added before you close up the head of the amigurumi, usually when 12 to 18 stitches remain. Sometimes it helps to stuff the head in order to position the eyes, then take the stuffing out to put on the lock washers.
Are you ready to give your ami a cute little face? Let's go!
Tags
-
 Lorraine T. favorited Faces for Amigurumi Part 1: Using Safety Eyes And Simple Embroidery
25 Jun 21:17
-
 ZombieUnicorn favorited Faces for Amigurumi Part 1: Using Safety Eyes And Simple Embroidery
14 Jan 22:25
-
 Chudames favorited Faces for Amigurumi Part 1: Using Safety Eyes And Simple Embroidery
29 Sep 20:08
-
 Pimke added Faces for Amigurumi Part 1: Using Safety Eyes And Simple Embroidery to Häckelmuster
21 Jan 10:29
-
 Karen D. favorited Faces for Amigurumi Part 1: Using Safety Eyes And Simple Embroidery
10 Jan 02:08
-
 Suzi T. favorited Faces for Amigurumi Part 1: Using Safety Eyes And Simple Embroidery
08 Nov 16:23
-
 Jennifer Olivarez published her project Faces for Amigurumi Part 1: Using Safety Eyes And Simple Embroidery
09 Sep 15:14
-
 Step 5
Insert the shank of the eye into your amigurumi and press the washer onto the shank until it clicks to lock it in place. This can’t be undone, so it’s important to check the placement of your eyes before you pop on the back. For instance, check to see that the eyes are in the same row or round.


 1
Stud Earrings »
Miraculous Ladybug Earrings


