


About
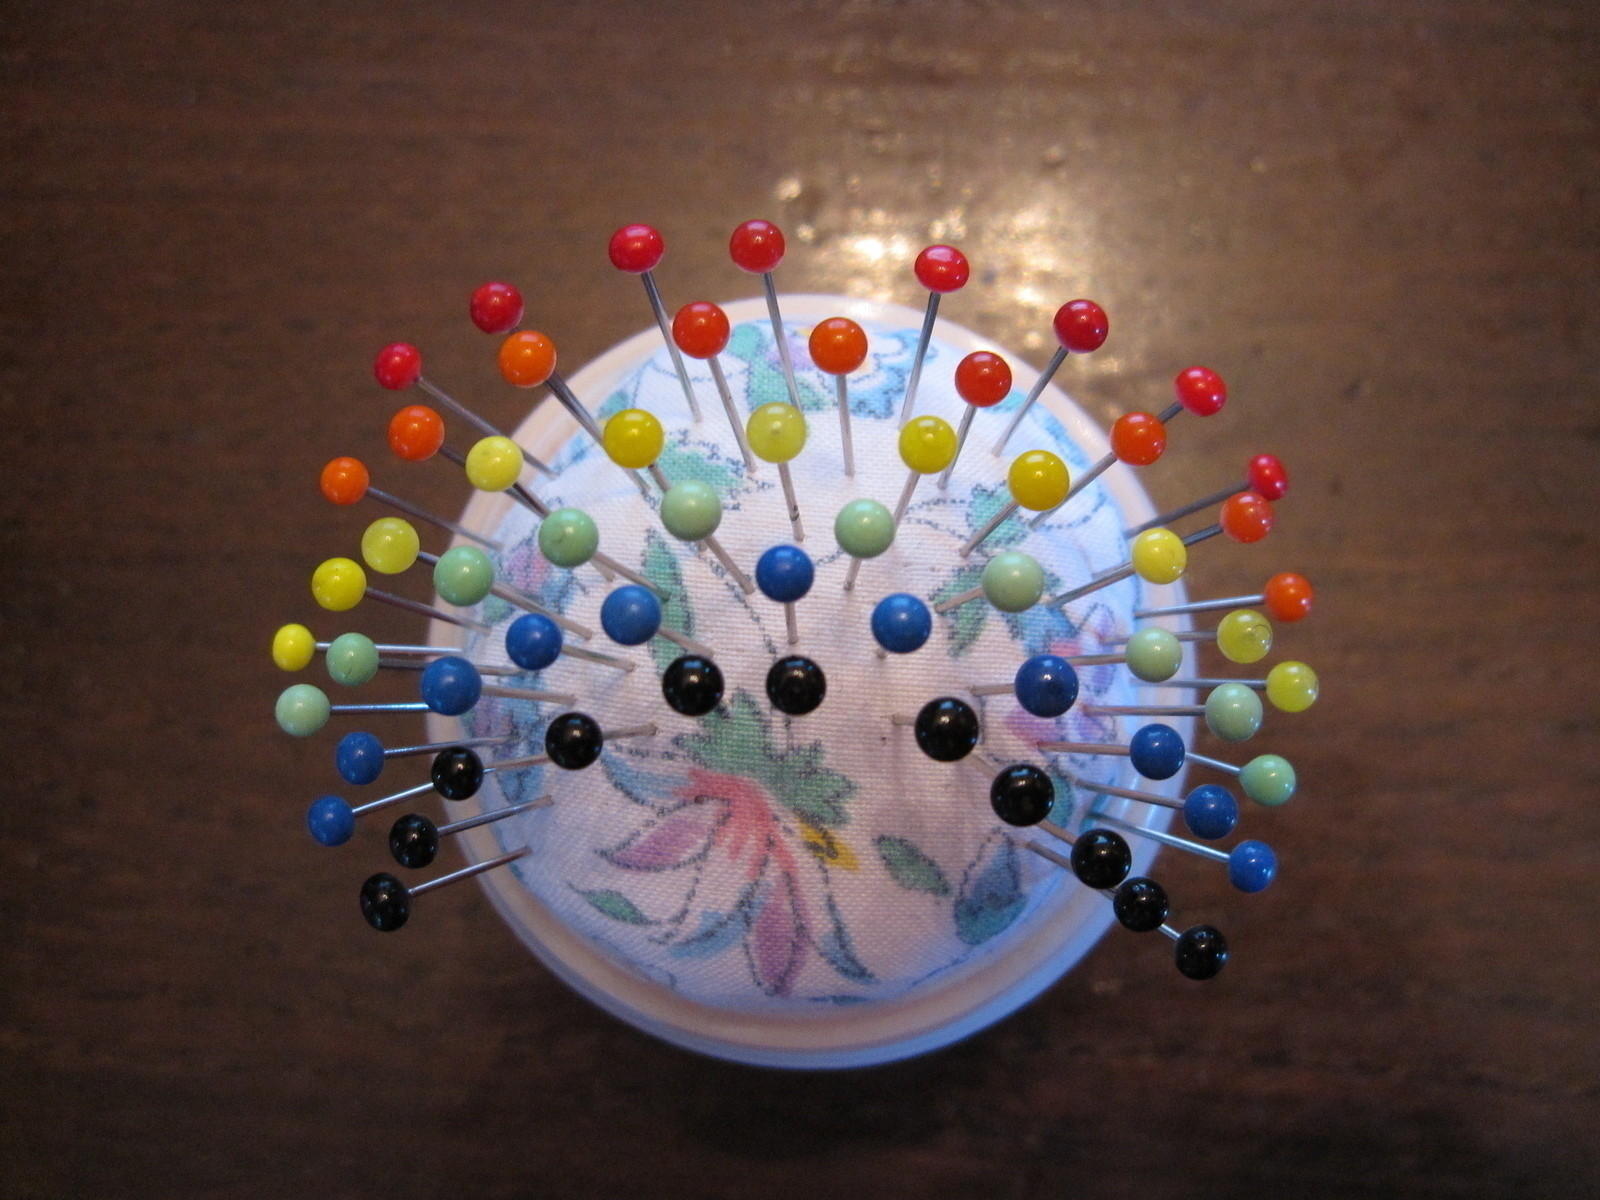
(Wrist tied) pin cushion made from scrap fabric & skin crème jar
Okay, it's not the most beautiful fabric, but that doesn't really matter for a simple pin cushion.
BTW, I know my "paint drawings" aren't the most artistic ones you've ever seen, but I hope they make clear what I'm trying to tell.
-
 Crafterella added (Wrist Tied) Pin Cushion to Crafterella
23 Jul 11:18
Crafterella added (Wrist Tied) Pin Cushion to Crafterella
23 Jul 11:18
-
 Youghurt Jaja favorited (Wrist Tied) Pin Cushion
08 Aug 00:39
Youghurt Jaja favorited (Wrist Tied) Pin Cushion
08 Aug 00:39
-
 Step 1
Firstly, make sure the jar & its lid are completely clean...
-
 Step 2
Secondly, cut out two circles of fabric (one for the wrist tied cushion, one for the ordinary cushion). Diameter = min. 15 cm
-
 Step 3
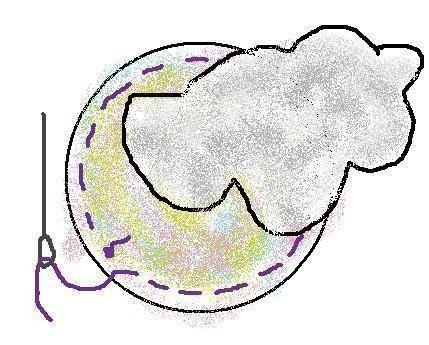
Thirdly, sew "up & down" (don't know the words...) by the edges of the circle, so that you can pull the thread and the fabric forms a "ball". Do not completely pull the thread, for you have to stuff is with the stuffing.
-
 Step 4
By experiments, figure out how much stuffing you have to put in.
-
 Step 5
When you've filled the "ball" with as much stuffing as needed and pull the thread and close it, so that it'll be a little cushion
-
 Step 6
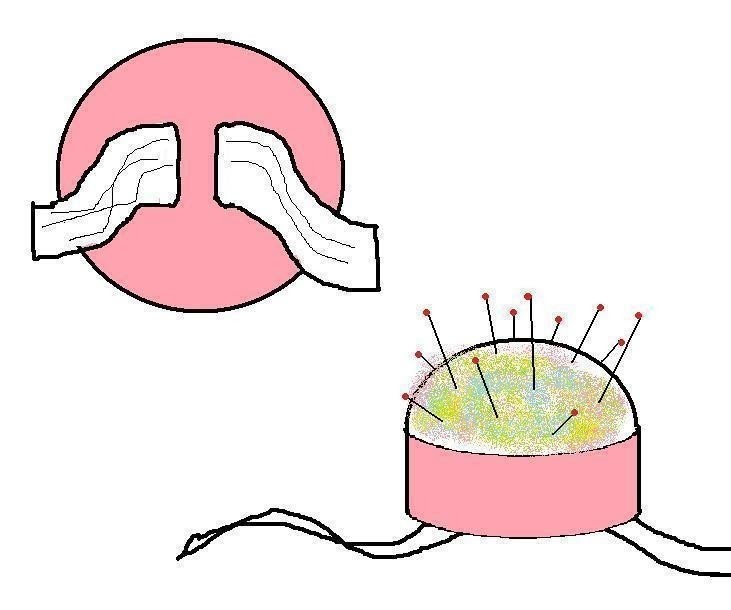
Now, you have cut two broad slices in the lid of the jar (for the elastic). Be careful not to cut yourself, for plastic can be quite hard to cut. You can also try to drill a couple of little holes and file the edges so that the elastic will not break.
(hihi, picture's like a pig nose xD) -
 Step 7
Weave the elastic through the the lid and glue around the upper edge & the bottom of the lid. Put the cushion jar. Make sure there's enough glue so that the "cushion" stays in. => Your wrist tied pin cushion is finished!
-
 Step 8
Now we'll start making a normal pin cushion from the jar itself. Make the cushion the same way as the other.
-
 Step 9
Glue around the upper edge of the jar and put the cushion into the jar. If your cushion is not big enough to touch the bottom AND raise above the edge, be sure not to push it too deep, because then it wont raise above the edge of the jar. You can also put some extra stuffing under the cushion for preventing it to sink to the bottom.
Tada! You're finished and you've made TWO completely free pin cushions.


 1
Mint & Trinket Tins »
Miniverse Trinket Boxes
1
Mint & Trinket Tins »
Miniverse Trinket Boxes
 2
Pouches, Purses & Wallets »
Water Bottle Pack
2
Pouches, Purses & Wallets »
Water Bottle Pack
 3
Christmas Decorations »
Christmas Table Centerpiece
3
Christmas Decorations »
Christmas Table Centerpiece

