

About
I just love whales. I think they’re just the cutest, especially the babies.
Tags


You Will Need
-
 Step 1
Take a portion of your colored clay (approx. two cm in diameter) and roll it into a ball.
-
 Step 2
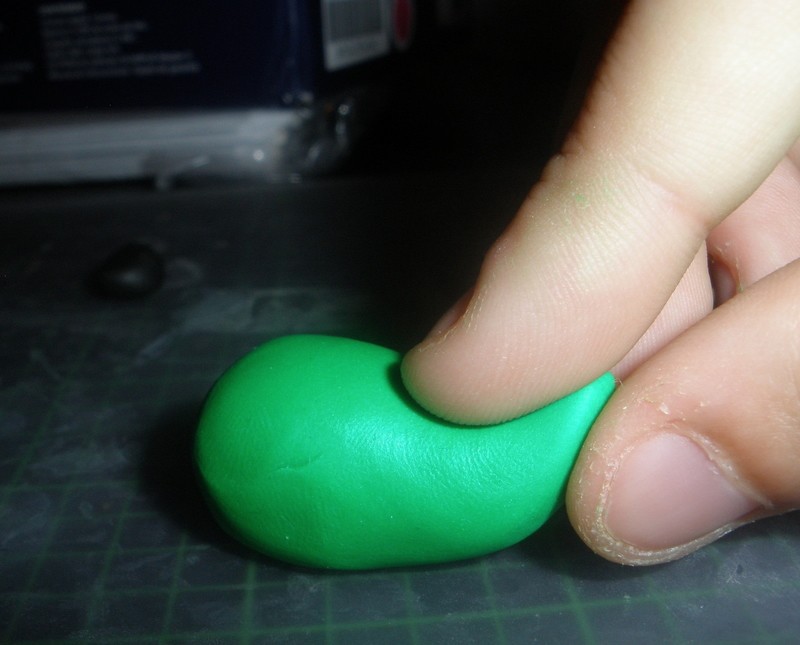
Shape the ball into a cone. What I do is roll the ball at an angle against the palm of my hand using my fingers.
-
 Step 3
Place the whale on a table or flat surface and press gently from the top. This is to flatten the bottom of the whale so it can stand on it’s own without rolling away.
-
 Step 4
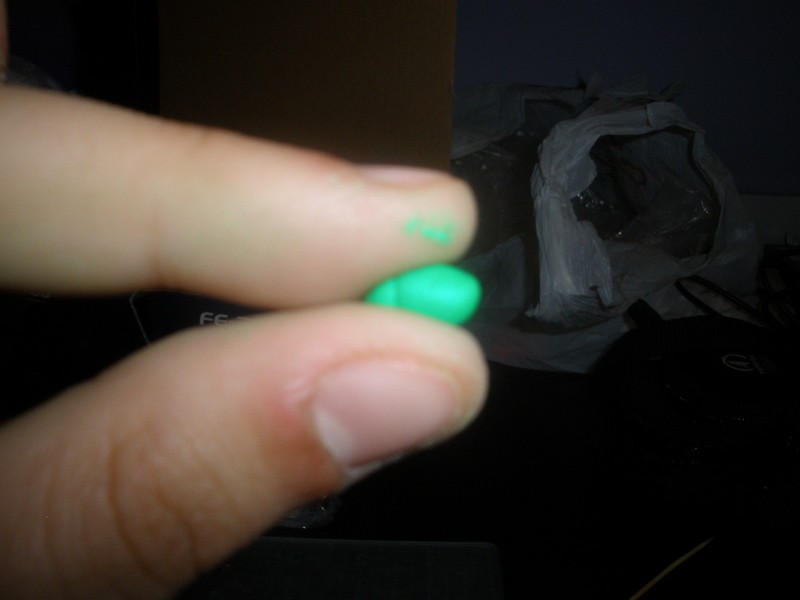
Next, curl the narrow end of the cone up...
-
 Step 5
at about a ninety degree angle.
-
 Step 6
Now roll two small balls of colored clay, about o.5 cm in diameter.
-
 Step 7
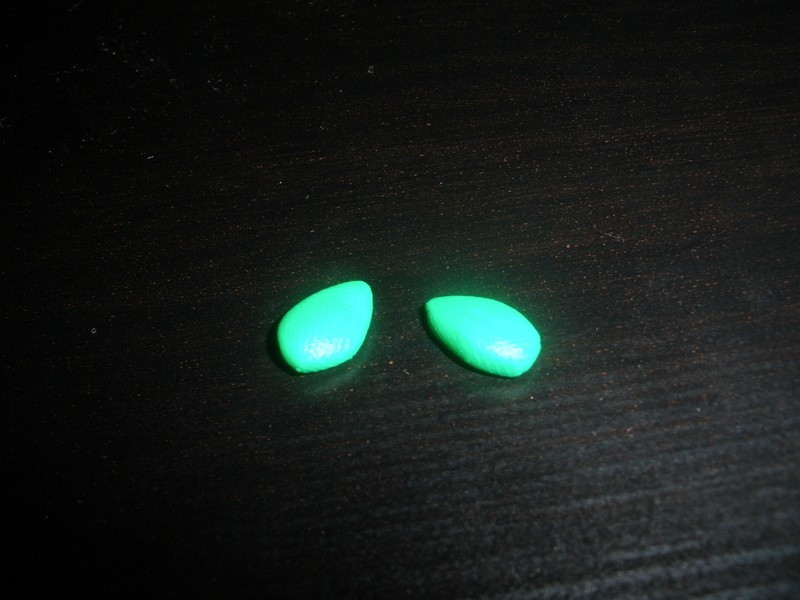
We are going to turn them into a leaf like shape. To start off, simply pinch one end of one of the ball’s:
-
 Step 8
Then flatten:
-
 Step 9
And shape the other ball.
-
 Step 10
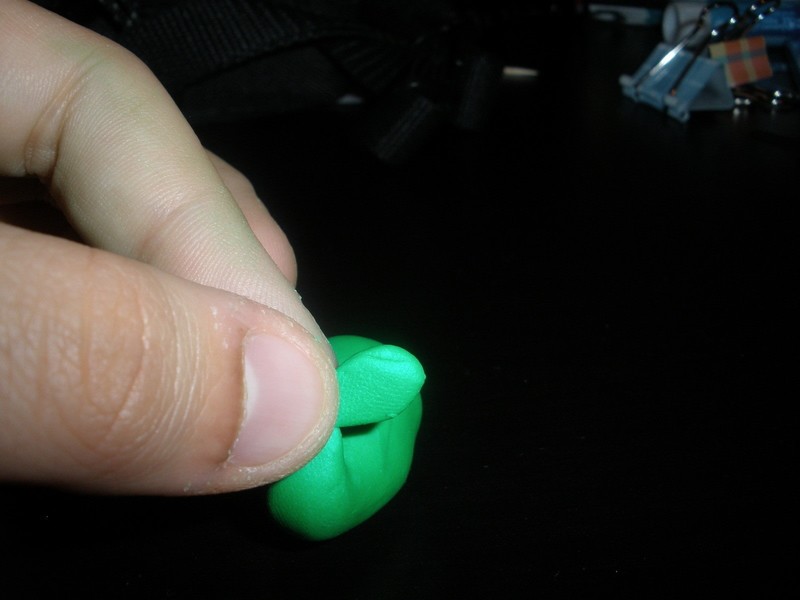
Now gently press the narrow end of these against the narrow end of the whale:
-
 Step 11
...
-
 Step 12
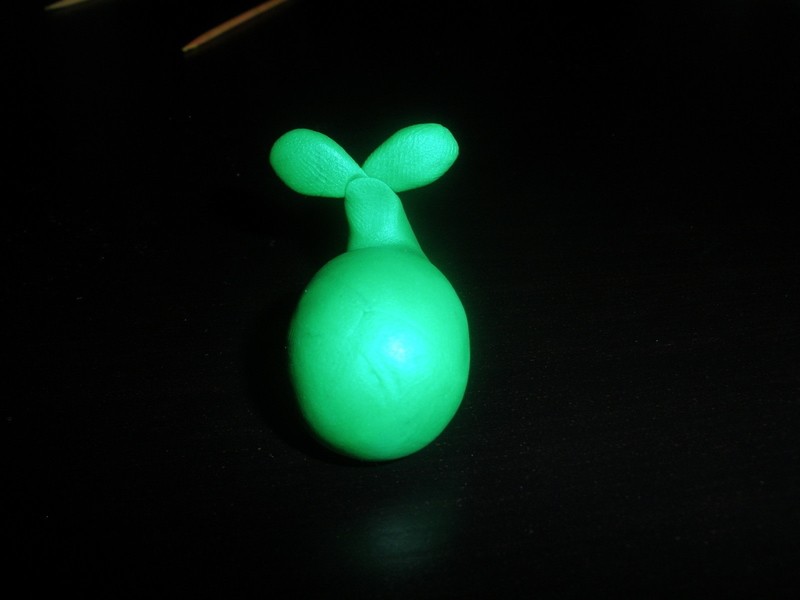
Now attach the other one.
-
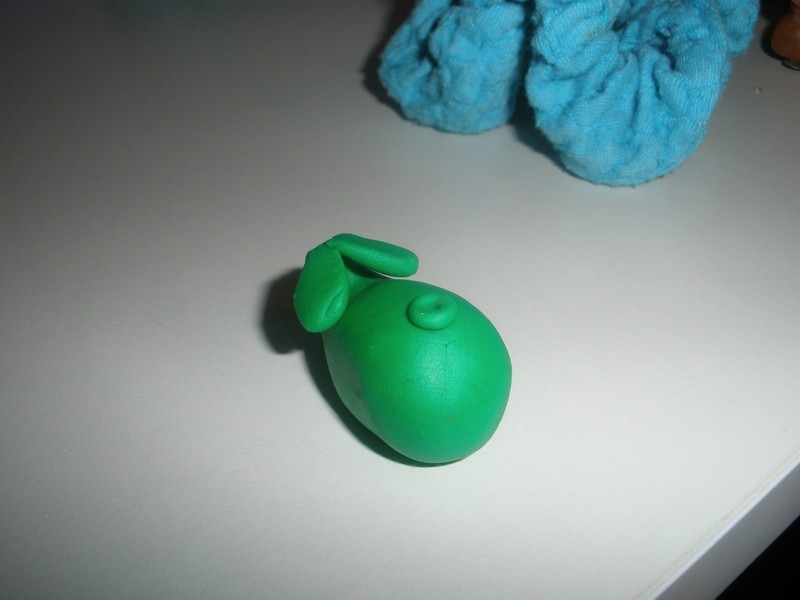
 Step 13
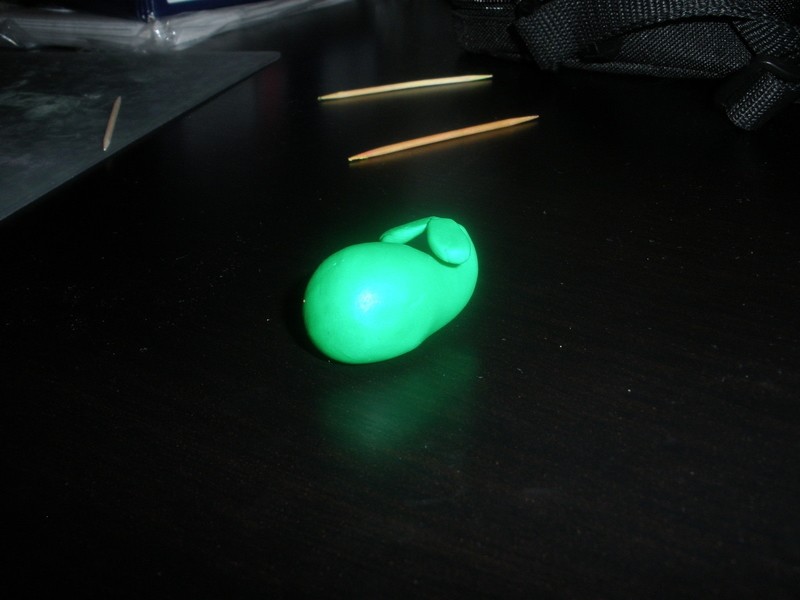
Now curl the tail forward...
-
 Step 14
this will make the tail stronger and less likely to break:
-
 Step 15
Now roll a super tiny ball of colored clay, about 2-4 mm thick.
-
 Step 16
Flatten it until it is about 1 mm thick.
-
 Step 17
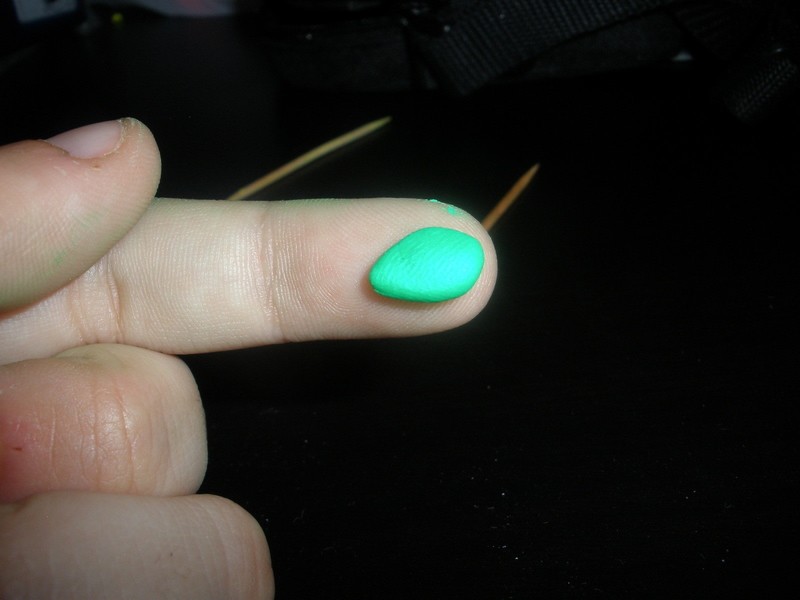
Gently press it on top of your whale.
-
 Step 18
Next, using your toothpick poke a hole in the center of the clay you just attached.
-
 Step 19
Now your whale has a spout : )
-
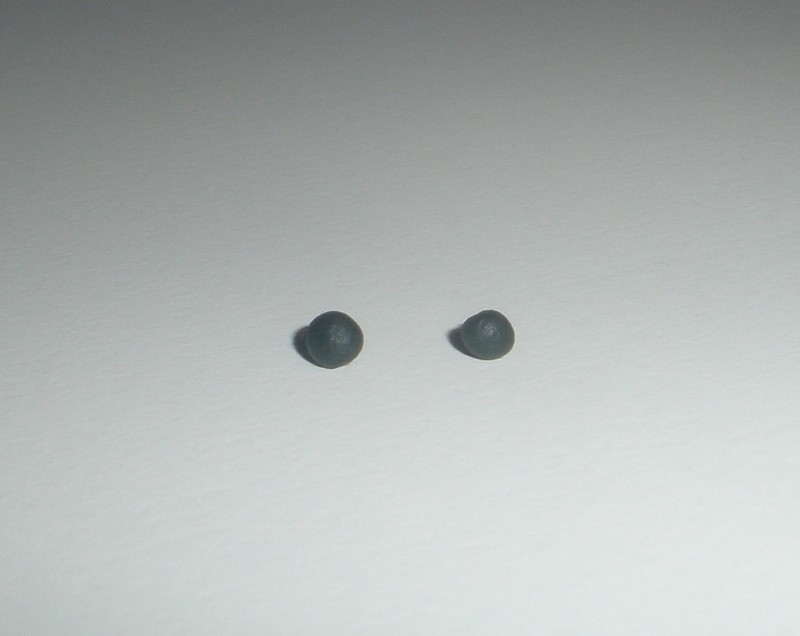
 Step 20
Now roll two tiny balls of black clay, around 1-2 mm thick.
-
 Step 21
These will be the eyes. Now, gently press them on the face of your whale.
-
 Step 22
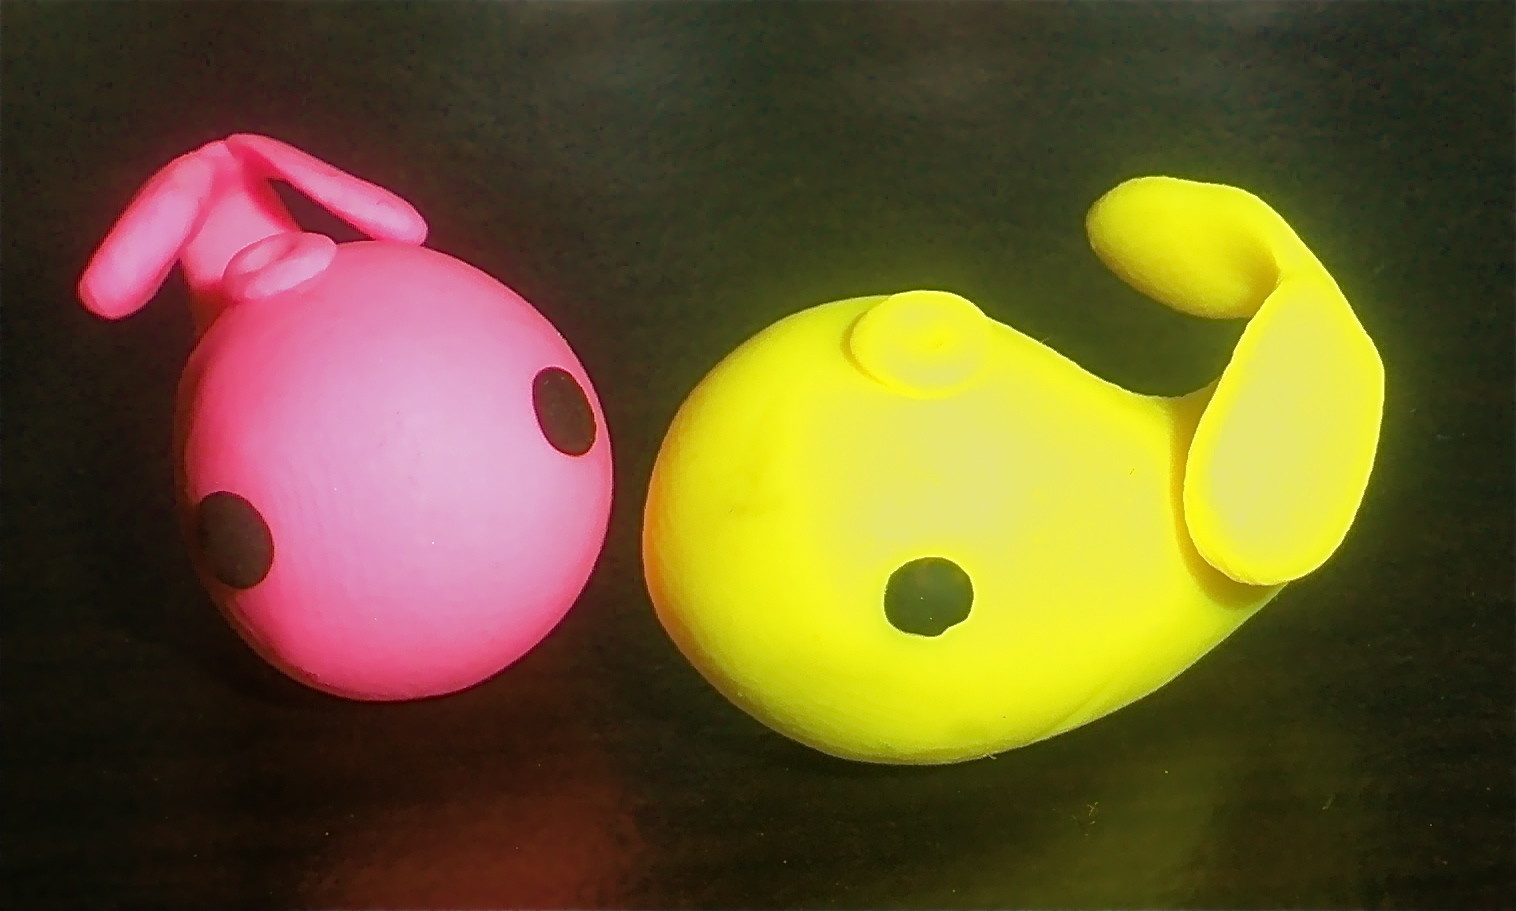
Now your whale is complete!
-
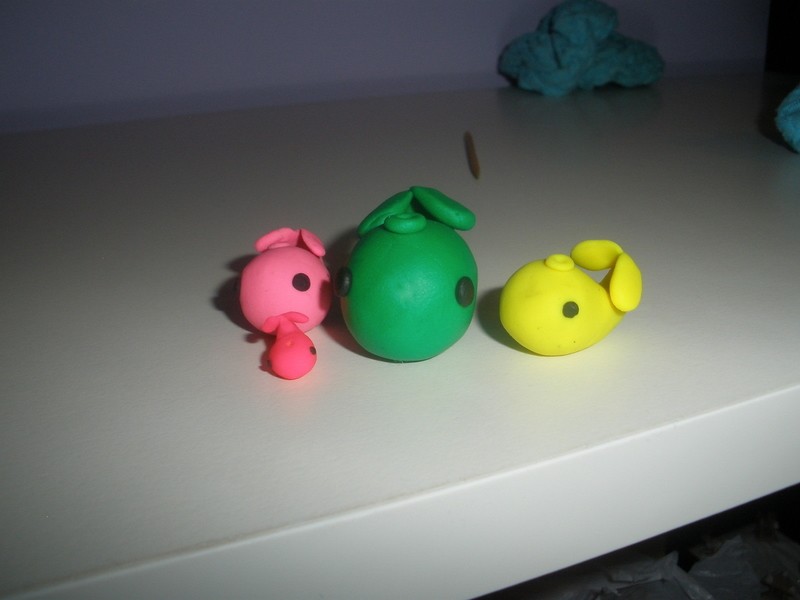
 Step 23
It’s also fun to play around with sizes and colors:
I hope the tutorial was easy to follow, enjoy!


When I have new batteries for my camera I'll put it online.
I love the simplicity of this whale-project.
CO + K User