About
Surprise Someone Special with This Teabag Holder!
All you need is scissors and paper -- and, of course, a tea bag -- to create this kitschy teabag holder!
-
 Chudames favorited Tea Bag Holder Tutorial
23 Mar 22:33
Chudames favorited Tea Bag Holder Tutorial
23 Mar 22:33


You Will Need
-
 Step 1
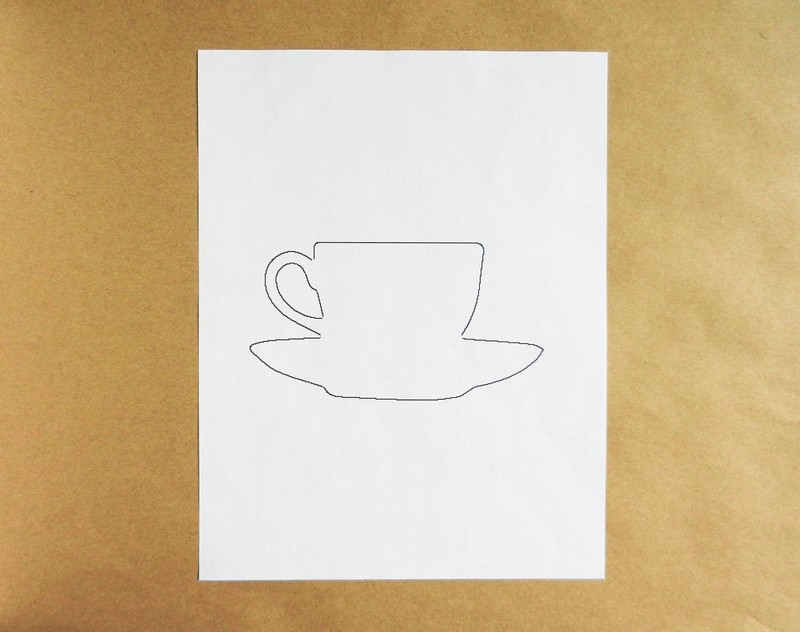
Print out the teacup template, which you can find here: http://thepostmansknock.com/catalog/tea-bag-holder-template/
-
 Step 2
Cut out the template.
-
 Step 3
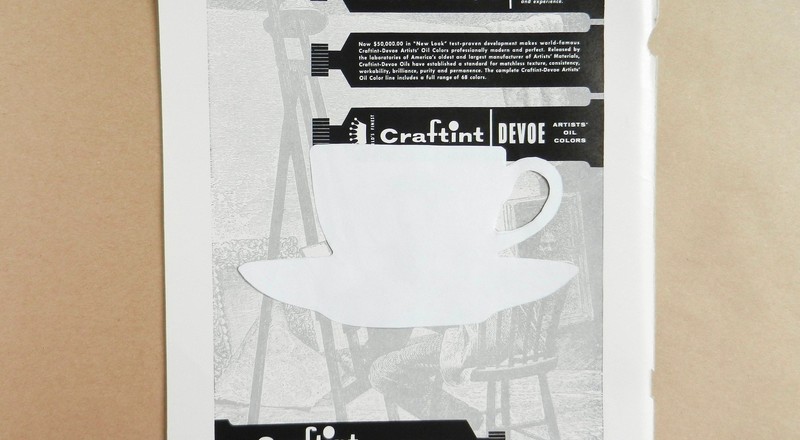
Choose a front and a back for your holder. I selected blue card stock for the back; and a vintage magazine cover depicting Abe Lincoln for the front.
-
 Step 4
Put your template on the back of the paper you wish to use for the front of your tea bag holder. You can put it on the front, too; but I prefer to put it on the back so the finished project doesn’t have trace lines. If you do flip over your paper, be sure and flip over your template, too, so the handle is facing the opposite way of how you want it to in your finished project.
FYI: I knew exactly where to position my template {on Abe’s face} by holding the paper up to a bright window. The light shone through, showing me where Abe’s face was on the other side.
-
 Step 5
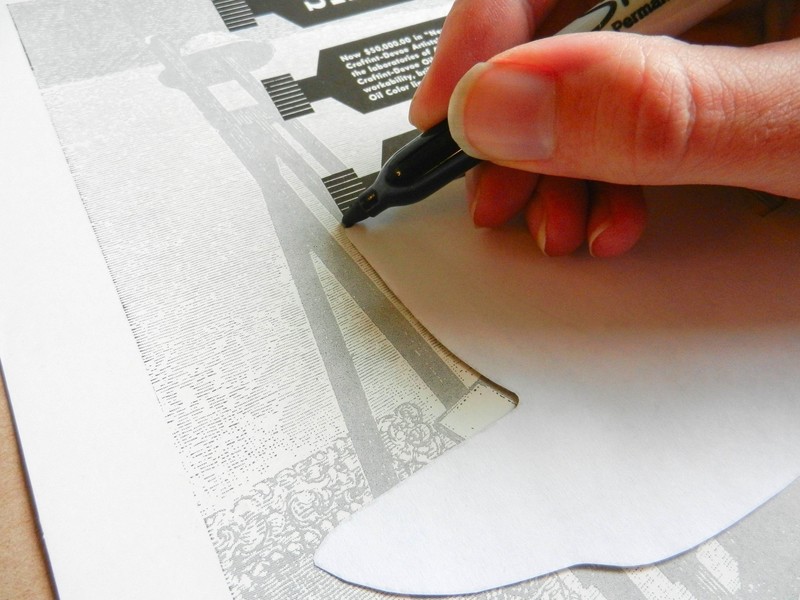
Trace around your template; I used a Sharpie, but if you have thinner paper, use a gel pen or pencil so the ink doesn’t bleed.
-
 Step 6
Cut out your template.
-
 Step 7
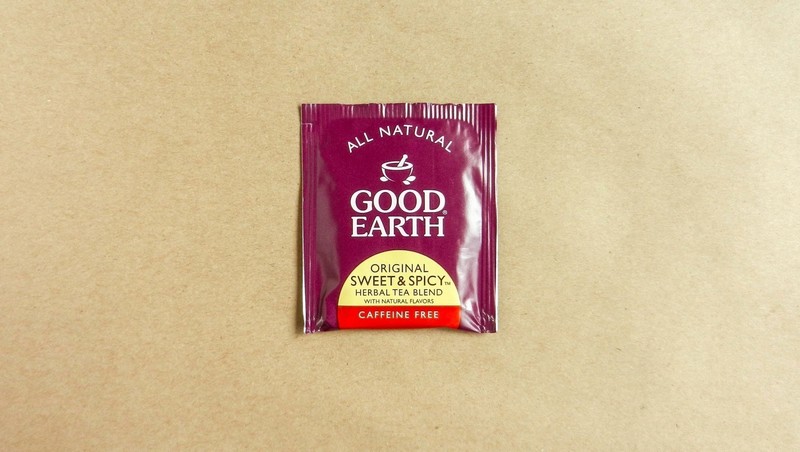
Select your tea bag. I have chosen this Good Earth blend; but you can use whatever you like!
-
 Step 8
Turn your teacup over and position the tea bag in the middle.
-
 Step 9
Trace loosely around your tea bag. You’re making these guidelines so you know where to glue {or, rather, where not to glue}!
-
 Step 10
Brush regular glue on on the back of the template, taking care not to get glue in the area reserved for the tea bag. (You may also use a glue stick for this step.)
-
 Step 11
Stick the glued side of the teacup against the card stock and apply smoothing pressure with your fingers.
-
 Step 12
Let the teacup dry for a couple of minutes, then cut it out.
-
 Step 13
Add some embellishments if you want to!
-
 Step 14
Open the tea bag holder pocket.
-
 Step 15
Slip the tea bag inside!