
About
Turn a mache letter into a unique, personalised gift
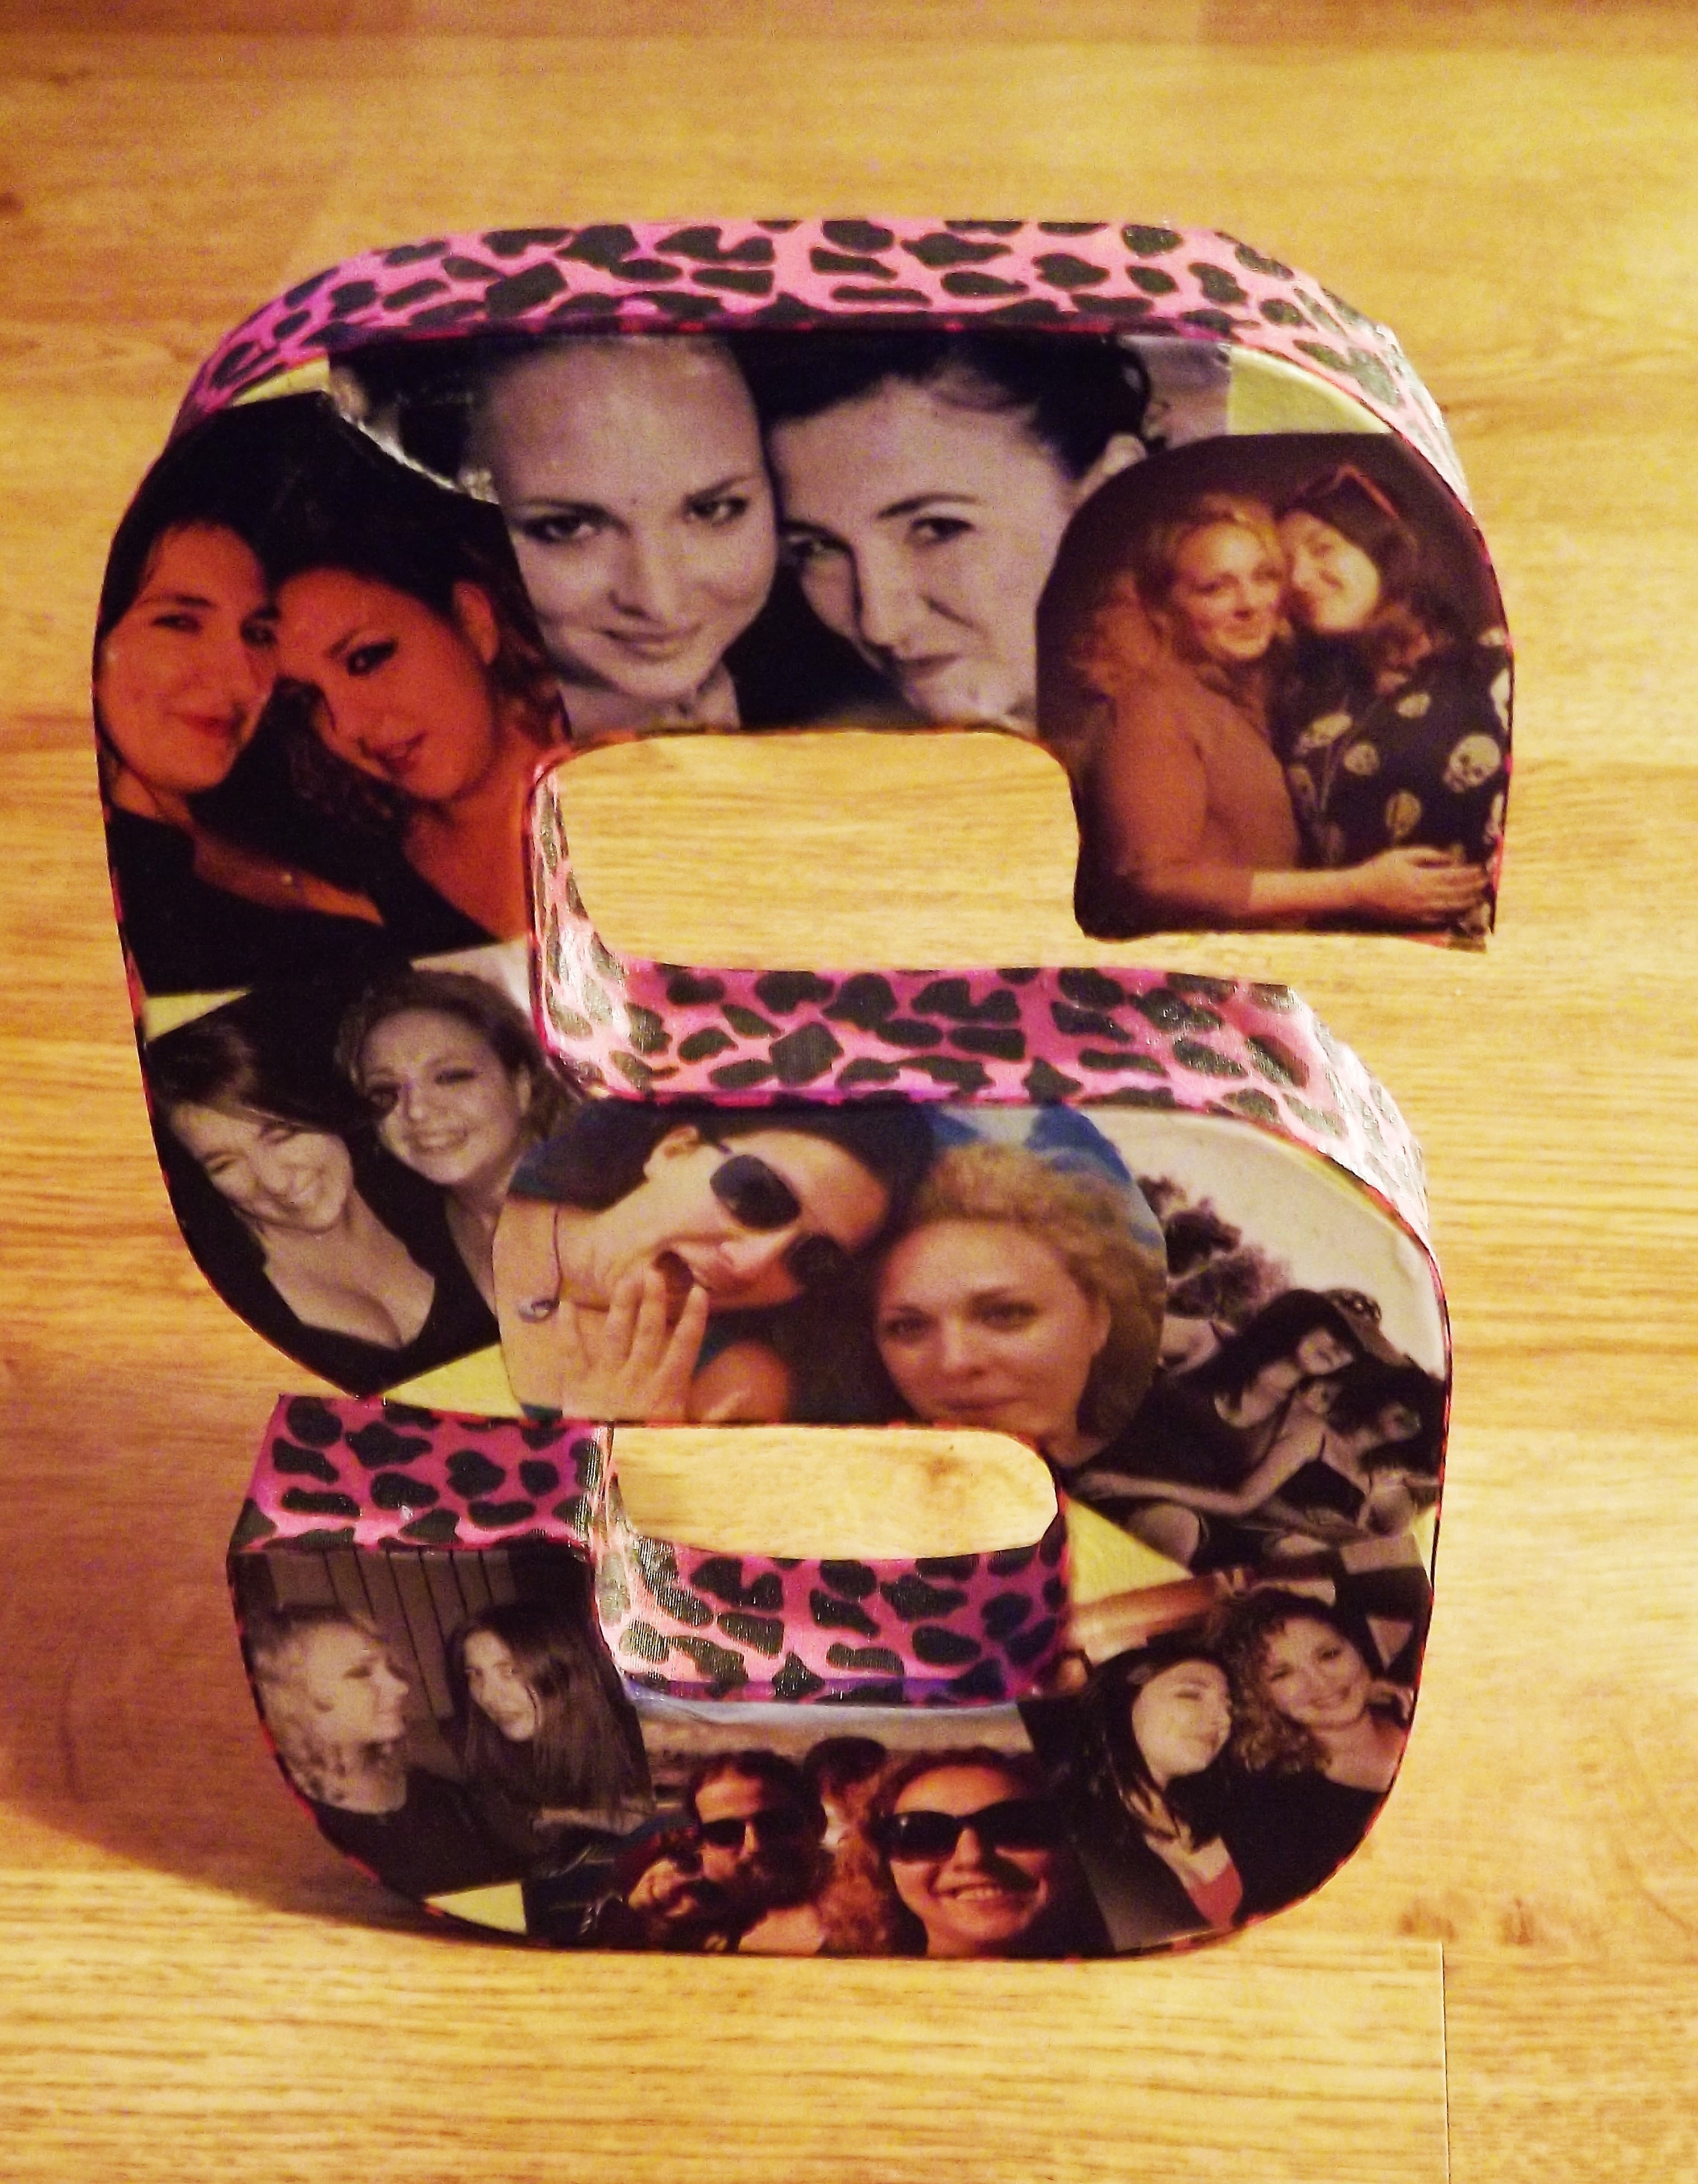
This is a very simple and easy project. Don't let the time discourage you, it just takes a while for the paint to dry and the mod podge to settle. The finished project looks amazing and you can make it as unique as you want by choosing your photos and the colourful ribbon.
-
 Conner W. favorited Mache Letter Present
11 Feb 12:37
Conner W. favorited Mache Letter Present
11 Feb 12:37
-
 Taarna published her project Mache Letter Present
30 Dec 06:34
Taarna published her project Mache Letter Present
30 Dec 06:34
-
 Step 1
First of all, you need to get yourself a letter. You can get them of eBay or at your local Hobbycraft (if there are any other places you can buy them, please let me know).
-
 Step 2
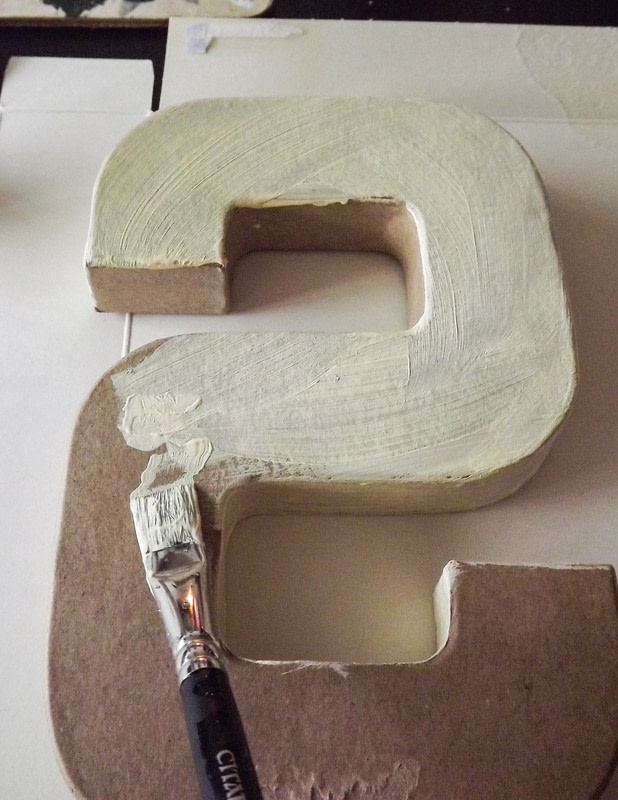
Painting the letter is optional, you can leave it brown if you prefer it that way. But if you do decide to paint it, you can use acrylic paint in any colour you want. I got this bottle from Works for a pound.
-
 Step 3
If you decide to paint your letter, it'll take longer to finish your project. After you leave the first coat to dry, you should add the second one. Only after both coats are dry can you start with the mod podge
-
 Step 4
Before gluing anything on, positions the photos on the letter the way you'd like them to be. When using mod podge to glue them to the letter, do it bit by bit. I did the letter S in 5 steps; top, left side, middle, right side, bottom.
-
Step 5
Give it about 5 to 10 minutes for the mod podge to settle and then do another coat over the photos. You can add a third coat, but wait for the second one to dry, otherwise you might damage the photos (they are just plain paper)
-
 Step 6
If, like me, you haven't cut the photos to the exact measures of the letter, you will have to fold the ends. Put mode podge along the edge of the width of the letter and fold the photo edges. Hold them down a bit to make sure they stick properly. Give it another coat after 5 minutes. If you're using ribbon, the folded edges won't be as noticeable.
-
Step 7
After you let the mod podge on the photos set properly, it's time to put the ribbon on. This is a bit tricky since the ribbon might slip every so often. I found it easiest to do it in steps.
Mod podge one part of the letters width and put the ribbon over it. Using the sponge brush with mod podge on it, press slightly over the ribbon to glue it to the letter.
Give it 10 minutes before you do another step. It'll take a while to finish the whole letter. When you finish, add another generous coat and let it dry overnight. -
 Step 8
If you picked a ribbon that is wider than your letter, you will have some ribbon hanging off the back. To be able to glue it down nicely, you'll have to cut the ribbon on the ends so the parts sticking out fold down properly.
Again, as in the above step, use the sponge brush to add extra mod podge over the ribbon edges to press them down. Give it an hour or two to dry and then add another coat of mod podge -
Step 9
If you don't want to see the folded edges on the back of your letter, just glue a piece of paper on the back.