


About
How to Draw Using a Crosshatching Technique
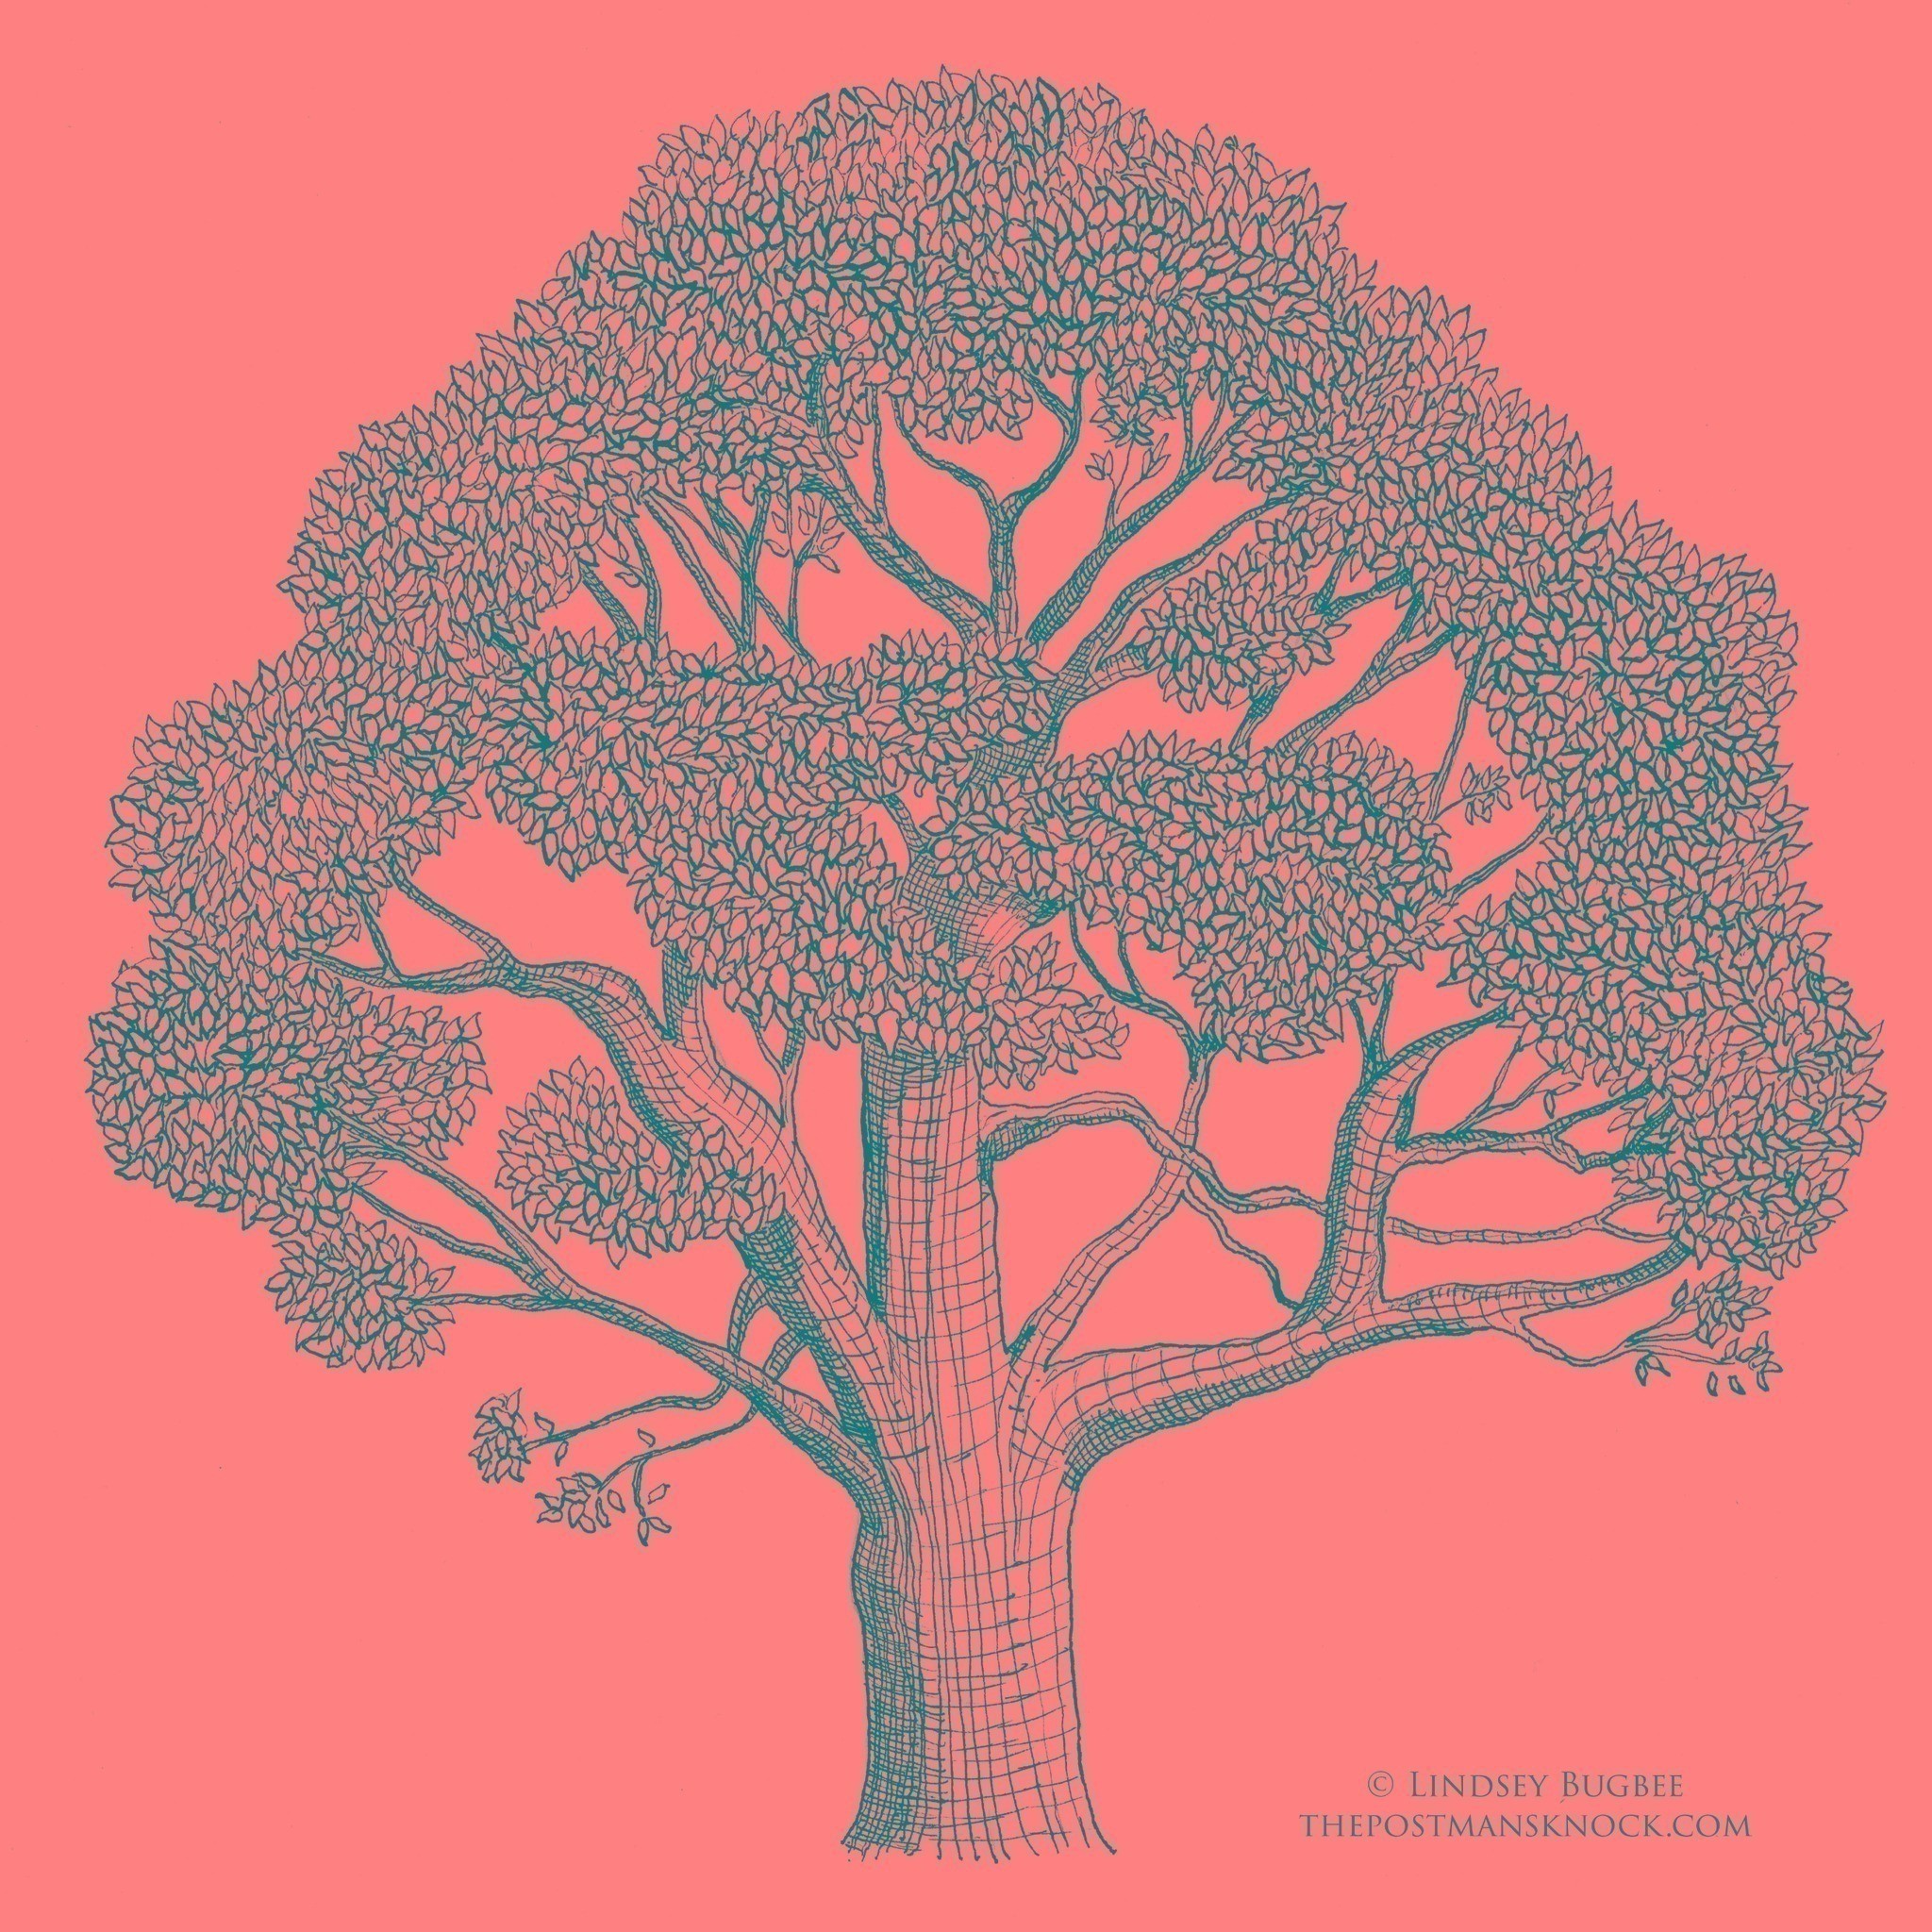
Learn how to draw using a dip pen and ink; and how to shade with crosshatching.
-
 Amanda P. favorited Line Drawing Tutorial
17 Jun 15:07
Amanda P. favorited Line Drawing Tutorial
17 Jun 15:07


You Will Need
-
 Step 1
The first thing you need to do is create an outline of your subject. I like to do this either by freehanding or using the grid method. In this tutorial, I am using the grid method. You basically input a grid over a photo of your subject (I have done this in Photoshop; but you can print out the photo and draw your grid manually if you'd like); then you draw your own pencil grid and create the object outline by mimicking what you see in the original grid.
-
 Step 2
See? Here's my pencil grid.
-
 Step 3
You’ll want to use the grid to reference where your lines should appear. I always draw in pencil first.
-
 Step 4
Once I am satisfied with the pencil outline, I use a dip pen and ink to go over my outline. The nib I use is extremely thin — it’s like drawing with a tiny needle. I utilize it in concert with India ink. However, if you’re not comfortable with a dip pen quite yet, you can most certainly make line drawings with regular pens.
-
 Step 5
The basic rule of line drawing is the closer the lines are together, the darker the area. So: a lot of lines concentrated in one area signifies a shadow. A medium amount of lines translate into midtones. Sparse lines denote light space.
-
 Step 6
Just keep referencing your image and adding shadows and midtones as you see them. Also remember to let your lines act as contouring agents. Essentially, try to see your subject as a series of shapes. Is the particular bit you are working on a sphere? A cone? A cylinder? My piece is a cylinder, so I let the lines on the sides of the jar showcase that cylindrical curve.
-
 Step 7
Once you've drawn all the lines going in one direction, it's time to add crosshatching to contour. Here's the jar before I added crosshatching ...
-
 Step 8
And after I added crosshatching. "Crosshatching" is the shading created by making little squares via crossing horizontal lines with vertical lines. See how the eye gets a good idea of how round AND vertical the jar is?
-
 Step 9
With the help of a program like Photoshop or Illustrator, you can use your line drawing to create an art print. I used mine to make this thumbprint guest book!


 1
Branch & Twig Wreaths »
A Pretty Easter Wreath
1
Branch & Twig Wreaths »
A Pretty Easter Wreath
 2
Charms »
Charlie's Key
2
Charms »
Charlie's Key


