


About
Learning the correct way to crimp beading wire or tiger tail will ensure your handmade jewellery is secure and durable.
This basic technique provides a neat and professional finish to the ends of your strung bracelets and necklaces. In this tutorial, I’ve added a wire guardian to create a neat loop and reduce friction and wear on the beading wire where it connects with other components but this is optional. You can just form a loop with the beading wire and omit this step if you choose.
-
 Sarah Sylvia S. favorited How To Crimp
18 Jul 03:52
Sarah Sylvia S. favorited How To Crimp
18 Jul 03:52


-
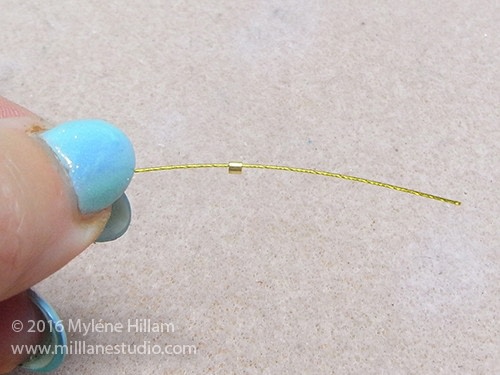
 Step 1
Work out the desired length of your necklace or bracelet and add at least 10cm (4”) to this. Cut the beading wire to this length. String on a crimp tube.
-
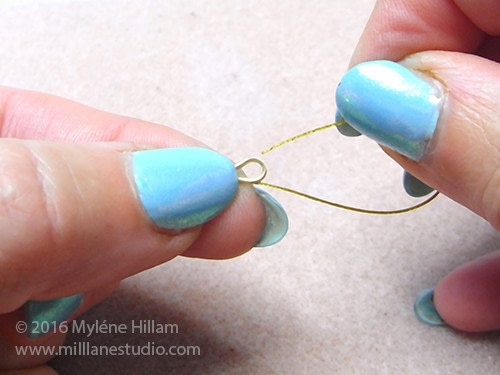
 Step 2
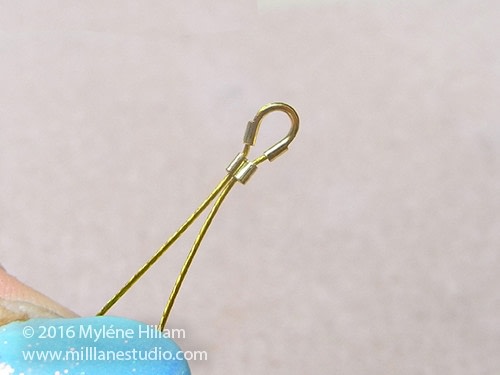
Thread the beading wire through one side of the wire guardian.
-
 Step 3
Insert the wire through the other side of the wire guardian.
-
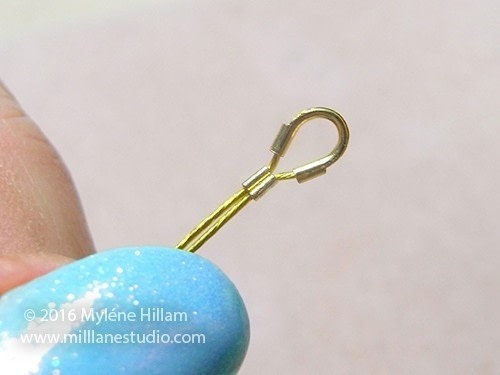
 Step 4
Thread the wire back through the crimp tube. Slide the crimp tube up to the wire guardian and pull the short beading wire tail so the beading wire is sitting neatly in the wire guardian.
-
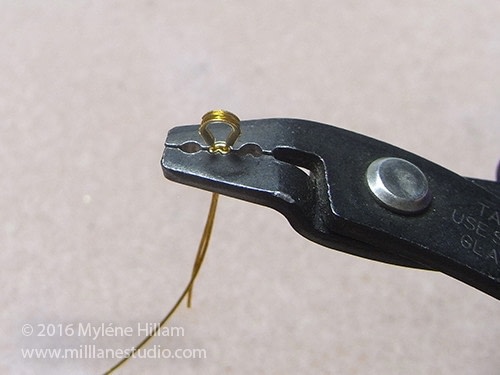
 Step 5
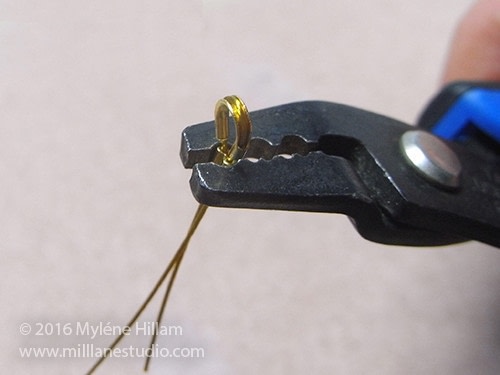
Position the crimp tube in the second hole of the crimping pliers. Make sure that the two wires are sitting side by side in the crimp tube and not crossing over each other. Firmly squeeze the crimping pliers.
-
 Step 6
The tube should be formed into two channels with a wire sitting in each one.
-
 Step 7
Position the crimp in the top hole of the pliers, with the two channels facing toward the tip. Squeeze firmly to fold the two channels in towards the centre.
-
 Step 8
The completed crimp. Tug the long wire to make sure the crimp is secure.


 1
Wire Charms »
Time Turner Inspired Fidget Necklace
1
Wire Charms »
Time Turner Inspired Fidget Necklace
