About
I used this as a gift bag, but it could be used to hold anything actually!
-
 Key West Witch favorited Drawstring Gift Bag
07 May 11:42
Key West Witch favorited Drawstring Gift Bag
07 May 11:42
-
 JadeSucksAtLife favorited Drawstring Gift Bag
04 Mar 08:17
JadeSucksAtLife favorited Drawstring Gift Bag
04 Mar 08:17
-
 C T. added Drawstring Gift Bag to Accessories! x
05 Aug 02:16
C T. added Drawstring Gift Bag to Accessories! x
05 Aug 02:16
-
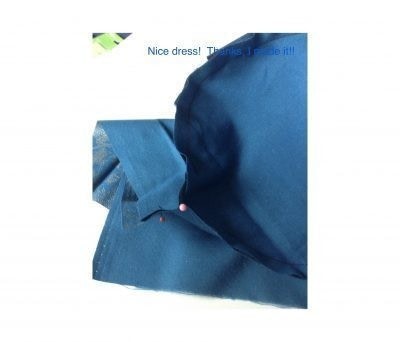
 Linda of Nice dress! Thanks, I made it!! favorited her project Drawstring Gift Bag
03 Jul 13:56
Linda of Nice dress! Thanks, I made it!! favorited her project Drawstring Gift Bag
03 Jul 13:56
-
 Crafterella featured Drawstring Gift Bag
30 Jun 23:00
Crafterella featured Drawstring Gift Bag
30 Jun 23:00
-
 Bette C. favorited Drawstring Gift Bag
30 Jun 20:44
Bette C. favorited Drawstring Gift Bag
30 Jun 20:44
-
Linda of Nice dress! Thanks, I made it!! published her project Drawstring Gift Bag
28 Jun 09:00
You Will Need
-
 Step 1
I marked and cut out a circle for the base of the bag using this handy quilting tool, but any drawn circle will do. Just be sure it is 5/8" bigger all around (for the seam allowance) than the base you ultimately want on your bag. I used a chalk pencil to mark the line.
For the second piece cut out, I cut a wrap around side piece, the walls of the drawstring bag, as tall as I wanted the bag to be, plus 2" for a casing and plus 5/8" for a hem. I made sure this piece was the same length as the diameter of my circle, plus another 2" for margin of error and seam allowance. Just because I love "margin of error"! -
 Step 2
I straight stitched and zig zagged together the short ends of this wrap around piece, making a large tube.
-
 Step 3
I sewed the circle base to the tube almost all the way around.
-
 Step 4
I stopped there. Yes, I didn’t want to do the math, so I guessed the length when cutting the second piece, the walls, when I added an extra 2" on. When sewing it on to the circle base, I saw that i had that extra fabric so I stopped sewing it on and sewed up the side seam again in the correct place and cut off the excess seam allowance. There's my "margin of error"! In the end, it all works! Now that my walls were sewn and cut to the right length, I went back to sewing the circle base on.
-
 Step 5
I sewed double fold bias tape on both the circle seam and the one side seam and the top edge.
-
 Step 6
Then I turned the top edge down 1", sewing it down along the 1" edge, leaving a 1" gap in that casing for the ribbon to go through. After I threaded the ribbon though, I knotted the ends of the ribbon together and turned the bag inside out. I pulled the ribbon tight and wrapped it around the outside again, just to be fancy!