About
Revamp your jeans
-
 meg B. favorited Diy Polka Dot Jeans
25 Jun 15:43
meg B. favorited Diy Polka Dot Jeans
25 Jun 15:43
-
 Luna M. favorited Diy Polka Dot Jeans
27 Aug 16:33
Luna M. favorited Diy Polka Dot Jeans
27 Aug 16:33
-
Lex S. favorited Diy Polka Dot Jeans
31 May 00:49
-
 Alice N. added Diy Polka Dot Jeans to Clothes
30 Mar 17:23
Alice N. added Diy Polka Dot Jeans to Clothes
30 Mar 17:23
-
 vermilia c. favorited Diy Polka Dot Jeans
15 Mar 13:09
vermilia c. favorited Diy Polka Dot Jeans
15 Mar 13:09
-
Alissa B. favorited Diy Polka Dot Jeans
14 Mar 20:36
-
 lOu favorited Diy Polka Dot Jeans
06 Mar 11:25
lOu favorited Diy Polka Dot Jeans
06 Mar 11:25
-
 kelsey.brockerville favorited Diy Polka Dot Jeans
05 Mar 13:20
kelsey.brockerville favorited Diy Polka Dot Jeans
05 Mar 13:20
-
Linda Y. added Diy Polka Dot Jeans to Recon
03 Mar 02:27
-
 Rochelle B. favorited Diy Polka Dot Jeans
02 Mar 20:45
Rochelle B. favorited Diy Polka Dot Jeans
02 Mar 20:45
You Will Need
-
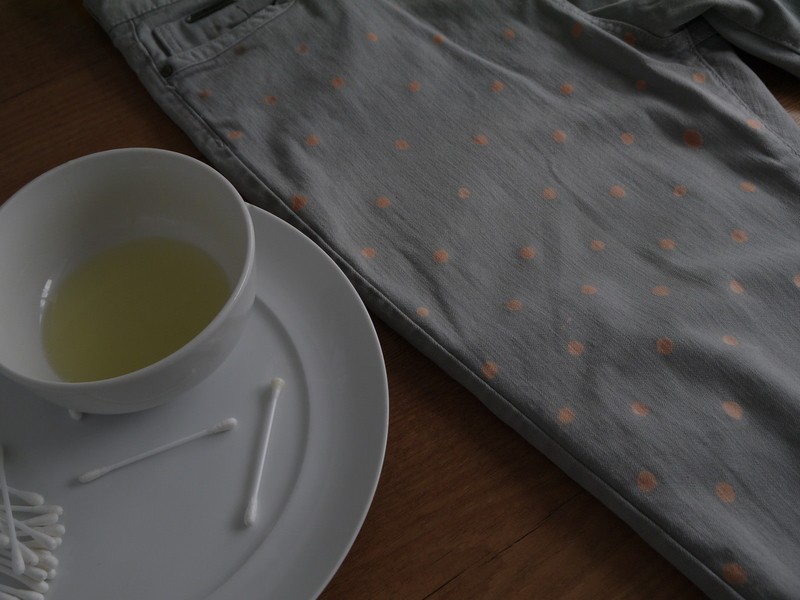
 Step 1
You will need:
Cotton buds
Thick household bleach
Greaseproof paper
(And an old pair of jeans) -
 Step 2
To begin, line your jeans inside with greaseproof paper....
-
 Step 3
Dip your cotton bud in your bleach and start adding your polka dots. (Be careful to dab off any excess before you put your cotton bud anywhere near your jeans, or you end up with fine trails of bleach landing on your jeans) I had a couple of queries on facebook regarding how to get even spacing between the dots. So for those of you that asked...I eyeballed mine BUT there was a degree of method to it. Essentially I worked in rows. Lay down the 1st row of dots in a straight line along the hem. Then moving up about an inch, stagger the 2nd row so the dots are centred above the spaces inbetween the dots in the 1st row. Then move up another inch and place the dots in the 3rd row, directly in line with the dots in the 1st row. Make sense?
-
 Step 4
Repeat this process for the front and back...
-
 Step 5
Work as quickly (and carefully!) as you can. This process is quick and your first dots will be bleaching lighter and lighter while you are working on the next side. You can see what I mean in the picture below. I started at the bottom of the right side then by the time I got to the top of the left side, the dots on the right were really bright, whilst the dots on the left were still developing. Keep an eye on the last lot of dots and as soon as they all reach a similar intensity to the rest....
-
 Step 6
Plunge them into a bath of cold water to halt the "developing" process. Then launder and dry as normal and you're done!