

About
Make your very own, unique glitter and gem customised hip flask today with this easy & cheap tutorial!
Google 'hip flask' and you'll be greeted with an array of masculine, silver & leatherbound options.
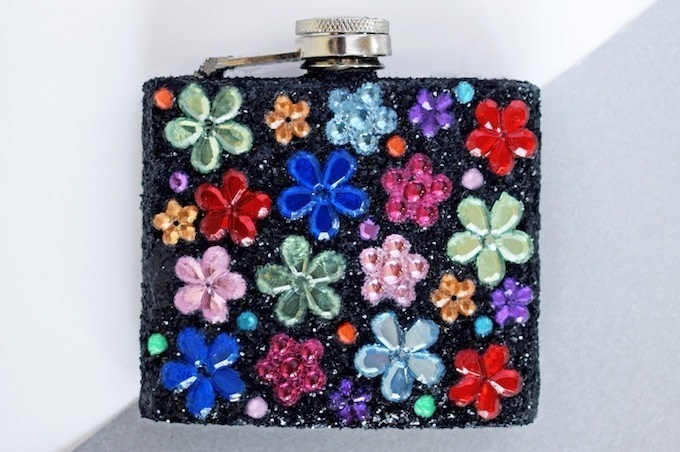
This glitter & gem covered hip flask certainly isn't masculine. Update your own hip flask today with this super easy tutorial.
With a few adhesive gems, glue and lashings of black glitter, it's amazing what you can do!
Tags
-
 JadeSucksAtLife favorited Diy Customised Hip Flask With Glitter & Gems
02 Mar 18:05
JadeSucksAtLife favorited Diy Customised Hip Flask With Glitter & Gems
02 Mar 18:05


-
 Step 1
-Cover the entire cylinder of your hip flask in a thin layer of UHU glue using the paint brush.
-Stick on a mix of flower and circular gems. I chose to gem only the front of the hipflask, but you could also do the back. -
 Step 2
-Sprinkle glitter onto the areas of hipflask still showing, not forgetting the back, bottom and top of your hipflask.
-Press clean fingers over the glitter to compress it into place.
-Gently shake your customised hipflask to remove any excess glitter.
-
 Step 3
-Spray a cotton bud with hairspray and use to pick up any glitter that’s settled on the gems.
-When you’re happy with the final result, spray a layer of hairspray over the hipflask to stick everything solidly into place.


