Batwing Dress
Extract from Girl with a Sewing Machine • By Taylor, Jenniffer • Published by Search Press


About
Girl with a Sewing Machine
I love retro-style clothes and the batwing sleeve is something that looks great whatever era or style you prefer. The deep armhole makes it a very comfortable and cool item to wear as it falls loosely around your body. It’s also very easy to make! You can make it as either a dress or a top, so look out for step 8 to see how.
SEAM ALLOWANCE
1.5cm (5/8in)
SKILLS GAINED
Alternative necklines
Construction techniques
Drafting a pattern direct to fabric
Machine-sewing techniques
Using a garment to draft a pattern
BODY MEASUREMENTS
Shoulder to waist (A)
Waist to hip (B)
Shoulder to length + 3cm (1¼in) for hem (C)
Shoulder to elbow (D)
Elbow circumference ÷ 2, + 2.5cm (1in) for seam allowance and ease (E)
Hips ÷ 4, + 5cm (2in) for seam allowance
and ease (F)
Waist minus 5cm (2in) for elastic length (G)
-
 Susana F. favorited Batwing Dress
22 Mar 22:09
Susana F. favorited Batwing Dress
22 Mar 22:09


-
 Step 1
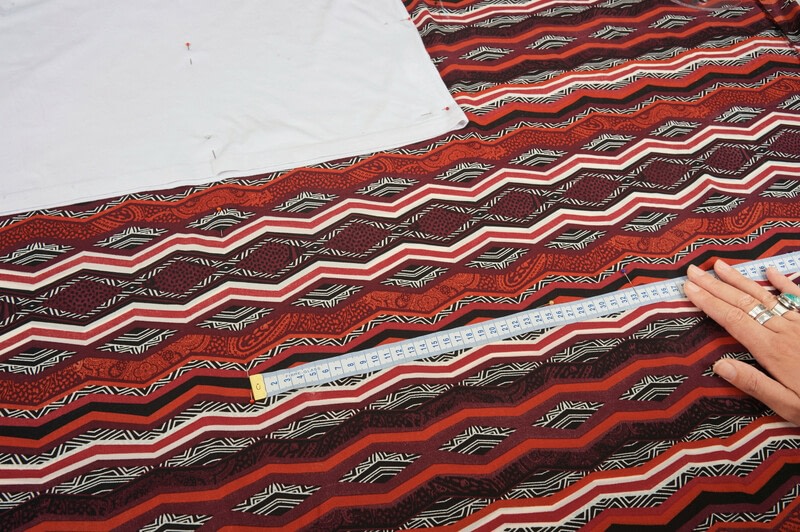
I have used a non-directional print so that I can fold my fabric in half widthways without it looking upside down on the opposite side (the fold in the fabric sits along the shoulders). If you do want to use a directional print you will need to sew front and back pieces together first, with the print positioned correctly (in this case the seam will run across the shoulders). Make sure the selvedge edges meet and are in line, then pin in place so that they are secure while you begin to draft the outline of the garment. Find the centre of the folded fabric by using your tape measure to calculate it by dividing the selvedge to selvedge measurement in half. Mark the centre with pins along the length of the fabric.
-
 Step 2
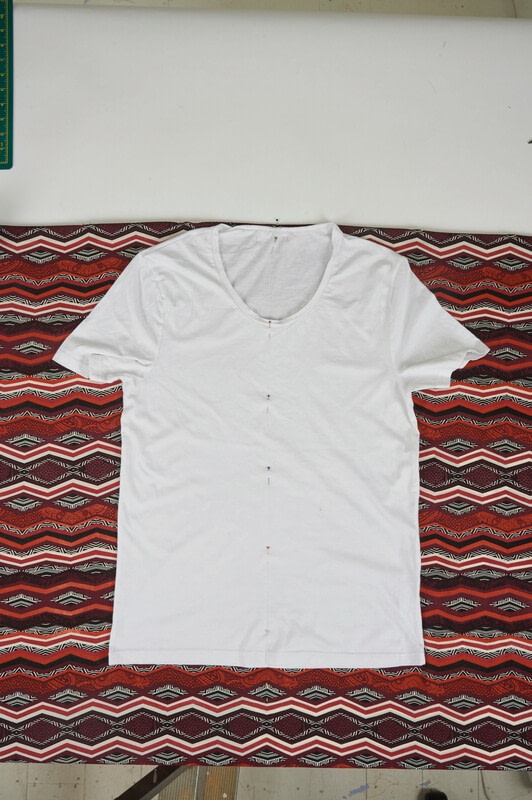
Now, fold your t-shirt in half, matching up the underarms and neck edges so that you find the centre of the t-shirt; mark with pins all down the centre. Place the centre of the t-shirt at the same point on the fabric and match up the shoulder seams with the fold in the fabric. Make sure the bottom of the t-shirt is central by measuring from the pin to the selvedge edge and making sure that the measurement is the same on both sides. To stop it from moving, pin the t-shirt to the fabric as you would a paper pattern.
-
 Step 3
On one side of your t-shirt, place the tip of your tape measure on the top fold and measure down your shoulder to waist measurement (A); mark with a pin.
-
 Step 4
We are going to add 4cm (1½in) to the side of the garment at this point to allow for ease and a seam allowance. Mark with a pin. This is going to be the reference point of where your batwing shape will begin.
-
 Step 5
Now go back to the folded shoulder edge. Measure from the shoulder point on the t-shirt along the fold as far as your shoulder to elbow measurement (D) and mark with a pin.
-
 Step 6
To make sure your sleeve fits you, measure down from this elbow point using your elbow circumference calculation (E) and mark it with another pin. You should have two points of reference now, one at the waist and one at the elbow.
-
 Step 7
With tailor’s chalk, make a gentle curve connecting these two points together. You can do this free hand or with a tailors’ curve. Continue the curved shape up and out until you get to the selvedge edge. You need to make this extending line either the same size as your elbow measurement or you can taper it slightly, but remember you need to be able to get your lower arm and hand through it.
-
 Step 8
Now depending on whether you are making a dress or a top, this step will be different. For a top: measure 4cm (1½in) down the remaining length of the t-shirt and mark with either pins or tailors’ chalk for your hem, then skip to step 21. If you want to lengthen your top to be a little longer than your t-shirt, then just add this onto your hem measurement. For a dress: using your waist reference point, measure and mark with a pin where your hips are by using your waist to hip measurement (B).
-
 Step 9
We are going to need to add a little more ease in this area, as generally your hips will be bigger that your bust. So, from the centre front pin along the hip-pin line, measure and mark your hip calculation (F). Then with your shoulder to length calculation (C) mark how long you want your dress.
-
 Step 10
Draw a gentle curve from your waist to hip measurement and then continue with a straighter line from the hip to the desired dress length.
-
 Step 11
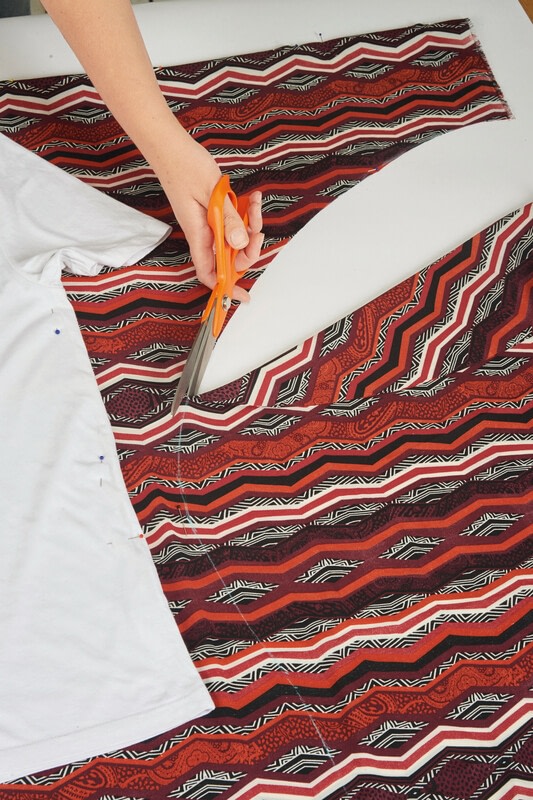
With these marks made, cut out one side of the garment carefully, from sleeve end to hem.
-
 Step 12
Remove the t-shirt carefully, replacing the pins in the fabric as you go so that the fabric stays in place. Fold the cut-out side over, along the centre-front marker pins so that it becomes a template for the other side. Pin in place and then cut out, so you have two symmetrical sides.
-
 Step 13
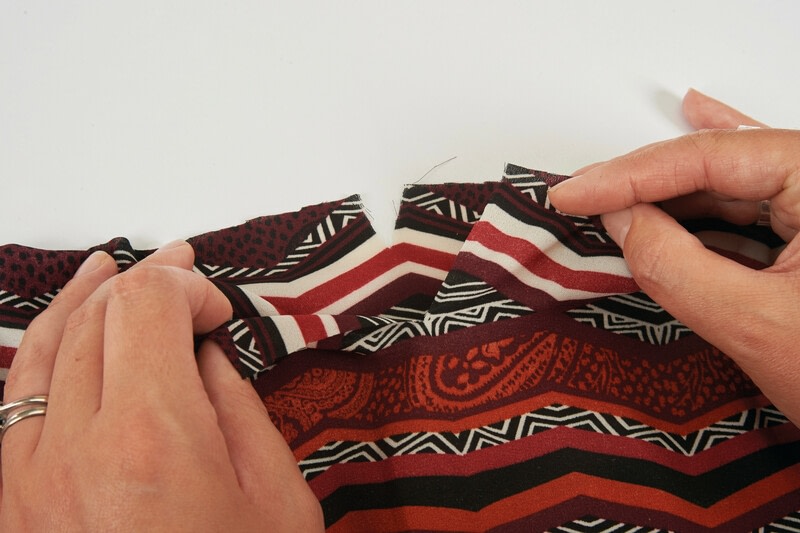
To make the neckline, make a small cut into the fold at the centre point, then cut along the fold about 10cm (4in) either side.
-
 Step 14
At the centre front, cut down into the front of the fabric by about 5cm (2in) and do the same on the back but by about 2.5cm (1in). This should be enough for you to get your head through to make personal adjustments. But before you do, let’s sew the side seams.
-
 Step 15
With a straight stitch, sew both side seams from cuff to hem. Finish the seams with a zigzag stitch or using an overlocker (serger).
-
 Step 16
Once you have done this, try the garment on in front of the mirror to adjust the neckline. Remember, the smaller cut line is the centre back. Take off the garment and cut a curve from the centre front to the shoulder point and then shoulder to centre back. Keep the off-cuts; use these as a pattern for the other side of the neckline. Pin them in place and then cut around them to get a symmetrical shape. To make sure the neckline stays in shape, sew a line of straight stitch around the circumference of the neckline using the edge of your presser foot as a guide. This is called a stay stitch.
-
 Step 17
To draft your roll collar, you will need to measure the circumference of the neckline roughly with your tape measure. I would then add about 5cm (2in) to this, to account for a seam allowance and any misjudgement in neckline size. Take this measurement and cut out a strip with a width of at least 13cm (5in) or bigger if you prefer. If you want to provide a little structure to the collar, apply interfacing on the wrong side of the fabric: it will need to be the same length and half the width of your fabric strip (I haven’t interfaced my collar as I want it to be a more relaxed shape). Pin your collar in place with the right sides together and keeping the ends of the collar loose. As you did in the shirt reverse project (see page 62), you need to mark where your collar seam needs to be and then join the ends with a straight stitch.
-
 Step 18
Now that your collar fits your neckline; secure it with a straight stitch, using a 1.5cm (5/8in) seam allowance.
-
 Step 19
Fold your collar back on itself and tuck under a 1.5cm (5/8in) hem; position this in line with the stitching you have just done, press, and pin in place.
-
 Step 20
You can now hand stitch this in place using a ladder stitch or alternatively for speed, when pinning your hemmed edge, place the hem slightly over the original stitching line by about 2mm (1/16in), then topstitch in place by ‘stitching in the ditch’. You can sew from the wrong side (as shown) or the right side to do this. If you sew from the right side, it is really important to take your time, as the overlap will make all the difference on whether you catch or miss your collar on the other side. Sew into the crease, where the two fabrics are sewn together, so that the stitches become almost invisible but catch the hemmed edge on the other side.
-
 Step 21
All you need to do now is hem the bottom of your garment and sleeves.
At the ironing board, press a double hem of about 1.5cm (5/8in) and pin in place. Topstitch in place using a 1cm (½in) seam allowance.
-
 Step 22
How to: make an alternative neckline
By facing a neckline, you can make any shape you like. Here, I have gone for a split neckline, which is a little ‘V’ opening down the centre of a curved neckline. After cutting your neckline shape (A), you need to create a facing. This needs to be bigger that your neckline area and has to be interfaced. I have finished the raw edge by overlocking it.
-
 Step 23
The neckline shape is the same as the main fabric. Pin it in place with the right sides together (B).
-
 Step 24
Sew around your neckline shape and then clip all the curved and pointed edges, being careful not to cut your stitches (C).
-
 Step 25
Turn out your neckline, poking out any corners and press to give you a clean finish (D).
-
 Step 26
...
-
 Step 27
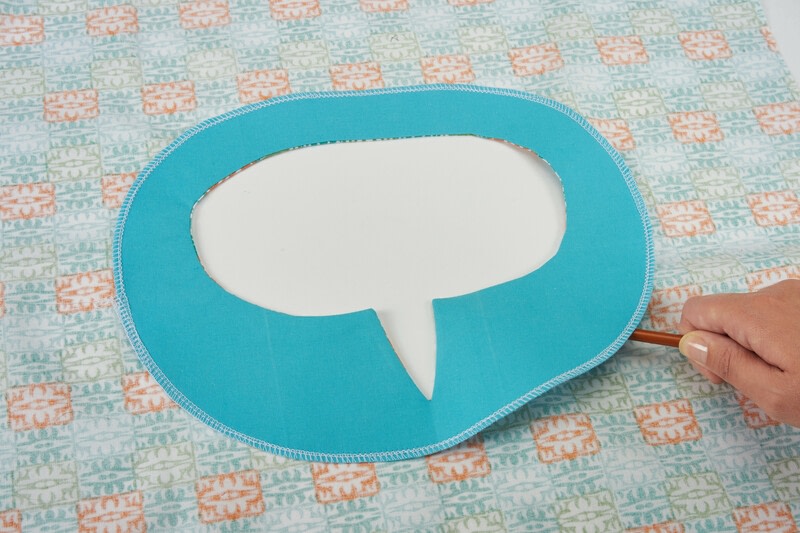
To stop your facing from turning back out, sew a line of topstitching around your neckline (E).
-
 Step 28
How to: make a belt
To make your obi-style belt you are going to need a strip of fabric approximately twice your waist measurement and 10–15cm (4–6in) in width depending on how wide you want it to be.You will also need to cut a piece of interfacing. This will need to be the same length as the fabric strip but only half the width.
-
 Step 29
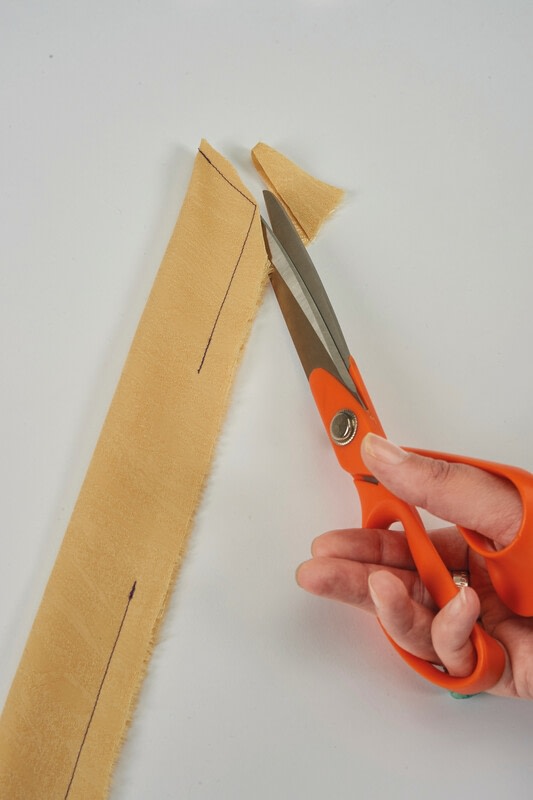
Iron the interfacing to the wrong side of the belt (A).
Fold the belt back on itself so the right sides are together and all edges are matching before pinning in place. Starting at one end, on the folded side, sew a straight stitch towards the corner. You can make this edge tapered (as shown) by sewing at an angle if you prefer. Leaving your needle in the fabric, rotate and continue along the belt for 10cm (4in) or so then secure with a backstitch. Repeat at the other end, but this time stop sewing about 10cm (4in) from your previous stitches so you can turn your belt through later.
-
 Step 30
Clip away the bulk in the corners (B)...
-
 Step 31
and turn through, making sure the tips of the corners are nice and crisp (C).
-
 Step 32
To give a little more structure to your belt and to close the gap you left to pull your belt through, sew a continuous line of topstitching around the edge of the belt until you get back to where you started (D). Continue to sew over the original stitching for a little while before reverse stitching to finish.
-
 Step 33
With a hand sewing needle, thread the loose threads back into the belt so they cannot be seen.
For a closer topstitch, use the edge of the presser foot to line up your fabric edge. -
 Step 34
Then, while on a straight stitch, adjust your sewing machine’s stitch width so it moves the needle closer to the edge of the fabric. This way the machine is doing all the hard work – you just need to keep the edge of the fabric in line with the edge of the presser foot. Remember to reset your machine when you have finished topstitching, otherwise your seam allowances will be out for the rest of the make.