


About
Off with her Jewelry! She did an awful job painting my roses!
I had an Alice and Wonderland themed sidewalk sale and needed jewelry displays so I made these bad boys while bored at my boy friend's house. Super easy, super fun, and beautiful!
All you need is a cardboard box to start!
Tags
-
 Key West Witch favorited Alice In Wonderland Jewelry Tree
12 May 16:10
Key West Witch favorited Alice In Wonderland Jewelry Tree
12 May 16:10
-
 Coreen M. favorited Alice In Wonderland Jewelry Tree
29 Sep 13:33
Coreen M. favorited Alice In Wonderland Jewelry Tree
29 Sep 13:33
-
 Kinhime Dragon favorited Alice In Wonderland Jewelry Tree
19 Mar 22:19
Kinhime Dragon favorited Alice In Wonderland Jewelry Tree
19 Mar 22:19
-
 Xfluffy_unitatoX favorited Alice In Wonderland Jewelry Tree
17 Nov 18:13
Xfluffy_unitatoX favorited Alice In Wonderland Jewelry Tree
17 Nov 18:13
-
chelsea g. favorited Alice In Wonderland Jewelry Tree
24 Aug 07:26
-
Mika S. favorited Alice In Wonderland Jewelry Tree
07 Aug 01:22
-
 Emma H. favorited Alice In Wonderland Jewelry Tree
27 Jun 22:37
Emma H. favorited Alice In Wonderland Jewelry Tree
27 Jun 22:37
-
Lyani A. favorited Alice In Wonderland Jewelry Tree
19 Apr 16:17
-
Dee D. added Alice In Wonderland Jewelry Tree to mini
06 Feb 19:07
-
 craftylilred favorited Alice In Wonderland Jewelry Tree
21 Jan 22:50
craftylilred favorited Alice In Wonderland Jewelry Tree
21 Jan 22:50
-
 Step 1
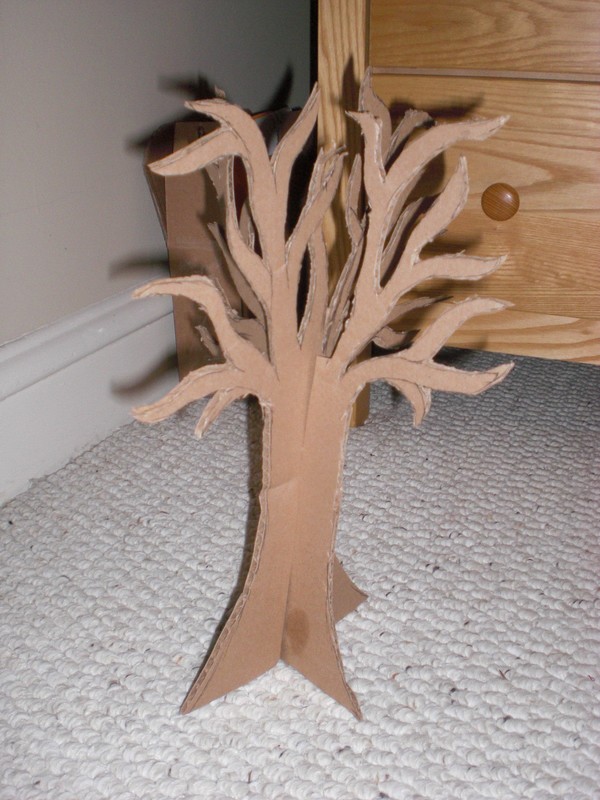
Get a card board box with at least two sides that could fit a good tree, trunk, branches and all.
Draw a tree on each of the two sides that have lots of hooks and crannies. XD
The first tree you draw should be filled, as in it should have branches in the middle too (as in the picture to the left). Your second tree will have a sort of gap in the middle (as in the next picture).
What I mean will become more clear as we continue. -
 Step 2
Cut out your Trees with an exacto knife. Kind of difficult, but you should be able to do it fine. I have faith in you!
-
 Step 3
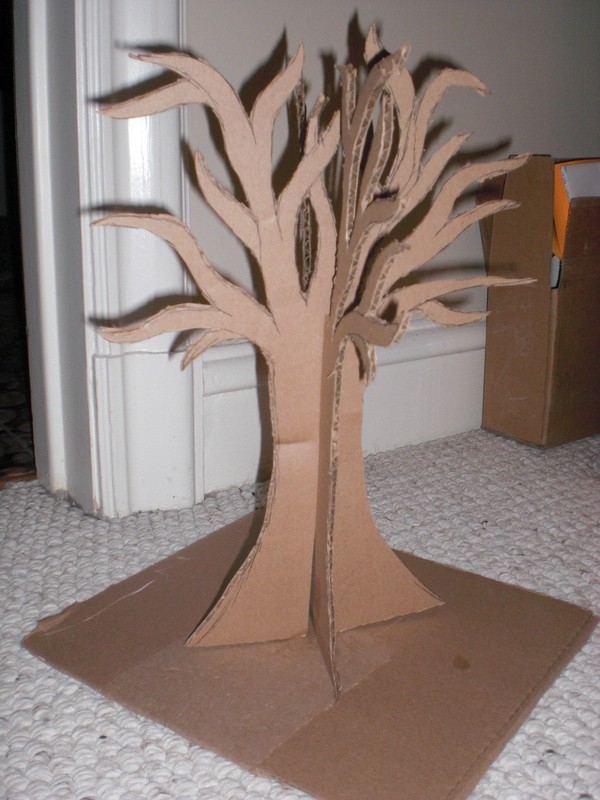
Now you have two cut out trees! Yay! One has a gap!
Now, cut a slit DOWN the middle of the trunk of the tree with the gap. and cut a slit UP the trunk of the tree without a gap.
-
 Step 4
ASSEMBLE!!
ie. slide the full tree's slit into the split tree's slit. Now it can stand up all on it's own. Yay! -
 Step 5
This is why you need a FULL box for this project. The thing kinda needs a base. So, cut out one of the remaining sides of your box.
You CAN glue the tree together and on to the base now, but I recommend you wait.
FIRST! You want to spray paint EVERYTHING your base color. I chose black for mine, pure and simple. I laid each of the three pieces on the lawn (on paper grocery bags) and sprayed the dickens out of them. Be sure to spray the branches extra because you want to get the little nooks that are in the cardboard.
I also sprayed the whole thing with sealant when I was done, but I don't think that's necessary.
-
 Step 6
Once everything is spray painted, You can assemble it and hot glue all the pieces together.
If you want, You can be done now. you have a pretty jewelry tree that is perfectly capable of hanging jewelry on. I even bent some branches so I could hang more stuff in different directions.
HOWEVER! This was not where I stopped. It needed some Pizzaz...
-
 Step 7
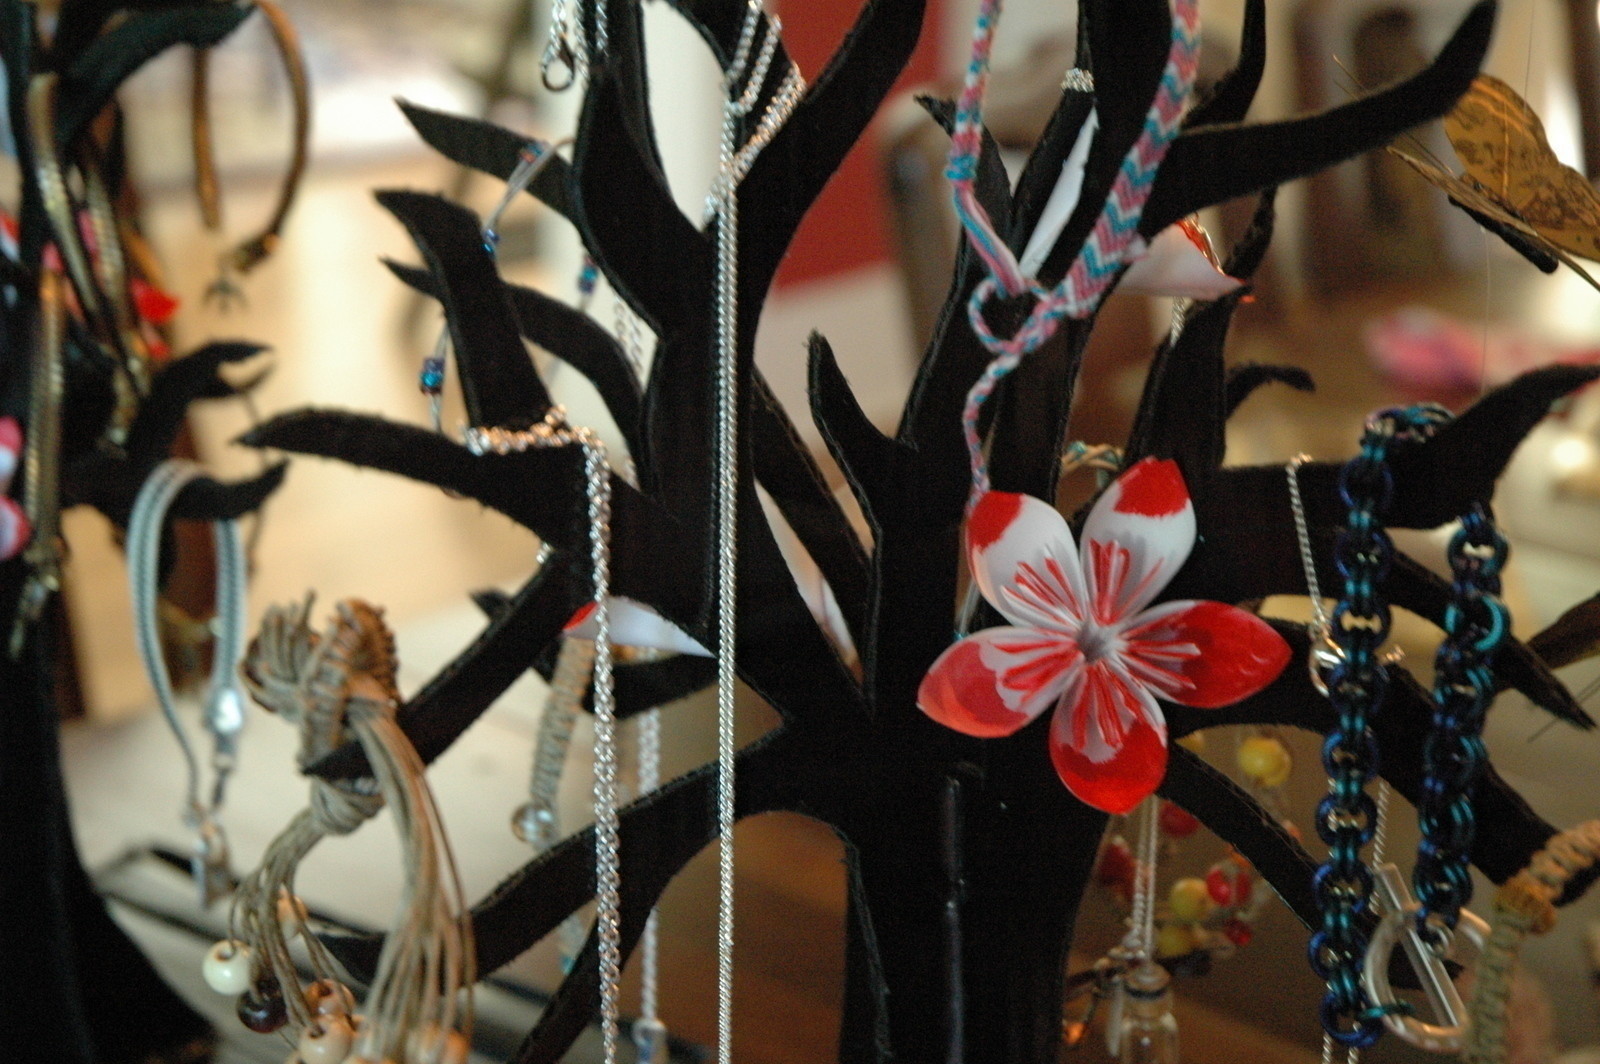
Simple Pizzaz! I cut out pieces of white printer paper that were 2.5x2.5 inches and folded them into the petals of Kusudama flowers according to the "FoldingTree.com" tutorial. I hot glued the petals together to make the flowers. I made four flowers for each tree. (5 petals a flower, 20 petals per tree! I can do math!)
Then I painted the flowers with watery red acrylic paint. If I were Alice painting roses, my head would be off. But I thought it'd be pretty/great if they were half painted.
Once the flowers were ready, I simply hot glued them on to the tree!All done! A beautiful place to hang your jewelry. (If your tree is not tall enough for peskily long necklaces, just wrap the chain around a branch. works like a charm!)
-
 Step 8
Buy a Jabberwocky to protect your Jewelry tree.


Versions


Posted by
allie a.


Posted by
Rai -.

Posted by
VeronicaSunshinee(:

 1
Wire Charms »
Time Turner Inspired Fidget Necklace
1
Wire Charms »
Time Turner Inspired Fidget Necklace

This is really cute