


About
If it sits still long enough, you can decoupage it.
I was lucky enough to take part in this craft test involving Trimcraft's Deco Maché range!
I work on illustrated jewelry most of the time so I thought I'd experiment and put a new spin on some items you can lay your hands on pretty easily!
Tags
-
 Arkolina published their project Decoupage Travel Brooch with Trimcraft Deco Maché
28 Feb 09:00
Arkolina published their project Decoupage Travel Brooch with Trimcraft Deco Maché
28 Feb 09:00
-
 Step 1
Gather up your materials!
-
 Step 2
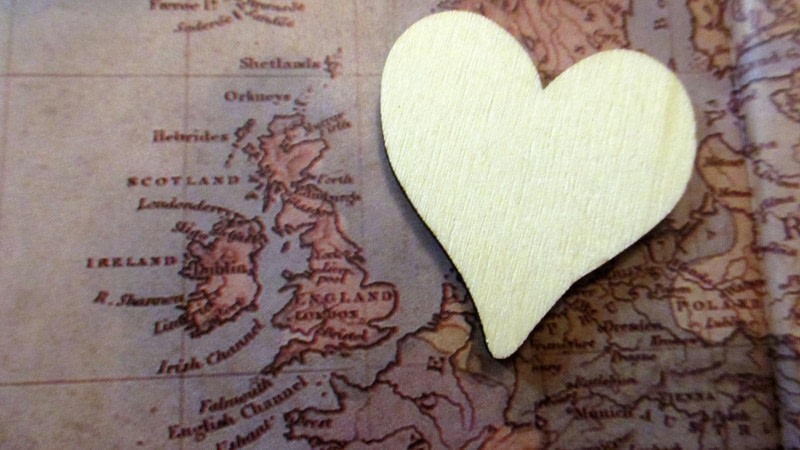
Select a paper, I chose the map themed paper for this particular tutorial but it was a tough choice!
-
 Step 3
Cut out a square you like the look of a little bigger than you need and trim to the approximate shape you'd like. I chose the little bit of the paper with the UK on it so I could take a little piece of home with me everywhere I go.
-
 Step 4
Apply some of the Deco Maché gloss to the shape of your choice and carefully position your paper with most of the design you want on the shape itself. Push it onto the shape with the hogs hair deco maché brush smoothing any bubbles or creases as you go (although I have a few on my example and they give it character!) don't worry too much about over hanging bits at this stage.
-
 Step 5
When you're happy with the positioning of your paper use the nylon deco maché brush to apply another coat of gloss, this will make it smooth and shiny!
Leave to dry.
-
 Step 6
When dry use small sharp scissors or a scalpel to trip your paper overhang. At this stage I like to give it another coat of gloss as well, but it's up to you.
-
 Step 7
Now you just need to attatch your chosen finding to the back of the piece. I've glued a brooch to this one, but you can also use pads with loops to make pendants, rings for smaller pieces or even drill a hole and use for a keychain.
-
 Step 8
Ta da! A perfect little gift to wish someone well travelling and to remind them of home. :)


 1
Watercolor Art »
Watercolor Paints Made From Make Up
1
Watercolor Art »
Watercolor Paints Made From Make Up
 2
Paper Book Covers »
Shoe Inspired Spiral Notebook
2
Paper Book Covers »
Shoe Inspired Spiral Notebook

