


About
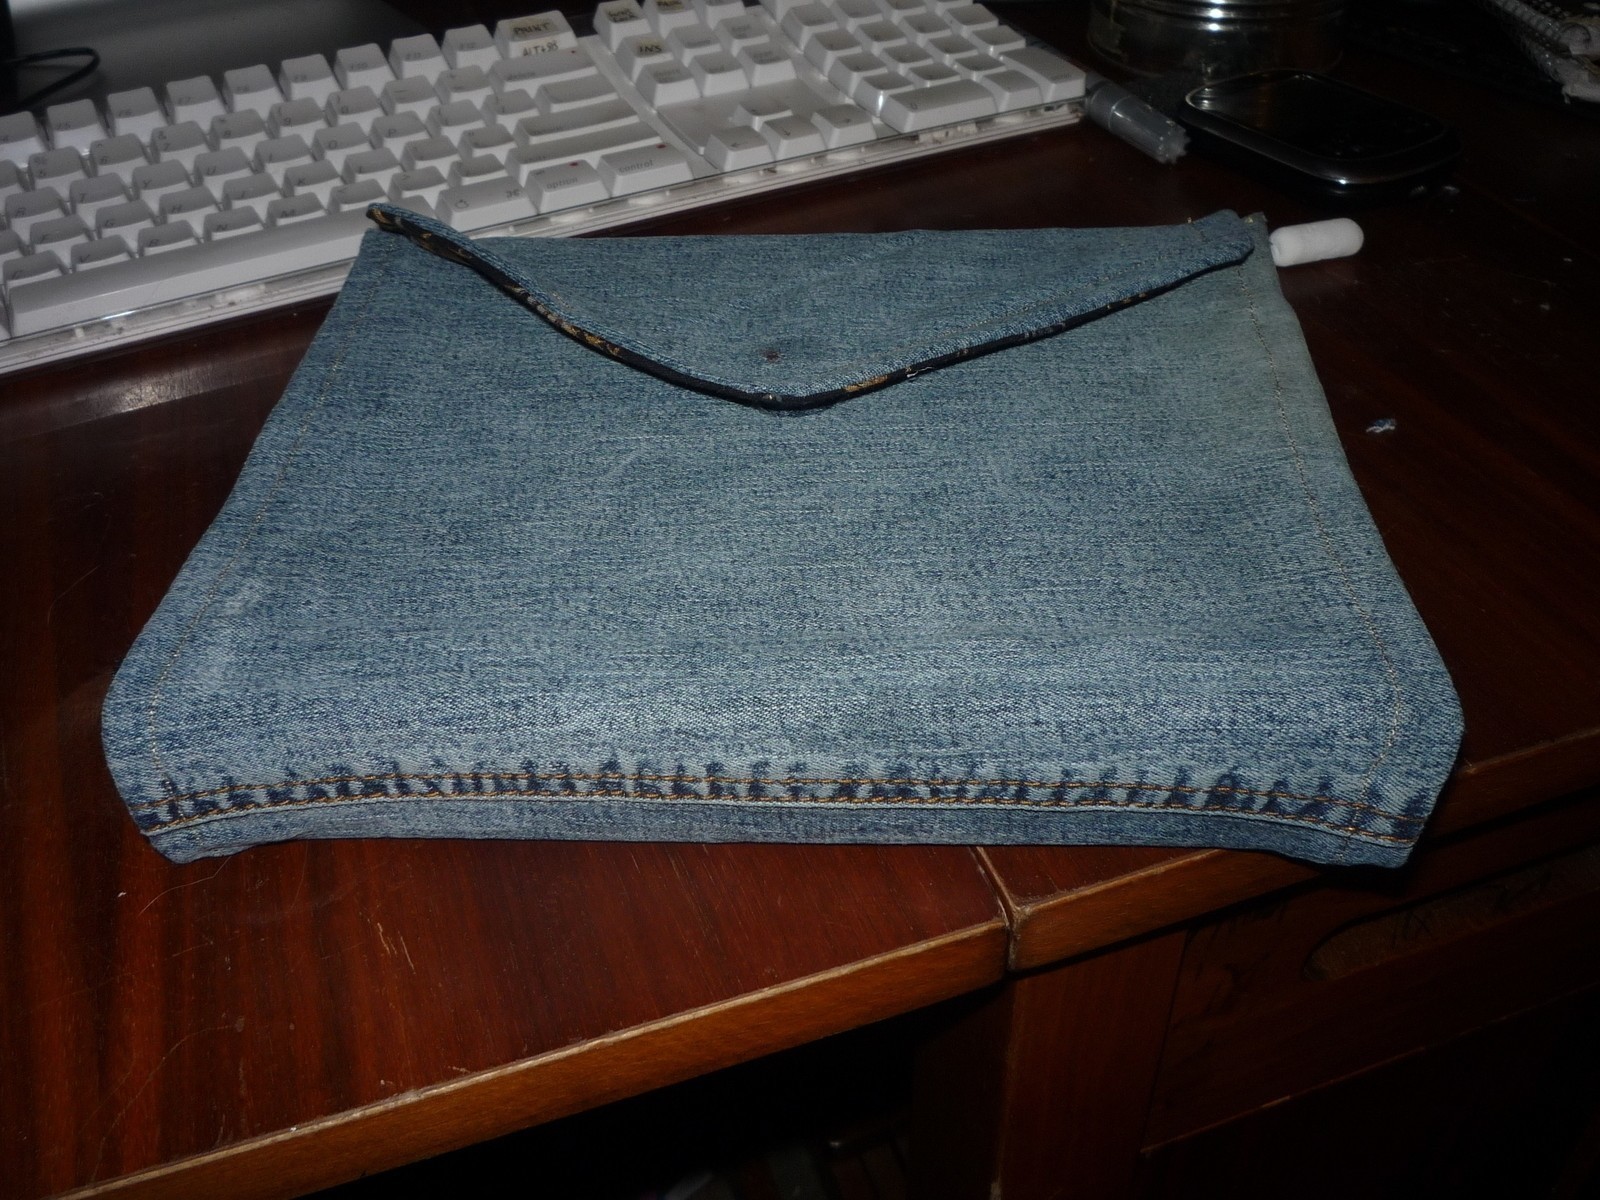
A cover for my nook, but the steps will work to make a cover for any eReader.
An eReader cover for my nook made from random craft stuff I had laying around.
-
 Peggy C. added Hand Made E Reader Cover to must do projects
06 May 10:32
Peggy C. added Hand Made E Reader Cover to must do projects
06 May 10:32
-
 Step 1
Trace an outline of your eReader onto a heavy piece of cardboard. I used a piece out of a calendar.
Add 2-3 cm to each side of your eReader outline. You'll need this space for your edges.
You'll also need to cut strips for the top and bottom of the back. Make these strips about 1 cm taller then the thickness of your eReader.
-
 Step 2
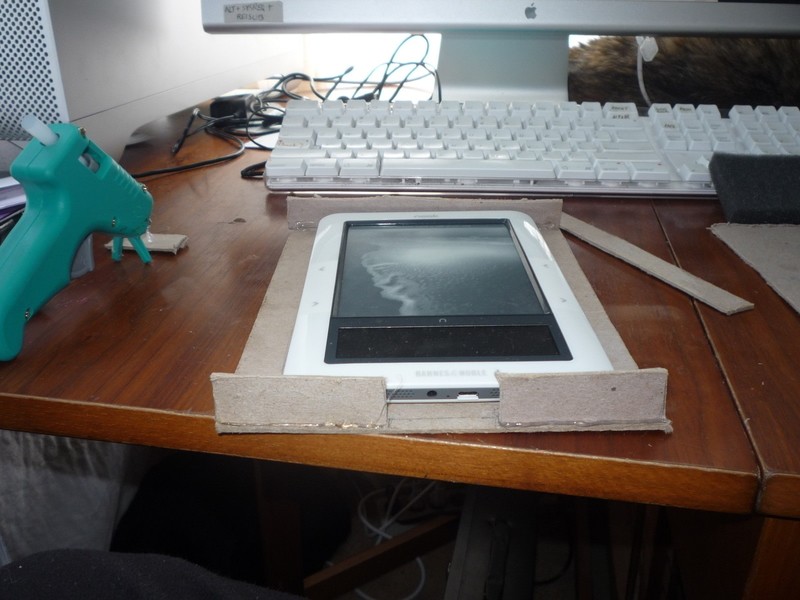
This is the back of the cover. When finished, this is where the eReader will go. I hot glued the top and bottom sides to the very edge of the base. For my nook, I left a gap at the bottom so I could plug in headphones or the USB cable without taking the nook out of the case.
-
 Step 3
Here I hot glued a 1cm wide by 1cm tall strip of foam padding on the left and right side of the eReader, leaving some space. Since the sides are just foam, they won't interfere with pressing the page turning buttons. I left some space, because I was putting fabric over this part, next.
-
 Step 4
Here I covered the top piece of cardboard with more of the 1cm thick foam, leaving a bit of an edge.
-
 Step 5
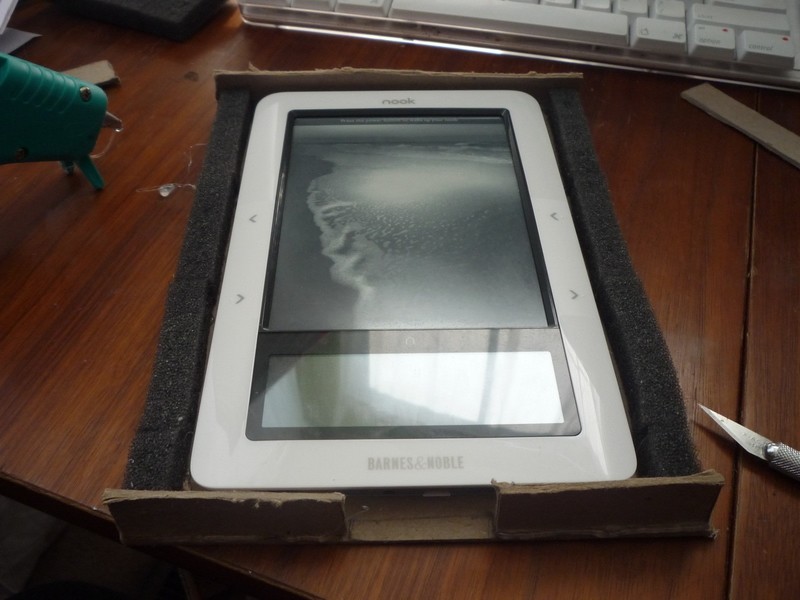
Here is the uncovered inside of the case. The foam top will cushion the screen from damage.
-
 Step 6
This step is a little tricky. You need to cover the top and bottom pieces with your inside lining fabric. I used some black velvet.
Using hot glue, I started glueing and pressing the fabric into place, making sure to press the glue as flat as possible. Use your nails or some kind of tool to make sure the fabric is neatly tucked into the edges. Wrap the fabric around to the back and secure with more glue. You may need to cut the fabric near the corners in order to get it to fold and lay right.
-
 Step 7
Here are the top and bottom pieces, covered in the lining fabric.
-
 Step 8
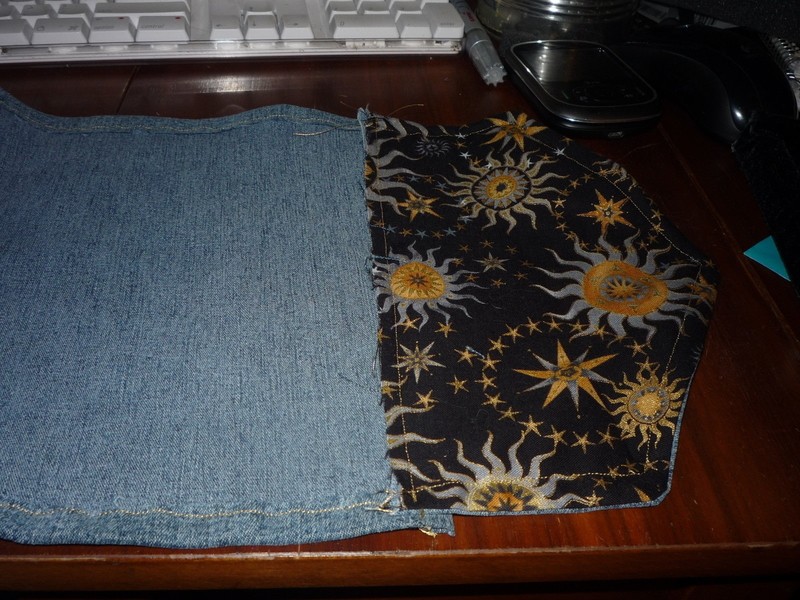
Now, cut out and hem the edges of the fabric you want for the outside cover. Make the hem wide enough so that the inside pieces will overlap the raw edge when glued in place. You also need to leave a thick enough "spine" in the center so that the cover can close easily. Test how thick you need it by putting your eReader inside the case part, put the top on, and set it on the spine edge, in the middle of the fabric. Trace the shape so you'll remember where that spine will be. Then lay the front and back parts of the inside case to eiter side of the spine, and trace those edges. Then draw around the outside of this, thickly enough for you to hem.
-
 Step 9
Once the basic cover is hemmed, you need to make the closure part. The basic shape will look something like this-
_____
\
\
/
_____/Cut that shape out of the cover fabric, and a lining fabric. Make it long enough so that the straight edge can be tucked under the inside case, then wrap around to the front like an envelope. Sew it together with the "pretty" sides sandwiched inside. Don't sew the straight edge. Once sewed, flip it inside out so that the pretty side is now on the outside.
-
 Step 10
Here I used spray adhesive to cover the inside of the spine area with a piece of the velvet lining. Remember, you want this part to be flexible. Not only is it there to let you properly close the cover, but also to let you fold the cover all the way back.
-
 Step 11
Now use spray adhesive to glue your front and back case pieces into the cover. Make sure you shield the spine and flap. You don't want them getting all sticky.
-
 Step 12
You need a way to keep the flap closed. I used a snap button scrounged from a ratty pair of kids' jeans. You could also use velcro, a button and button hole, or a button and elastic loop. I'd thought about using a magnetic button, but figured that wouldn't be good for the electronics :P
-
Step 13
From here you can add all sorts of things to your cover. Maybe some way to hold the eReader in place inside the case, or a pocket to put SD cards or cables or anything else in. Just don't put anything on the inside. You don't want anything in there that could scratch or bruise the screen, or damage buttons.
-
Step 14
Now just put your eReader inside and enjoy knowing your precious library is safe, and you didn't shell out the ridiculous amount of money they want for the store ones.


 1
Watercolor Art »
Watercolor Paints Made From Make Up
1
Watercolor Art »
Watercolor Paints Made From Make Up
 2
Paper Book Covers »
Shoe Inspired Spiral Notebook
2
Paper Book Covers »
Shoe Inspired Spiral Notebook

