


About
A very quick and customizable tag!
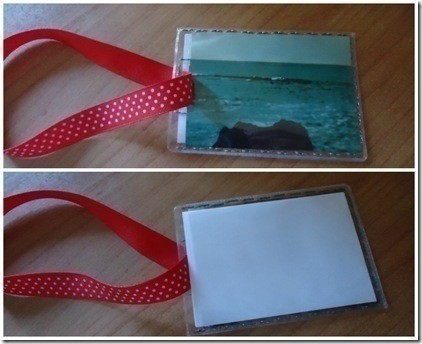
Super simple and you can decorate the picture inside however you like!
-
 Zombie Babe favorited Diy Quick Luggage Tag
04 Apr 02:59
Zombie Babe favorited Diy Quick Luggage Tag
04 Apr 02:59
-
 Lima published her project Diy Quick Luggage Tag
30 Mar 16:18
Lima published her project Diy Quick Luggage Tag
30 Mar 16:18
You Will Need
-
 Step 1
- brush the staplers with nail polish and set them apart to dry;
- your plastic pocket'd have two pages (I used an ID cards cover) so glue them together;
- once the staplers are dry staple the pocket around 3 sides (sides and bottom);
- on the top side make a cut as wide as the ribbon you're going to use and staple all aroud it to make it stronger. -
 Step 2
- chose a nice image and cut it to fit the pocket;
- decide the lenght of the ribbon purring it aroud you luggage handle, cut it, insert it in the cut on top of the tag and sew the two ends together;
- on a blank piece of paper write your name and ifos (you can also type it and print).Fix the tag around the handle and you're good to go!
Have a nice trip :D


 1
Watercolor Art »
Watercolor Paints Made From Make Up
1
Watercolor Art »
Watercolor Paints Made From Make Up
 2
Paper Book Covers »
Shoe Inspired Spiral Notebook
2
Paper Book Covers »
Shoe Inspired Spiral Notebook

