

About
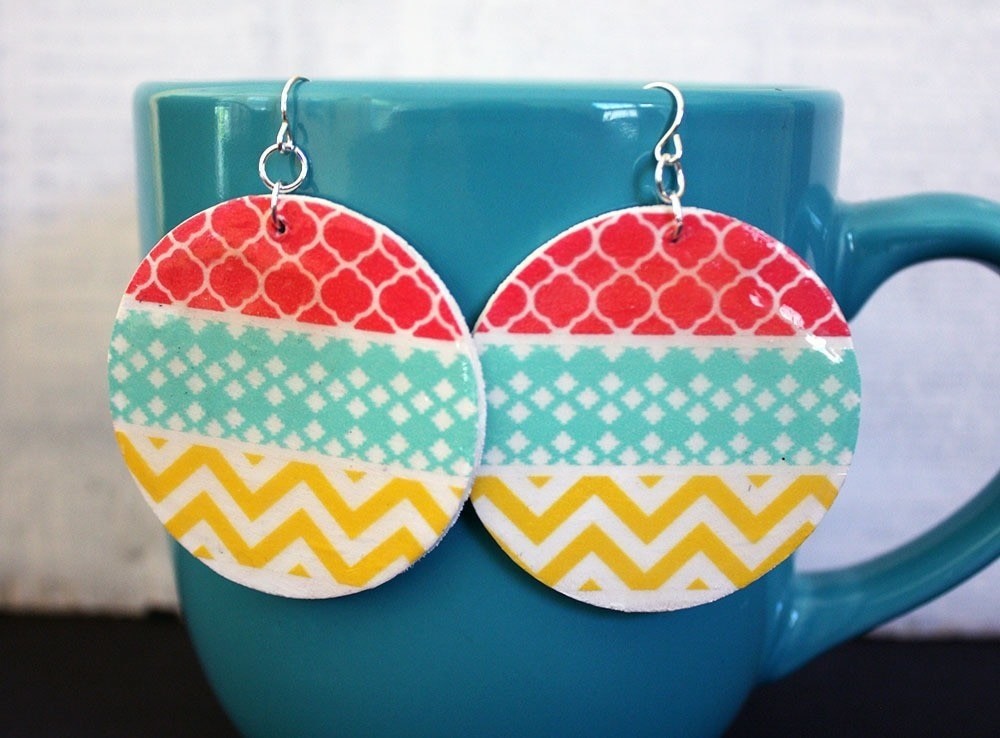
Use some basic craft supplies to make earrings with a pop of color and pattern.
Washi tape is a relatively new supply on the craft scene. However, the patterns and color combinations on them are endless. It’s a versatile material for any artist to keep on hand, as you will see in these earrings.
-
 Adrienne the Crafty Little Gnome added Washi Tape Earrings to Tropical Style
17 Oct 18:11
Adrienne the Crafty Little Gnome added Washi Tape Earrings to Tropical Style
17 Oct 18:11
-
 CraftyHope entered her project Washi Tape Earrings to The Little Bullet Book
29 Jan 00:14
CraftyHope entered her project Washi Tape Earrings to The Little Bullet Book
29 Jan 00:14
-
 Sarah Sylvia S. favorited Washi Tape Earrings
18 Jul 02:15
Sarah Sylvia S. favorited Washi Tape Earrings
18 Jul 02:15
-
 Kerri W. added Washi Tape Earrings to Earrings
29 May 01:42
Kerri W. added Washi Tape Earrings to Earrings
29 May 01:42
-
 Minna O. favorited Washi Tape Earrings
10 May 05:18
Minna O. favorited Washi Tape Earrings
10 May 05:18
-
 CurlyMade added Washi Tape Earrings to Easter
21 Mar 20:36
CurlyMade added Washi Tape Earrings to Easter
21 Mar 20:36
-
CraftyHope entered her project Washi Tape Earrings to TokyoTreat
18 Mar 13:20
-
 GiftedDiva24 added Washi Tape Earrings to Diy Jewelry
18 Nov 20:16
GiftedDiva24 added Washi Tape Earrings to Diy Jewelry
18 Nov 20:16
-
 Beth E. favorited Washi Tape Earrings
03 Nov 00:56
Beth E. favorited Washi Tape Earrings
03 Nov 00:56
-
 Emma H. favorited Washi Tape Earrings
01 Nov 21:29
Emma H. favorited Washi Tape Earrings
01 Nov 21:29
-
 Step 1
Paint front, back, and sides of wood tags with acrylic paint and allow to dry. This could take several layers, depending on the paint/color.
-
 Step 2
Place painted wood pieces evenly side by side on a non-stick craft mat (wax paper would also work). Apply first strip of washi tape to both tags at once, starting in the center of the tag. Use a bone folder (or other tool for rubbing) to secure the tape to the tag.
-
 Step 3
Work outward from the center, applying more tape. Make sure to rub down/secure the tape as you go.
-
 Step 4
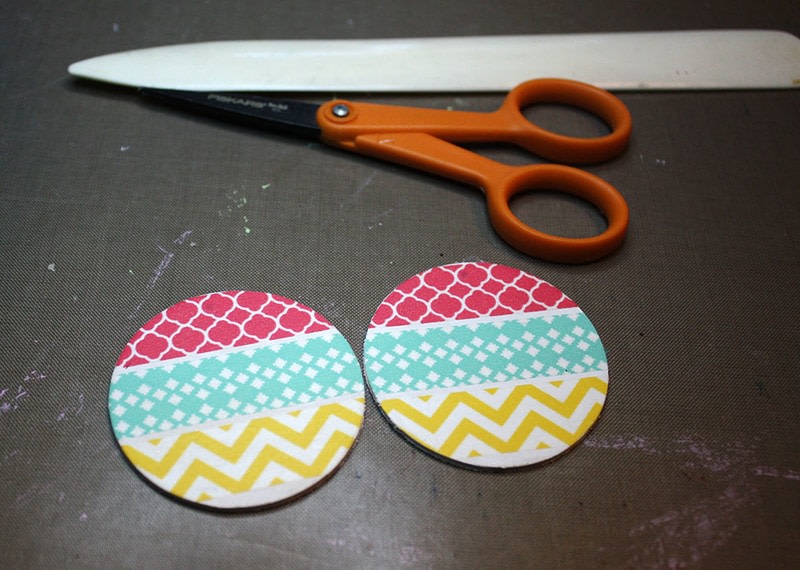
Use scissors to carefully cut between the two tags.
-
 Step 5
Peel tags from the working surface, one at a time, and flip them over to keep them from sticking back to your work surface.
-
 Step 6
Trim off excess tape. Then, rub down the tape again, paying special attention to the edges.
-
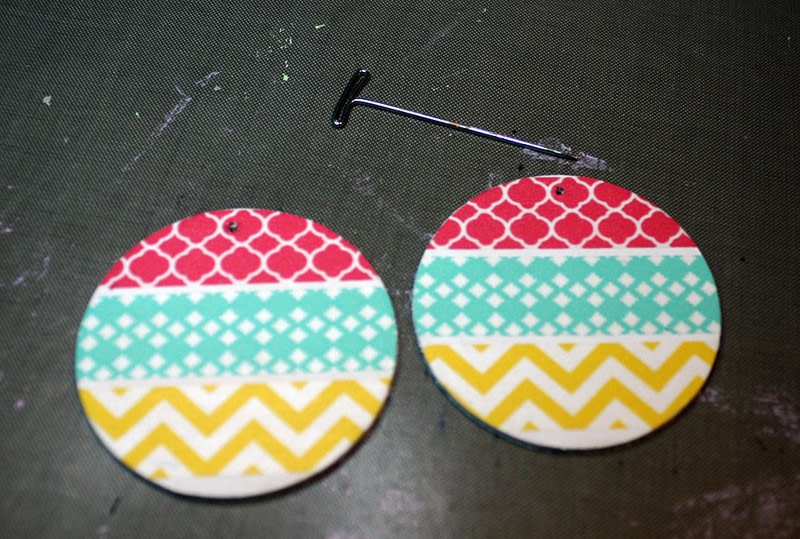
 Step 7
Using a straight pin (or other poky tool), poke through and open up the holes in the tags.
-
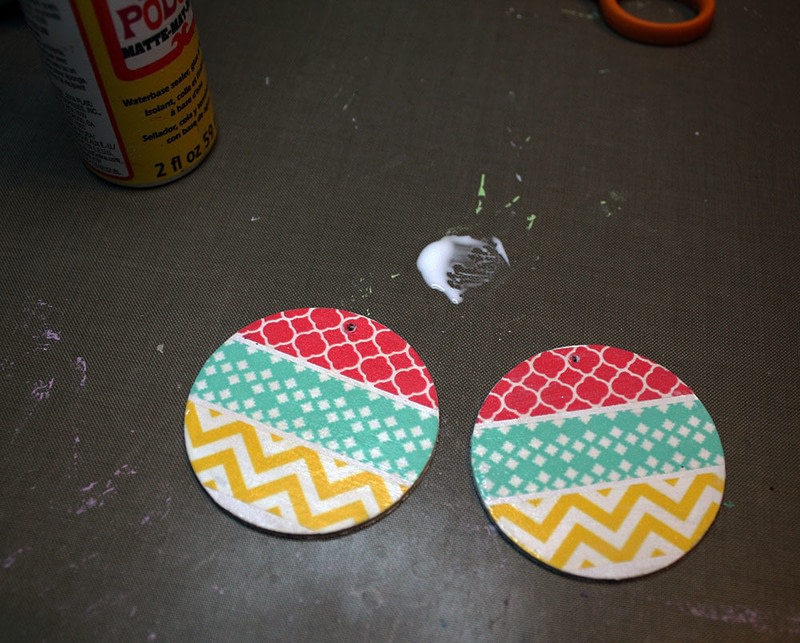
 Step 8
Apply a thin layer of mod podge (I used matte) or other paper sealer to the front and sides of the tag. Allow it to dry completely.
-
 Step 9
Top with a dimensional glaze (diamond glaze, glossy accents, resin, etc.). Avoid the open hole. Allow it to cure.
-
 Step 10
Seal the backs with mod podge.
-
 Step 11
Attach each ear wire with jump rings.
-
 Step 12
Additional Notes:
*Wood tags work great for this project because holes are already drilled at the center top of them. However, you could use thin wood pieces and drill your own holes just as easily.
* As some areas of the tape can be transparent, remember to select background paint that will accent the washi tape’s patterns and not allow it to blend in.
* I place a dome/bowl over the pieces while they cure to prevent dust/hair from sticking to them.
* I used two jump rings on each earring to help ensure that the patterns face forward while hanging.


 1
Watercolor Art »
Watercolor Paints Made From Make Up
1
Watercolor Art »
Watercolor Paints Made From Make Up
