

About
Easy tips and tricks to help you threw the process!
Simple little things I came up with and discovered threw the process of sewing and creating a version of Cydney W.'s Collage Handbag, you can see the how-to here: <a href="http://www.cutoutandkeep.net/projects/collage_handbag">[link]</a>
And I'm sure these tips could probably be applied to dozens of other projects.
-
 Key West Witch favorited Tips & Tricks For Cydney W.'s Collage Handbag
27 Jun 13:37
Key West Witch favorited Tips & Tricks For Cydney W.'s Collage Handbag
27 Jun 13:37
-
 colourChemist added Tips & Tricks For Cydney W.'s Collage Handbag to Other
09 Jun 01:46
colourChemist added Tips & Tricks For Cydney W.'s Collage Handbag to Other
09 Jun 01:46
-
 A.Alnuaimi commented on Tips & Tricks For Cydney W.'s Collage Handbag
02 Mar 20:54
A.Alnuaimi commented on Tips & Tricks For Cydney W.'s Collage Handbag
02 Mar 20:54
-
A.Alnuaimi favorited Tips & Tricks For Cydney W.'s Collage Handbag
02 Mar 11:19
-
 emily.r. favorited Tips & Tricks For Cydney W.'s Collage Handbag
16 Aug 19:29
emily.r. favorited Tips & Tricks For Cydney W.'s Collage Handbag
16 Aug 19:29
You Will Need
-
 Step 1
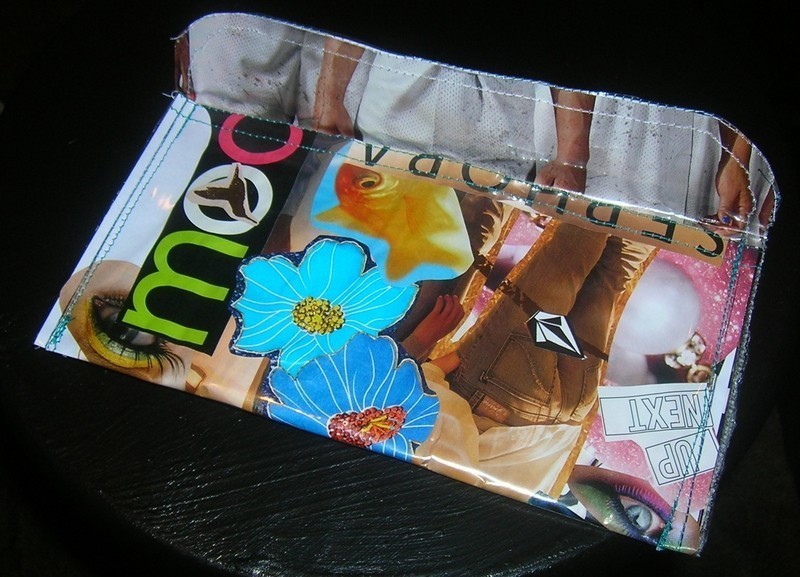
To get a congruent curved corners, a circle stencil like the one seen in the picture, would be extremely helpful, just line up edgues to edges and then ajust it to your liking and then repeat with your other corner or corners depending.
Although, another way it could be done is drawing a rounded edge on the corner of a piece of paper and then cutting of the excess and using that as a template.
Also a pen or marker will work best for marking your edges, pencils don't work to well if they're just the regular graphite ones.
-
 Step 2
Use colorful or neutral(such as white, navy, grey or black) verses browns or an earthy color depending on the colour of your collage.
I choose the teal because it'd blend in but pop out just enough for my liking.
-
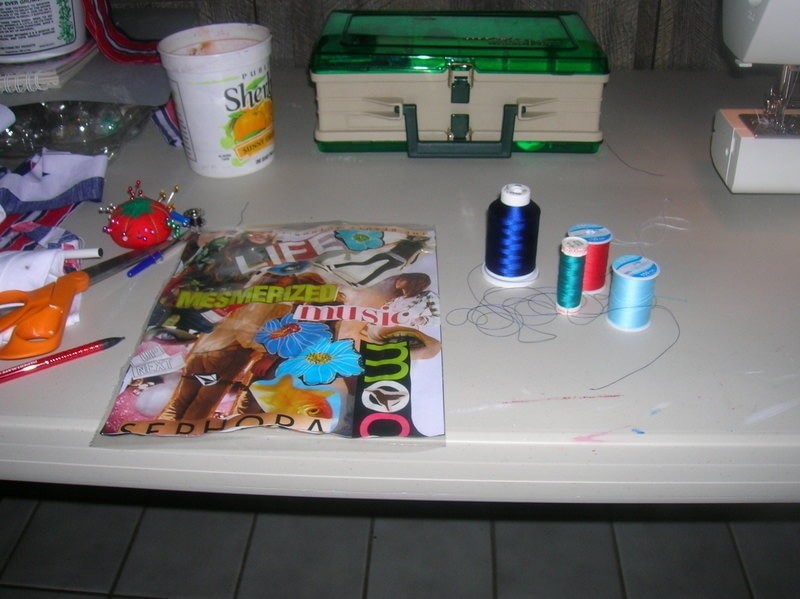
 Step 3
If you don't have a large spool of your chosen colored thread or you're like me, a little lazy, you can use an already spooled bobbin for the lower part of your machine. (I'm not even sure of the term for the lower bobbin goes, it's been a while since I've read a manual.)
-
 Step 4
Also, when sewing the long sides, depending on the shape you're going for, it could be smart to wait to sew the sides until you've decided in which fashion you'd like it to be folded to reduce the amount of sewing you do and to create a cleaner, more polished look.


Comments


 1
Watercolor Art »
Watercolor Paints Made From Make Up
1
Watercolor Art »
Watercolor Paints Made From Make Up
 2
Paper Book Covers »
Shoe Inspired Spiral Notebook
2
Paper Book Covers »
Shoe Inspired Spiral Notebook
