


About
Learn how-to yarn over with Yarn it and Haberdashery in Columbus, Ohio
It is typically used as an eyelet stitch that creates a small hole in the fabric as either an increase or part of a lace motif. It can be done from either the front Knit (RS) or the back Purl (WS) of the fabric. Remember the YO is much more simple than you think, it is just creating a placeholder for the next row so that a stitch can be made on top of it. It typically does not require any additional twist or wrap, it is just laid over the top of your working needle.
-
 Shop Showcase published her project The Yarn Over (Yo)
23 Sep 09:00
Shop Showcase published her project The Yarn Over (Yo)
23 Sep 09:00
You Will Need
-
 Step 1
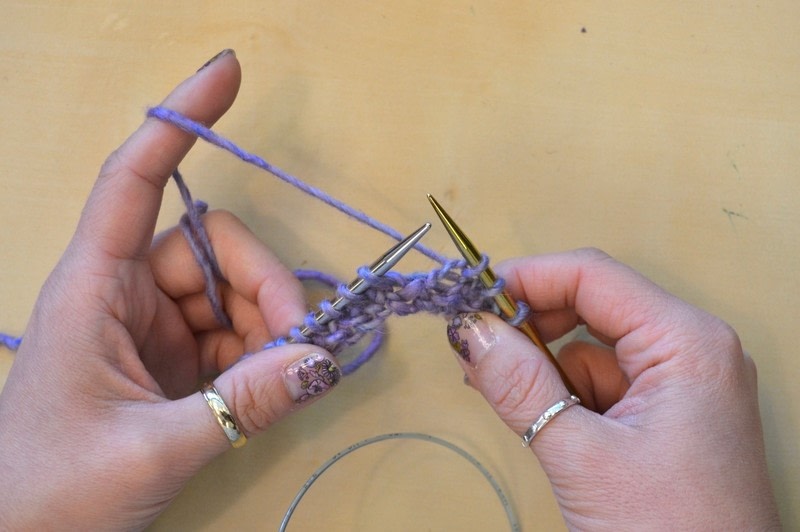
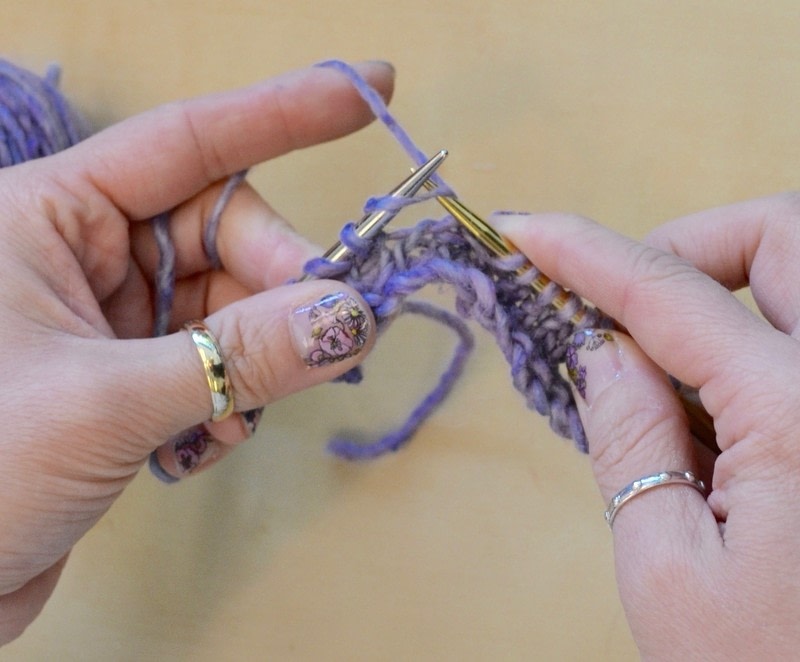
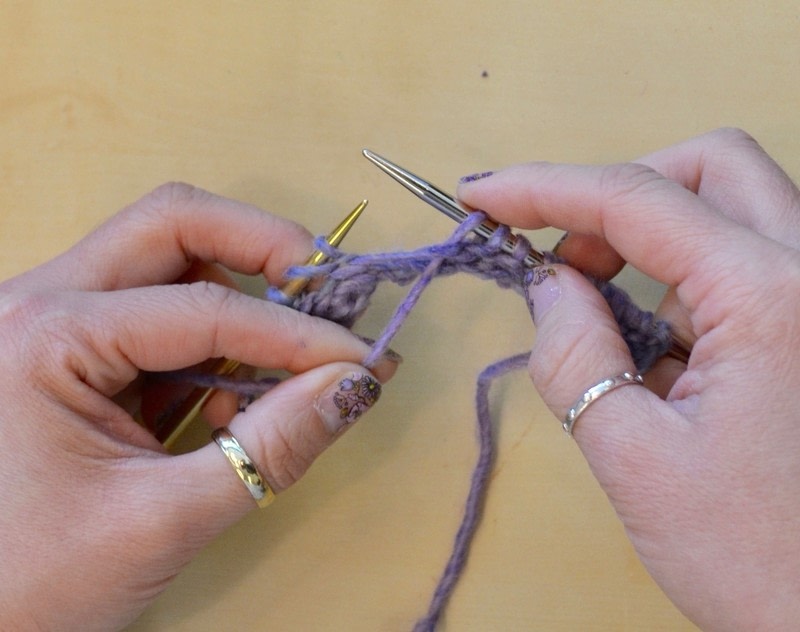
Yarn over from Knit side.
On the Knit side when you come to a yarn over you will want to bring the yarn forward between your two working needles, then lay it over your right hand needle and hold the yarn to the back and knit the next stitch for an increase, or if you are keeping the same number of stitches do a k2tog (knit two together). -
 Step 2
...
-
 Step 3
...
-
 Step 4
...
-
 Step 5
...
-
 Step 6
...
-
 Step 7
...
-
 Step 8
...
-
 Step 9
...
-
 Step 10
...
-
 Step 11
...
-
 Step 12
...
-
 Step 13
...
-
 Step 14
...
-
 Step 15
...
-
 Step 16
...
-
 Step 17
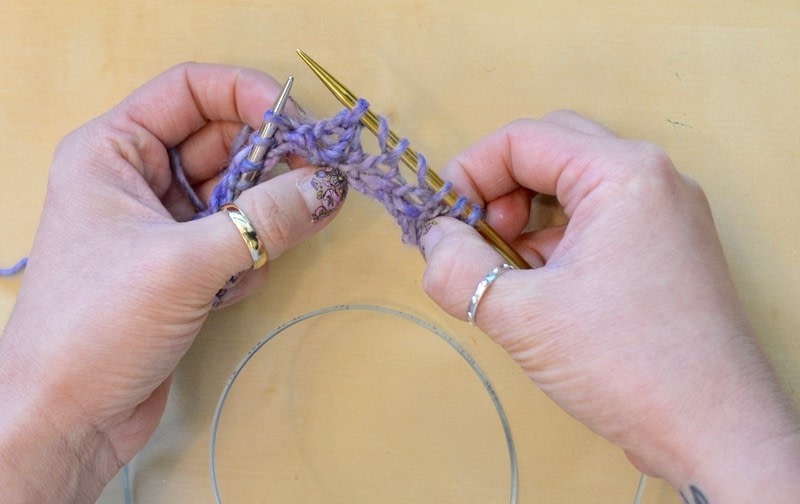
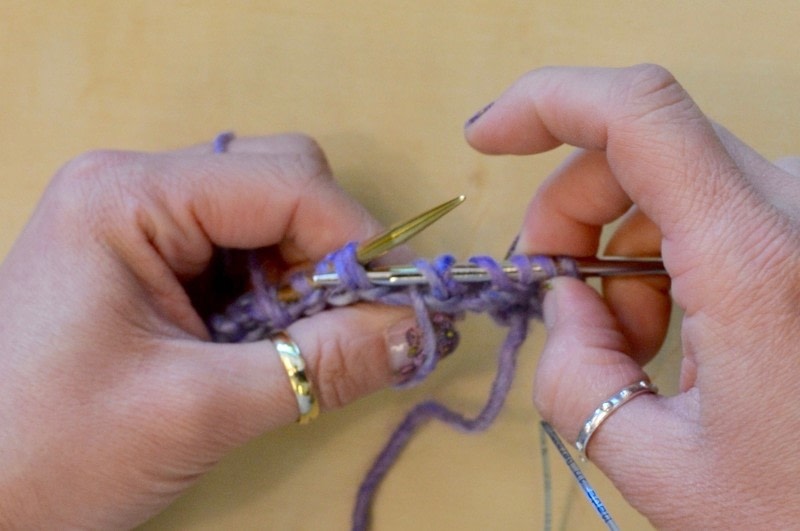
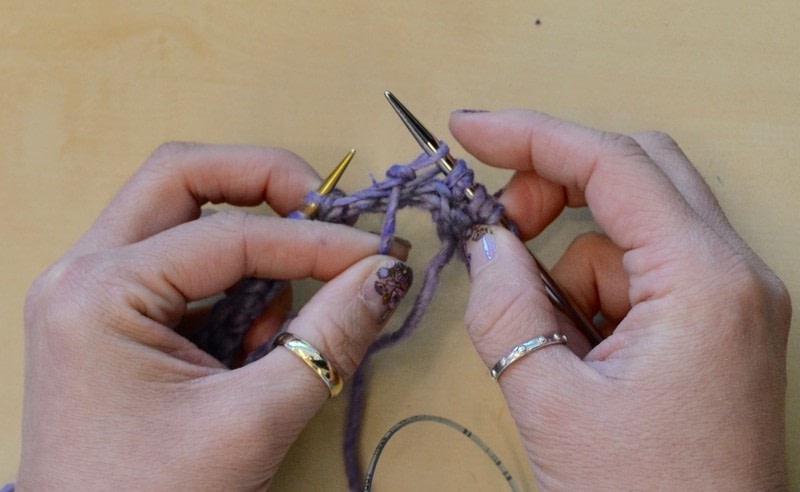
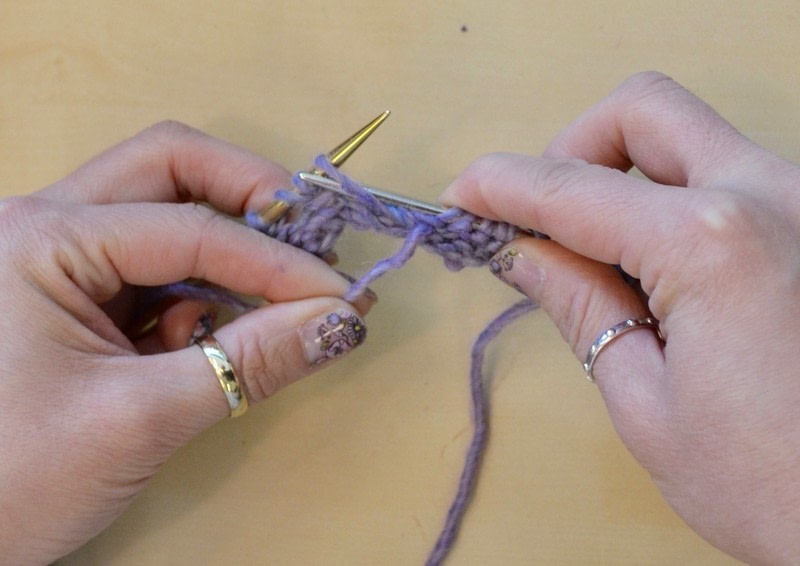
Yarn over from Purl side.
Similar to the knit side YO but the yarn is already in the front. Purl until you come to your YO. Yarn is already in the front so you need to place it over top of your right hand working needle to the back and then pull it forward between the two working needles. It seems like it creates more of a loop than the Knit side yarn over but it is the same principle. You just have to remember on the purl side no matter what stitch the yarn needs to be worked in the front. Then continue to purl or P2tog (purl two together) for your pattern. -
 Step 18
...
-
 Step 19
...
-
 Step 20
...
-
 Step 21
...
-
 Step 22
...
-
 Step 23
...
-
 Step 24
...
-
 Step 25
...
-
 Step 26
...
-
 Step 27
...
-
 Step 28
...
-
 Step 29
...
-
 Step 30
...
-
 Step 31
...
-
 Step 32
...


 1
Watercolor Art »
Watercolor Paints Made From Make Up
1
Watercolor Art »
Watercolor Paints Made From Make Up


