


About
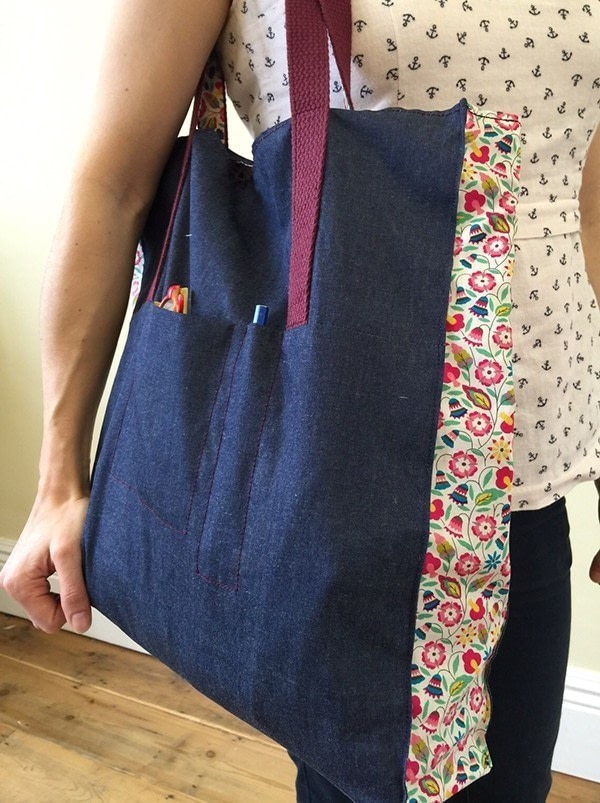
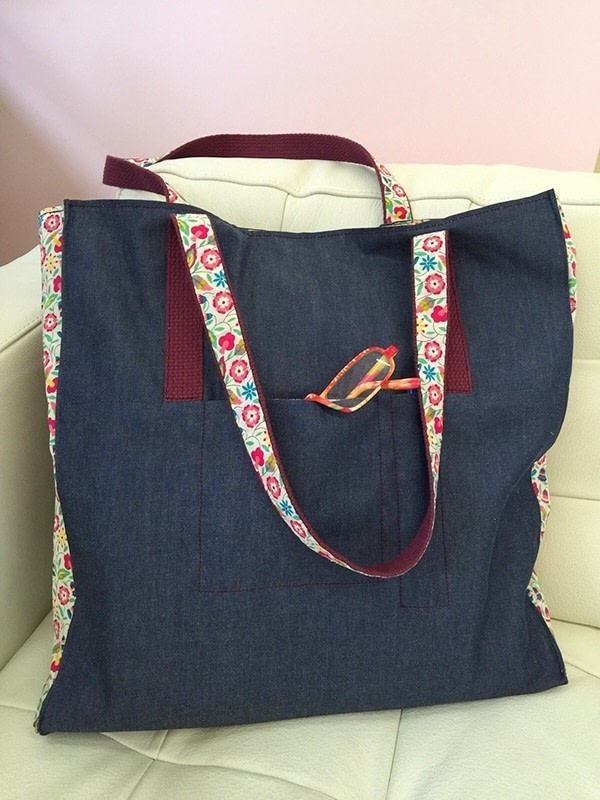
The Ultimate Shopping Bag for all those extras!
Learn how to make a roomy bag with lots of space for those extra things you end up carrying around everywhere!
Customise the bag but adding pockets and a contract fabric
-
 LoupLou added The Ultimate Shopping Bag to sewing
06 Jan 20:52
LoupLou added The Ultimate Shopping Bag to sewing
06 Jan 20:52
-
 ale_corason favorited The Ultimate Shopping Bag
05 Jan 01:12
ale_corason favorited The Ultimate Shopping Bag
05 Jan 01:12
-
 Lauren G. published her project The Ultimate Shopping Bag
29 Dec 09:00
Lauren G. published her project The Ultimate Shopping Bag
29 Dec 09:00
-
Step 1
Cut out the Fabric
From the main fabric you will need:For the front/back upper panel 2 x 17cm x 42cm
For the front/back lower panel 2 x 27cm x 42cm
For the bottom gusset outer panel 1 x 10cm x 42cm
For the side and bottom inner panels 3 x 10cm x 42cm
From the contrast fabric:For the front/back panel 2 x 42cm x 42cm
For the outer gusset side panels 2 x 10cm x 42cm
Optional from the contrast fabric:For the inner patch pocket 1 x 28cm x 21cm
For the outer pocket 2 x 20cm x 17cm
For the contrast panel on the strap 2 x 4cm x 90cm
Mark the centre point of the outer pocket pieces and the outer front/back panels with a little snip.I’ve used a 1cm seam allowance. As my fabric didn’t really fray that much I didn’t finish off any of my seam allowances or raw edges – they won’t be exposed anyway as the bag is lined. You may want to do this if your fabric is fraying quite a bit.
-
 Step 2
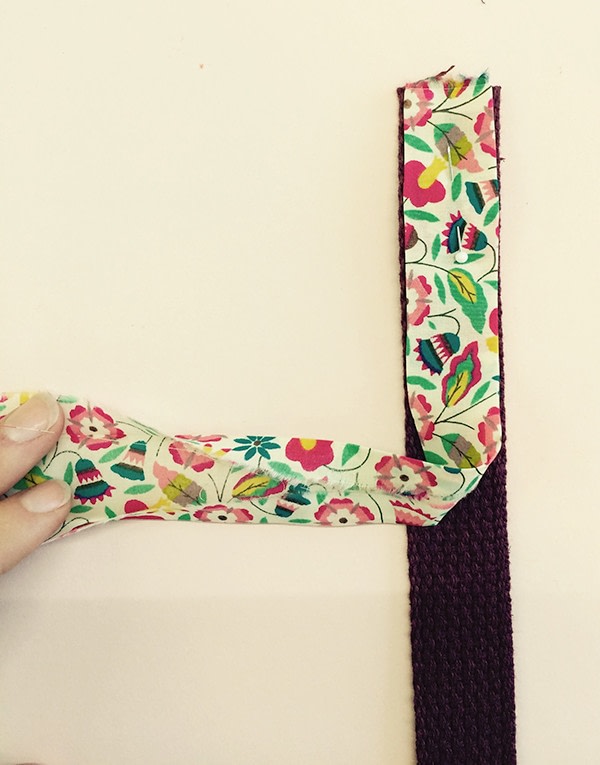
Construct the straps (optional)
If you would like the contrast panel on the straps – take the 4cm x 90cm strip. Fold and press 1cm along the two long edges towards the centre of the strip. Pin it to the cotton webbing strap wrong side down so that the raw edges are hidden. Using a blind stitch/ladder stitch hand sew the strip to the webbing so the stitching isn’t visible. -
 Step 3
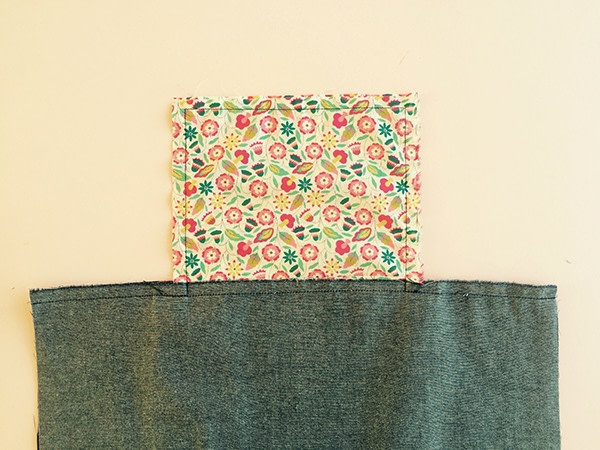
Sew one outer pocket piece to the bottom edge of the upper panel and one to the top edge of the bottom panel with right sides together using a 1cm seam.
Use the centre point markings to make sure the pocket panels are in the middle of the outer panels. -
 Step 4
Press the pocket panels away from the main panels.
Pin one of the handles in place to the upper panel, overlapping the edge of the pocket panel by 1cm. -
 Step 5
With right sides facing, put the bottom panel on top, lining up the pocket – the handle will be sandwiched inbetween.
Sew with panels together with a 1cm seam allowance, going around the pocket. -
 Step 6
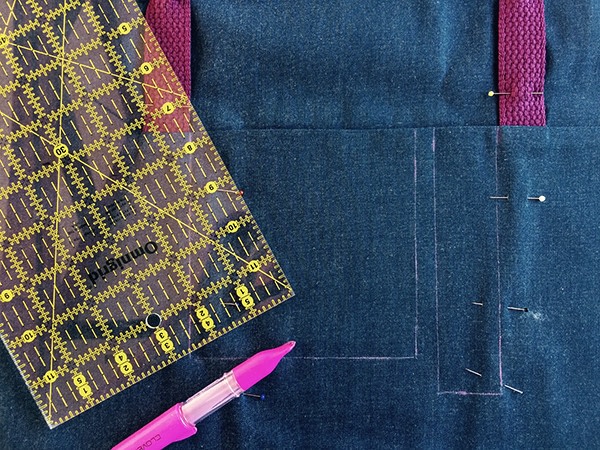
Press the bottom panel down and pin the pocket to the bottom panel.
Using chalk (I like using a chaco liner as it give a nice sharp straight line) draw on the pocket sections as a stitch guide. I made mine 13cm x 13cm and 3.5cm x 15cm for the pen section with a 1cm space between them. -
 Step 7
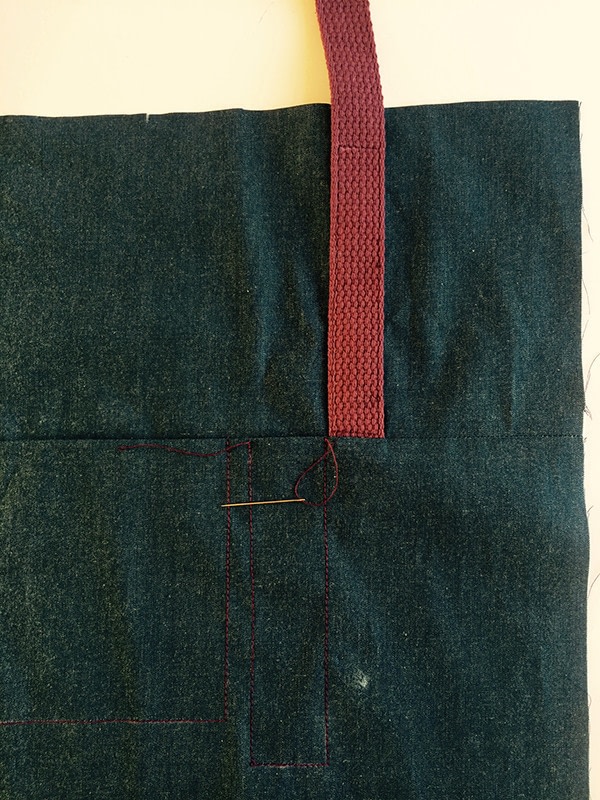
Using top stitch thread (I just used it in the top thread and had regular thread in the bobbin) stitch over your chalk markings. You will be stitching though the pocket pieces and the outer panel all at the same time. I left long thread tails and using a needle pulled the thread to the back to tie it off rather than add extra bulk with a reverse stitch.
Sew a rectangle of stitching on attach the handle to the upper panel of the front/back of the bag, using the top stitch thread, and stop 2cm from the top edge of the panel. This will allow you to fold and top stitch the very top of the bag at a later step.
Stitch the back panels together, sandwiching the handle in between with a 1cm seam allowance and press it downwards. -
 Step 8
Sew the Gusset of the Bag together
Sew the side panels to the bottom panel with a 1cm seam allowance but stop 1cm from the side as shown below.
-
 Step 9
Sew the Gusset of the Bag together
Sew the side panels to the bottom panel with a 1cm seam allowance but stop 1cm from the side as shown below.
-
 Step 10
Attach the Internal Patch pocket to the lining (optional)
Hem the top edge of the internal pocket panel by folding and pressing 1cm, then 1cm again towards the wrong side of the fabric. Top stitch in place.
Fold and press 1cm along the side and bottom edges of the panel.
Pin the panel onto the front/back lining section 8cm down from the top edge and 8cm from the side edges.
Top stitch the pocket panel in place with a little triangle at the top corners. This prevents excess strain on the fabric. -
Step 11
Construct the lining of the bag
Following the same process, sew the lining front/back panels to the gusset panels.
Iron a small patch, approx 3cm square, of interfacing onto the centre of the front and back panel to reinforce it where the magnetic clasp will be. -
Step 12
Cut the plastic canvas to size (optional)
I used two layers of plastic canvas for the bottom panel, cut to 8cm x 40cm. Place it into the bottom of the bag. It will be sewn in place later.
-
 Step 13
Attach the lining to the outer bag
Fold and press 1cm towards the wrong side of the fabric along the top edge of the outer and lining sections.
Place the lining inside the outer bag, wrong sides together. -
 Step 14
Top stitch along the top edge of the bag to attach the lining and outer sections together. I used the top stitch thread again with regular thread in the bobbin.
-
 Step 15
Top Stitch the side edges of the bag (optional)
I’ve marked this step as optional as its not essential but I think it frames the bag nicely and will also make the side panels stay at the side.
Press the side edges of the bag and top stitch the seam – just on the outer fabric of the bag, don’t catch the lining as well – although you will a little bit at the top edge of the bag. I use regular thread for this as I didn't want it to be a feature - just a subtle addition. -
 Step 16
Attach the magnetic clasp and fix plastic canvas in place
Hand sew the magnet clasp on to the centre of the lining fabric.
Manoeuvre the plastic canvas in place and sew a few stitches in each bottom corner of the bag sewing though the lining and outer bag.And there you have a lovely bag! Perfect as a gift for all those extra essentails and a great way to avoid paying lots of 5ps!


 1
Watercolor Art »
Watercolor Paints Made From Make Up
1
Watercolor Art »
Watercolor Paints Made From Make Up
 2
Paper Book Covers »
Shoe Inspired Spiral Notebook
2
Paper Book Covers »
Shoe Inspired Spiral Notebook


