


About
Create your own tote bag for your tablet.
Create the tote bag you want for your tablet. This tote bag is carried over the shoulder.
-
 Miss_Fit favorited Tablet Tote Bag
17 Sep 21:15
Miss_Fit favorited Tablet Tote Bag
17 Sep 21:15
-
 Kinhime Dragon favorited Tablet Tote Bag
03 Aug 15:32
Kinhime Dragon favorited Tablet Tote Bag
03 Aug 15:32
-
 Kathleen C. published her project Tablet Tote Bag
03 Aug 09:00
Kathleen C. published her project Tablet Tote Bag
03 Aug 09:00
-
 Step 1
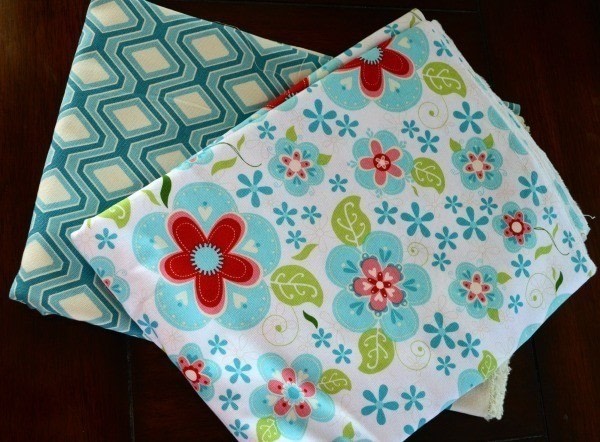
Select 2 fabrics that coordinate. For bags, I like to use home decor fabric because it is thicker and generally 60 inches wide. Cut the following pieces:
18″ x 10″ (back)
12″ x 10″ (front)
6″ x 7″ (pocket)
50″ x 2 1/2″ (strap)
11″ x 9 1/2″ (fleece for front)
17″ x 9 1/2″ (fleece for back)
5 1/2″ x 6 1/2″ (fleece) -
 Step 2
After everything is cut, iron all of the fabric pieces. NOT the fleece. Then iron the fleece onto the back side of your outside fabric pieces.
-
 Step 3
Sew the pocket. Iron the fleece on the pocket and then sew the wrong sides of the two fabrics together, leaving an opening to turn the fabric right side out. Iron the pocket and then sew all the way around the edges to ensure a nice edge.
Sew the pocket on the back side of the bag, on the outside fabric, centering it across and about 2 inches up from the bottom. -
 Step 4
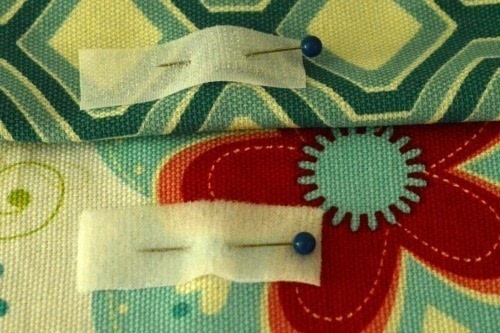
Now attach the velcro to the flap. To do this, I lined up my front and back fabric and then figured out where I wanted the closure to be. Then I pinned it in place and then sewed it in place.
-
 Step 5
For the front and back of the bag:
Sew the inside and outside fabrics together, leaving a small opening on the bottom to flip the fabrics. Since we sewed the velcro and pocket on prior to sewing the two fabrics together, there won’t be seams inside the bag.
-
 Step 6
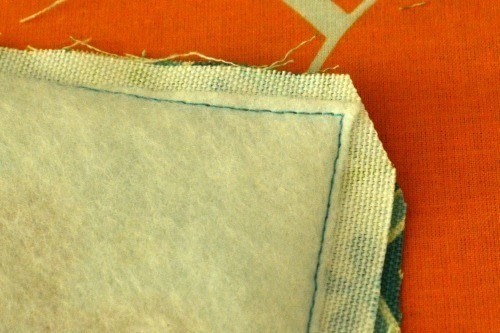
Clip the corners of the bag and the edges to avoid excess fabric and then flip it right side out. Iron again and sew a seam across the bottom of the fabrics to close up the openings.
Now do the same thing for the strap, except there won’t be any fleece.
-
 Step 7
This is what your pieces will look like prior to assembling them together.
-
 Step 8
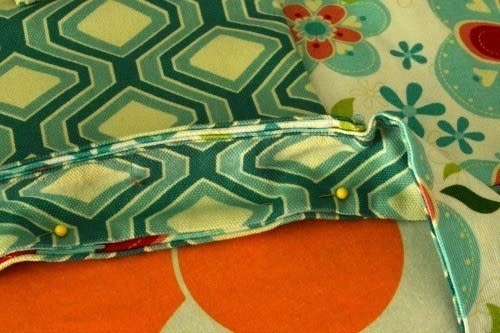
Now it’s time to assemble the bag. The strap is actually the bottom and sides too. If you want the strap longer, just cut it longer than 50 inches. Find the exact center of the strap and the exact center of the bottom of the bag and pin it together, outside fabrics together. Then pin it in place all the way around. The picture shows the corners so you can see how to get around the extra fabric. Sew it together.
-
 Step 9
Now do the same thing with the other piece. This is what it will look like as your sewing. When you’re finished, flip the bag right side out. Your strap will be open at the top. I used a button to attach the two pieces.


 1
Watercolor Art »
Watercolor Paints Made From Make Up
1
Watercolor Art »
Watercolor Paints Made From Make Up

