


About
Use your scrap fabric for this easy to sew project
Using your little fabric scraps and pieces, sew up this needle book to keep all your pins and needles safe.
Button closure on the side to keep them secure. Great for a travel sewing kit.
-
 Key West Witch added Scrappy Needle Keeper Tutorial to Sewing
29 Jun 15:06
Key West Witch added Scrappy Needle Keeper Tutorial to Sewing
29 Jun 15:06
-
 Sarah Sylvia S. favorited Scrappy Needle Keeper Tutorial
19 Jul 05:45
Sarah Sylvia S. favorited Scrappy Needle Keeper Tutorial
19 Jul 05:45
-
 Miss_Fit favorited Scrappy Needle Keeper Tutorial
12 Nov 20:16
Miss_Fit favorited Scrappy Needle Keeper Tutorial
12 Nov 20:16
-
 Annelie S. favorited Scrappy Needle Keeper Tutorial
09 Aug 20:52
Annelie S. favorited Scrappy Needle Keeper Tutorial
09 Aug 20:52
-
 Lorrie B. added Scrappy Needle Keeper Tutorial to crafts
31 May 16:45
Lorrie B. added Scrappy Needle Keeper Tutorial to crafts
31 May 16:45
-
 thatgirlrahma favorited Scrappy Needle Keeper Tutorial
19 Nov 18:17
thatgirlrahma favorited Scrappy Needle Keeper Tutorial
19 Nov 18:17
-
 Maladignia commented on Scrappy Needle Keeper Tutorial
11 Aug 14:14
Maladignia commented on Scrappy Needle Keeper Tutorial
11 Aug 14:14
-
Maladignia favorited Scrappy Needle Keeper Tutorial
11 Aug 14:13
-
 Biblionic favorited Scrappy Needle Keeper Tutorial
09 Aug 21:27
Biblionic favorited Scrappy Needle Keeper Tutorial
09 Aug 21:27
-
 Suzi T. favorited Scrappy Needle Keeper Tutorial
30 Jul 14:59
Suzi T. favorited Scrappy Needle Keeper Tutorial
30 Jul 14:59
You Will Need
-
 Step 1
or this needle keeper you need a base or foundation fabric. Mine is a piece of white sheet. Use muslin or whatever scrap you’ve got hanging around. You need something light and no or little pattern.
Cut this piece 6″ X 8 1/2″
Grab one of the scraps and lay it in the center—Right Sides UP!! -
 Step 2
Place another scrap across the first one- right sides together and stitch 1/4″ along the cut edge. Flip back and iron.
See that little left out spot? It is going to get some covering. Lay the next piece right sides together and sew along that edge.
Flip back and iron. -
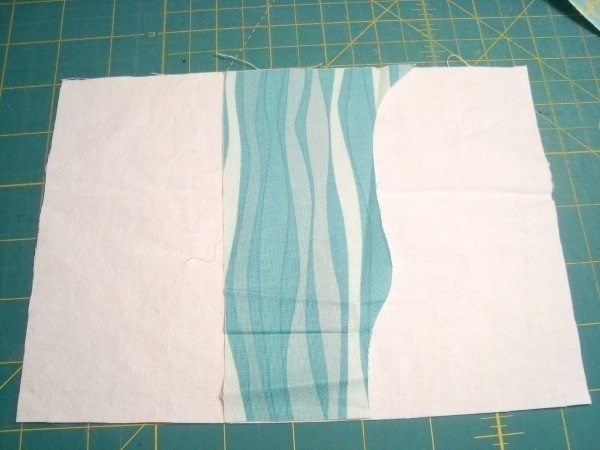
 Step 3
This next piece I am going to take the full width, making sure it is moved far enough on the fabrics that it covers and doesn’t leave anything left out. Cover up that salvage notes, unless you are using that as your design.
It is going to cover up a bunch of fabric, but that's ok. -
 Step 4
See? After you sew it- and turn it- and iron it- It looks great! On to the next piece.
-
 Step 5
Continue laying them down and working out the edge of the one side. Don’t worry about those extra long pieces hanging off the edge. They will all get trimmed later.
Now that you have one side finished, go to the other side and continue with the same process.Turn this with all the right sides down. Now that you can see the correct shape– trim it.
-
 Step 6
This is what it will look like after being trimmed up. Use the muslin or back fabric piece to get the correct shape and measurement.
-
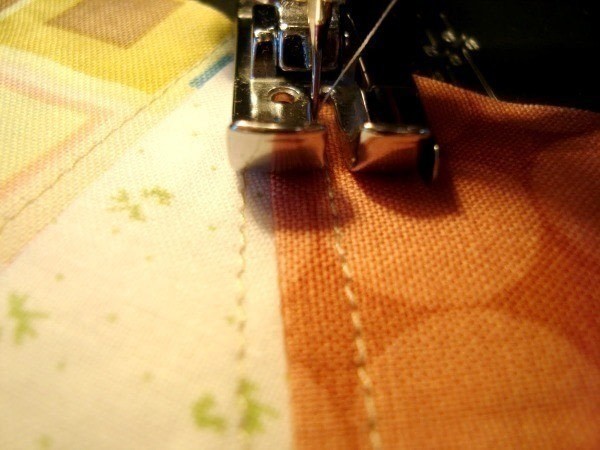
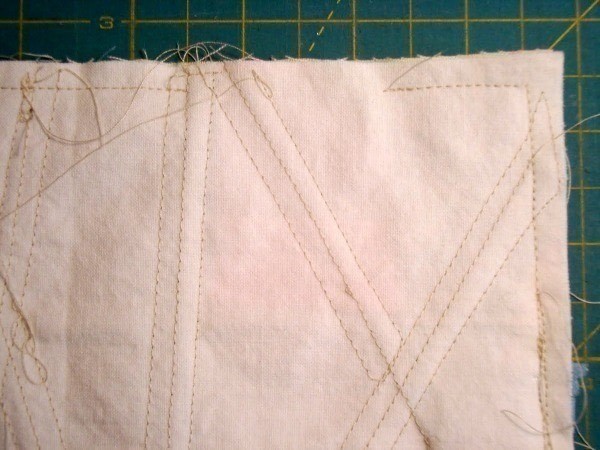
 Step 7
Run it through the sewing machine. Stitch along both side of the seam. I used my foot as the guide and tried to be consistant.
-
 Step 8
This is what it will look like quilted.
-
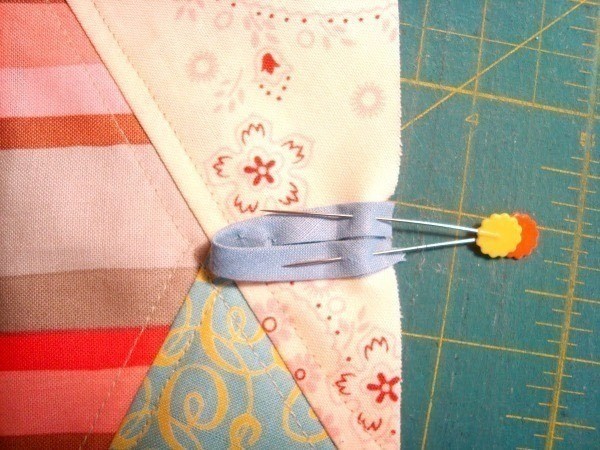
 Step 9
In the center of the rectangle edge you need to pin the button loop. I am using a 1/4″ wide X 3″ long bias tape- pre made.
-
 Step 10
Now you need a piece for the inside of the needle keeper.
I kept using the scraps and made a scrappy inside. Cut it to 6″ X 8 1/2″.
Sew this right side together all the way around, leaving an opening for turning. -
 Step 11
Trim the corners, and then turn it right sides out.
Push those corners out nice like and iron that baby flat!
Because of the inside foundation piece you are sewing to, there isn’t any need for batting. It keeps it’s shape real nice like.
Coax that turning hole inside nice and then iron that flat.
Sew all the way around the outside edge 1/8″. Go slow it is a bit thick–but this will secure that button loop and close that turning hole. -
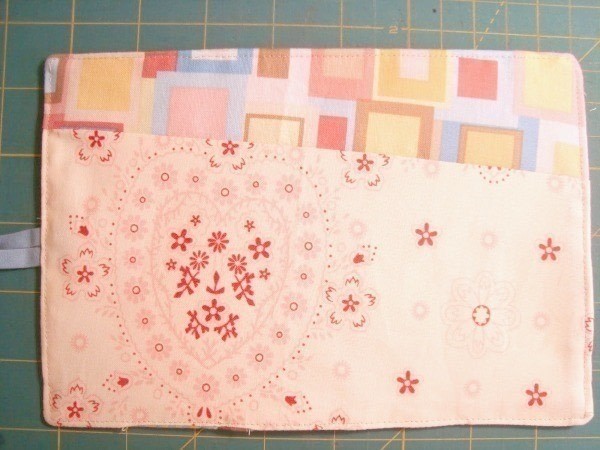
 Step 12
Fold in half and iron. This will make a marking crease for lining up the inside felt.
Cut the felt page to 6 1/2″ X 4 1/2″
Center the pages and Pin in place. Sew a straight line from the top to the bottom. If you need to make a pencil line to follow- do it. -
 Step 13
Fold the needle keeper in half and pull that button loop over. Take a pencil and mark right where it is.
Hand stitch your button on–only catching the top layers.
-
 Step 14
Put your pins inside and you are done!


 1
Watercolor Art »
Watercolor Paints Made From Make Up
1
Watercolor Art »
Watercolor Paints Made From Make Up
 2
Paper Book Covers »
Shoe Inspired Spiral Notebook
2
Paper Book Covers »
Shoe Inspired Spiral Notebook
