


About
Home Made Roman Shades using miniblinds and fabric!
We're re-doing our kitchen but our windows are very large and therefore hard to find nice blinds for. That being said, I somehow stumbled onto the linked blog and thought I'd give it a go!
-
 Tracey H. added Roman Shades to Bath
14 Oct 02:59
Tracey H. added Roman Shades to Bath
14 Oct 02:59
-
Tracey H. favorited Roman Shades
14 Oct 02:58
-
 Marjorie T. added Roman Shades to Want To Do This
22 Apr 20:43
Marjorie T. added Roman Shades to Want To Do This
22 Apr 20:43
-
Marjorie T. favorited Roman Shades
22 Apr 20:42
-
ashley m. favorited Roman Shades
11 Feb 20:09
-
 jennifer.barninger favorited Roman Shades
26 Nov 20:25
jennifer.barninger favorited Roman Shades
26 Nov 20:25
-
 peggy_98 added Roman Shades to Sew
12 May 20:05
peggy_98 added Roman Shades to Sew
12 May 20:05
-
 Mowdy28 favorited Roman Shades
26 Jan 15:46
Mowdy28 favorited Roman Shades
26 Jan 15:46
-
 Chrystal J. favorited Roman Shades
06 Sep 22:37
Chrystal J. favorited Roman Shades
06 Sep 22:37
-
 you can call me Kiwi <3 favorited Roman Shades
05 Sep 15:57
you can call me Kiwi <3 favorited Roman Shades
05 Sep 15:57
-
 Step 1
Measure your window's length and width. Make sure to add a few inches for seam allowance.
-
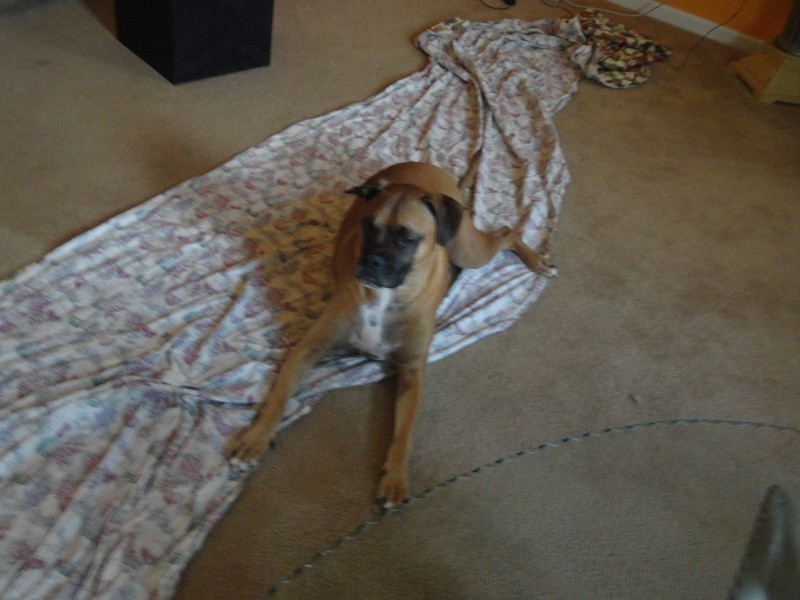
 Step 2
Select, purchase and prep your fabric. My dog as seen here is helping me refold the fabric after washing it.
-
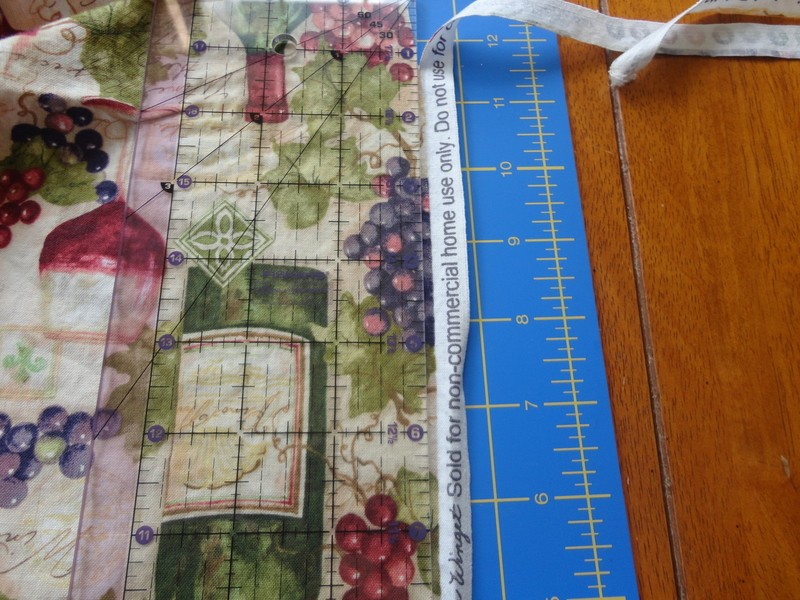
 Step 3
Trim said fabric
-
 Step 4
Iron said fabric - it's ok if it's wrinkly
-
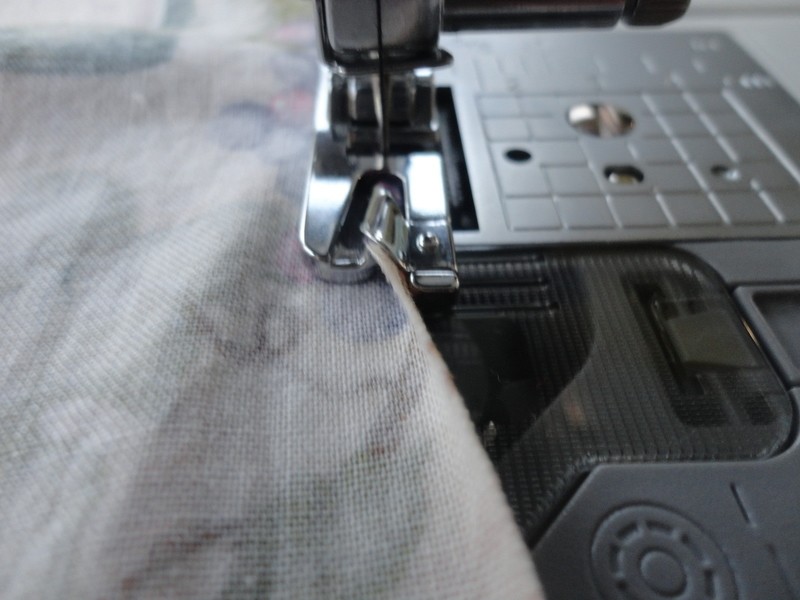
 Step 5
I used a narrow hemmer to hem to whole fabric at once, which would leave me to just hem the bottom as I cut the 'units' off.
-
 Step 6
For those not familiar with a narrow hemmer, it rolls and folds the fabric for you...
-
 Step 7
leaving you with a nice flat, narrow hem!
-
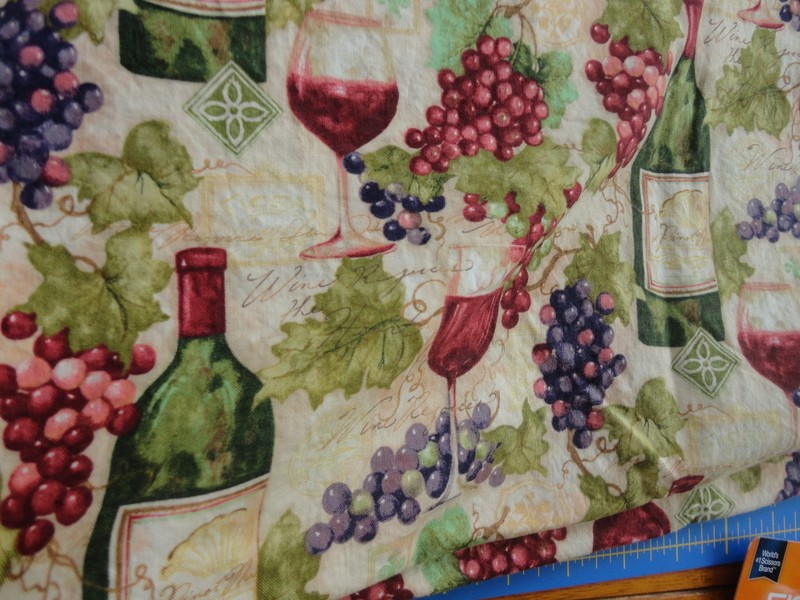
 Step 8
the 'right' side of the fabric
-
 Step 9
Grab some fabric or craft glue - do NOT use super glue or hot glue!
-
 Step 10
laying your miniblinds down on your fabric, cut the 'web' part- the part that twists the blinds to narrow or widen the actual blind opening. DO NOT CUT THE LARGE CORD IN THE MIDDLE!
-
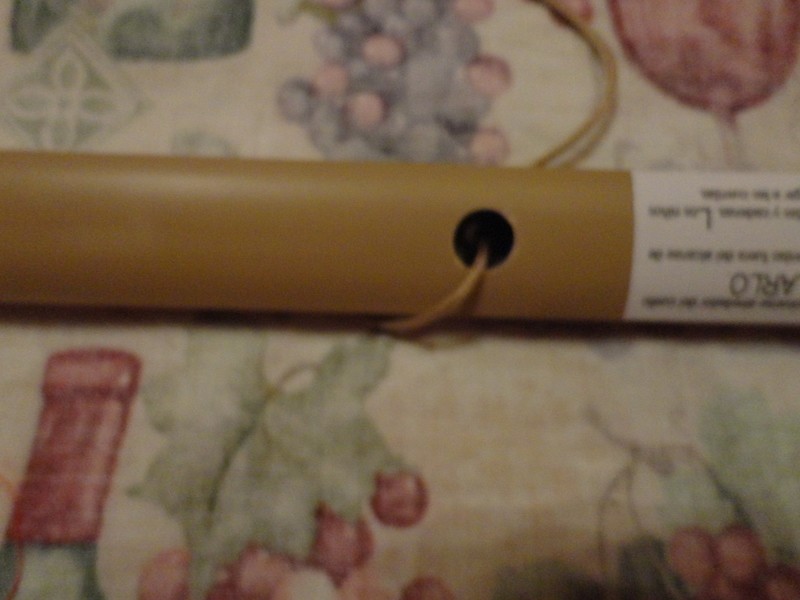
 Step 11
Pop the little white/clear things at the bottom and pull out the knotted cord - cut the knot and...
-
 Step 12
Remove all the slates
-
 Step 13
Figure out where you want the 'folds' to be and how many. the more slates. the more fold and less fabric between each fold. most of all, make sure it's evenly spaced!
-
 Step 14
Paint the glue on the slates using a paint brush to avoid glue lines and glue the slates and fabric together
-
 Step 15
String the cord back through the slates - if the slates pull away a bit, it's fine as long as the majority of the surface stays on the fabric.
Again, I had help
-
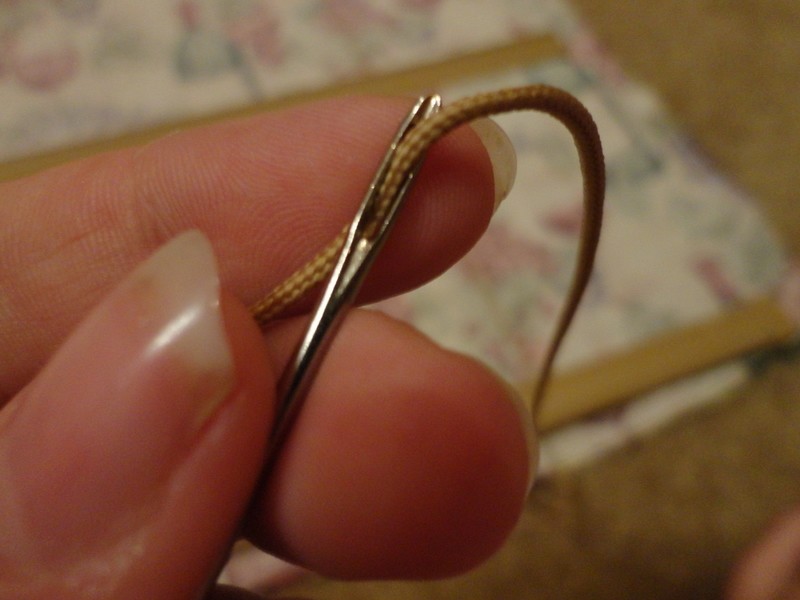
 Step 16
I used a little yarn needle to help the process along
-
 Step 17
re-run the cord through the bottom slate, knot it, and glue the clear 'tabs' back down.
Glue the bottom slate down, so that the 'tabs' are glue to the wrong side of the fabric.
-
 Step 18
here's the tricky part, depending on what type of blinds you bought, your pully string may not allow you to do this the same way I did.
-
 Step 19
Basically you need the string available, but you need to cover the top bar with fabric
-
 Step 20
The linked blog suggested attaching the main fabric to the back and a separate sheet to the front but mine aren't built like that.
-
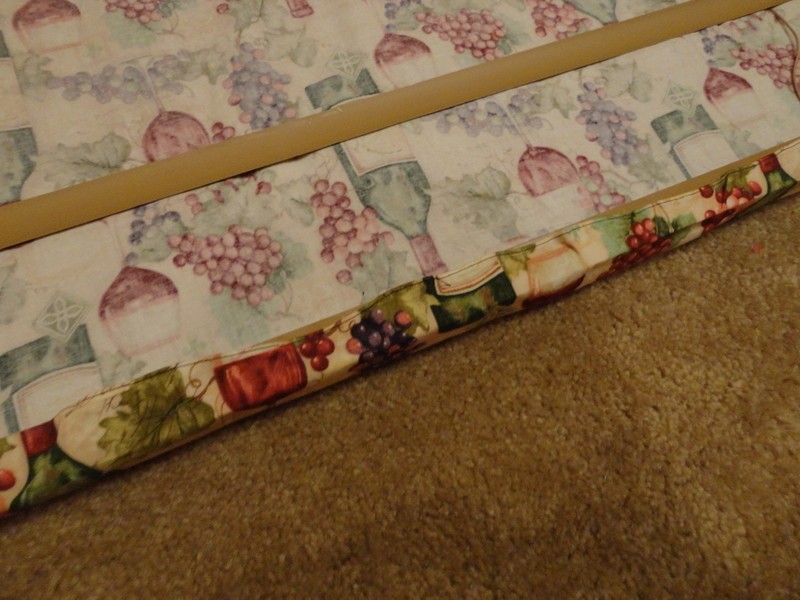
 Step 21
Instead I just glued mine down directly to top and 'back' of the shade.
-
 Step 22
Allow to dry and you're done!


Comments

 1
Watercolor Art »
Watercolor Paints Made From Make Up
1
Watercolor Art »
Watercolor Paints Made From Make Up
