


About
Make a cute bunny figurine for your friends or for your terrarium.
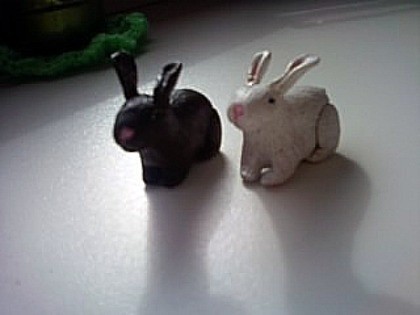
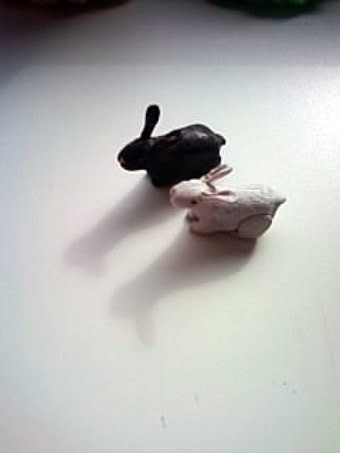
So, in last summer i discovered my new ability of making small realistic looking animals out of clay. (My old art teacher was wrong when she said that i have no talent for sculpting! :D ) It happened when i was trying to make a bunny for my mini terrarium. I also made another one from clay scraps.
I made tutorial on how to make these bunny figurines! Hope you like it! This tutorial is very detailed,as i was working very hard on it. :]
Tags
-
 laceysmom added Polymer Clay Bunnies to CRAFTS-want2Try
12 Aug 00:40
laceysmom added Polymer Clay Bunnies to CRAFTS-want2Try
12 Aug 00:40
-
 Dee D. added Polymer Clay Bunnies to mini
05 Feb 06:53
Dee D. added Polymer Clay Bunnies to mini
05 Feb 06:53
-
 Nancy! added Polymer Clay Bunnies to Monde des Fée/Fôret enchantée
22 Mar 00:26
Nancy! added Polymer Clay Bunnies to Monde des Fée/Fôret enchantée
22 Mar 00:26
-
 aneniine entered their project Polymer Clay Bunnies to The Animal Print Shop
10 Jan 14:58
aneniine entered their project Polymer Clay Bunnies to The Animal Print Shop
10 Jan 14:58
-
 Witchy added Polymer Clay Bunnies to Fiddly Fimo
07 Dec 22:03
Witchy added Polymer Clay Bunnies to Fiddly Fimo
07 Dec 22:03
-
Witchy favorited Polymer Clay Bunnies
06 Dec 00:54
-
 Broken Bownes favorited Polymer Clay Bunnies
19 Nov 22:15
Broken Bownes favorited Polymer Clay Bunnies
19 Nov 22:15
-
Kimberley K. added Polymer Clay Bunnies to What I Like
21 Sep 02:12
-
 Minimax added Polymer Clay Bunnies to Clay
10 Sep 06:50
Minimax added Polymer Clay Bunnies to Clay
10 Sep 06:50
-
 pinkshoesandbracelets favorited Polymer Clay Bunnies
31 Jul 03:58
pinkshoesandbracelets favorited Polymer Clay Bunnies
31 Jul 03:58
-
 Step 1
First, get your polymer clay - bigger ball for body and 2 smaller ones for the paws. If you don't know how big pieces you should take, look at the photo.
*If you're going to paint your finished bunny, then it doesn't matters if your clay has other colorful clay pieces or other stuff in. -
 Step 2
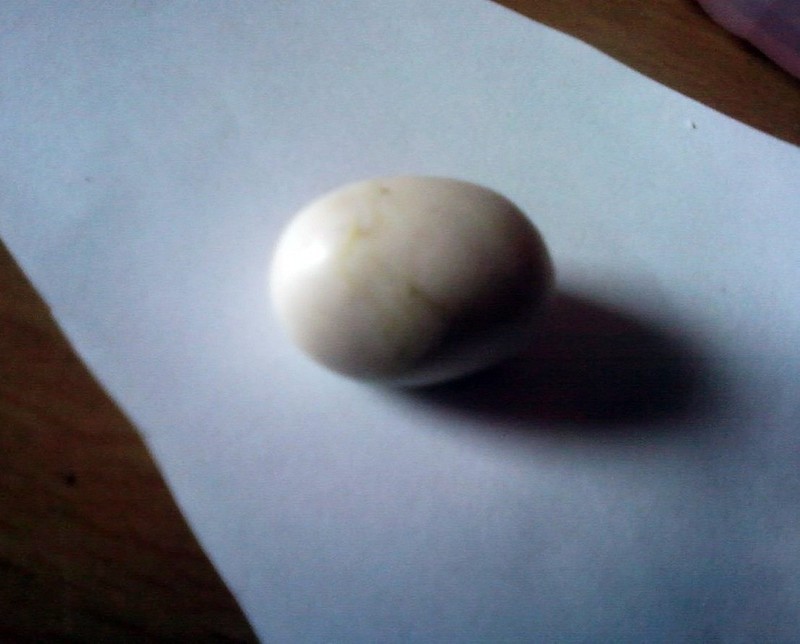
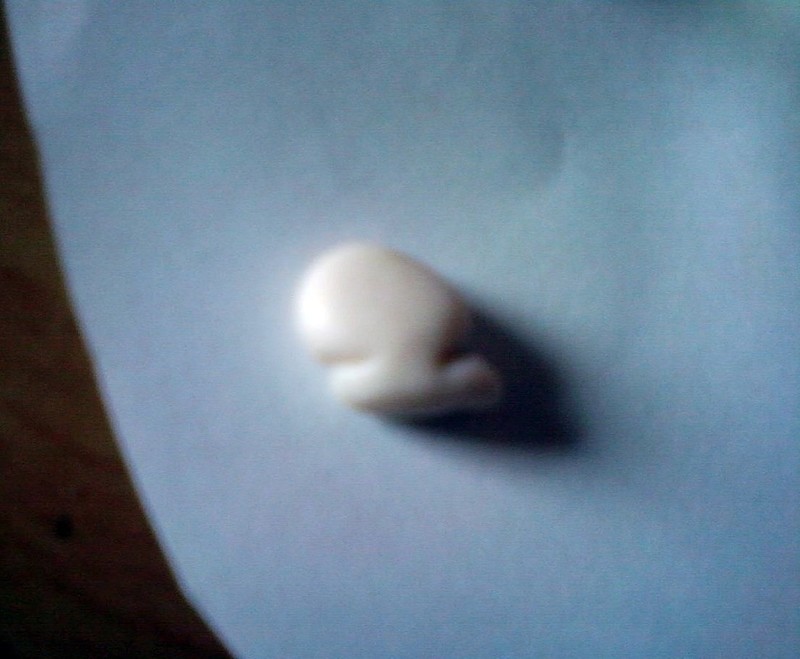
Take your biggest clay piece and roll it to an oval shape.
*If your not going to paint your bunny or don't want any fingerprints showing on it, then use rubber gloves for your hands. Also, you should use clean clay then. ;)
-
 Step 3
Then start to shape the head and neck like so. Don't seperate these parts from each other.
-
 Step 4
Keep shaping the head, so it looks like head and also shape small front paws the same way.
-
 Step 5
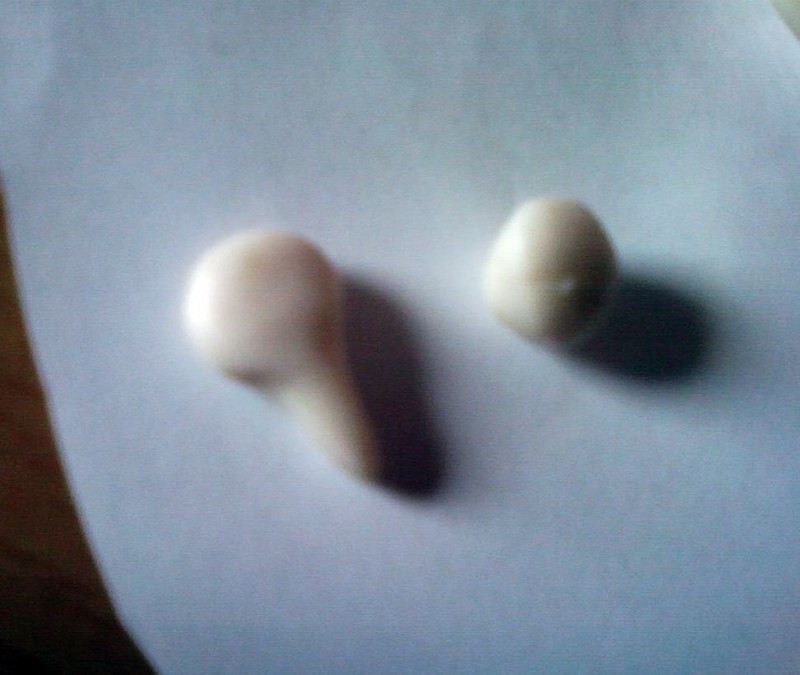
For the back paws, take your two small clay pieces. Roll each one into balls and then make cone-like shapes.
-
 Step 6
Then flatten a bit so they start to look like paws.
-
 Step 7
Then fold the thinner part to the thickest part of the paw. Well, just look at the photo and see. ;)
-
 Step 8
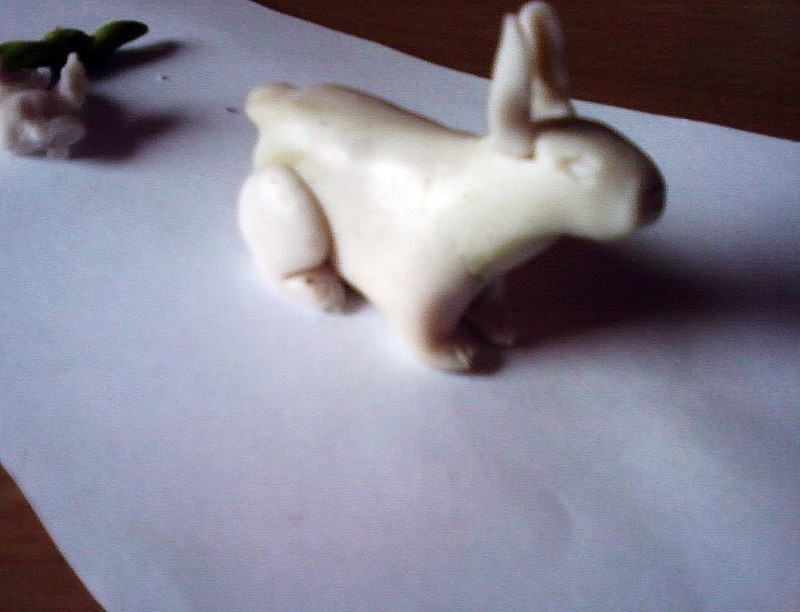
Your bunny should look like this before adding the back paws. I forgot to mention that you also have to shape a small rabbit tail on the back.
Make sure that most of the bunny parts are shaped by now, because doing this later may be harder. -
 Step 9
Carefully attach the legs to the bunny's body, make sure you don't squeeze the bunny.
-
 Step 10
For the ears, take another 2 small clay pieces, smaller than the first ones. Roll each clay piece like shown in the picture.
-
 Step 11
Then flatten them a bit, so they start to look like long bunny ears.
-
 Step 12
Shape the ears by taking a needle and folding the narrow end of the flattened ear over the needle a bit.Don't press the ear completely,it should look like in the photo.
(I hope you understand what i was trying to say) -
 Step 13
If you didn't understood, here you can see the ears better.
Now to attach the ears. I know that there must be a better way to attach ears to the head, but for my first bunny (im showing you in pictures), i poke two larger holes with a needle in the head and somehow sticked the ears in them. -
 Step 14
I attached them like so. When you have added the ears, you can position them however you like them to stand.
-
 Step 15
Then i added smaller details for the bunny's face - i draw a mouth,nose and eyes with a needle. When you do this,don't push the needle too hard in the clay.
-
 Step 16
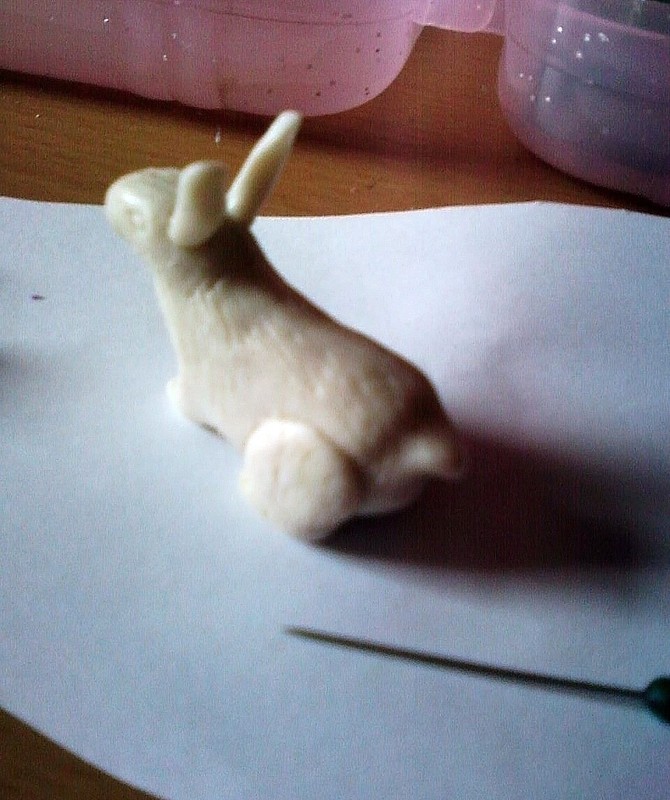
This is the basic bunny that should look like this by now, if you are also making it. ;)
-
 Step 17
You can add some fur detail with needle (however,you can also make this effect with painting), or you can sculpt the bunny a bit better,add some more work to it. This was my first bunny i made, so i didn't know so much about making them.
-
 Step 18
I used wet paint brush here, but for the furry look effect, use dry brush and paint. Just stroke the paint over your bunny.
-
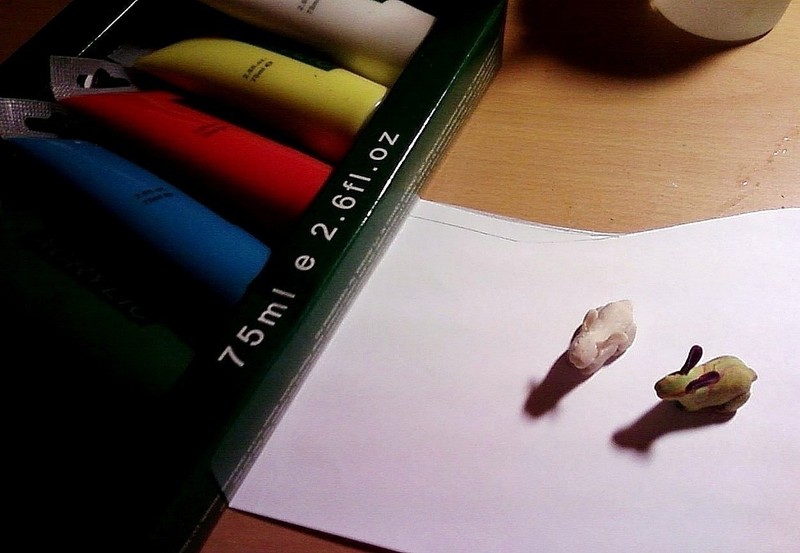
 Step 19
After baking your bunny, go and find some paint! I used acrylic paint for my bunnies.
*If you wasn't planning to paint your bunny, you are finished by now. :)
-
 Step 20
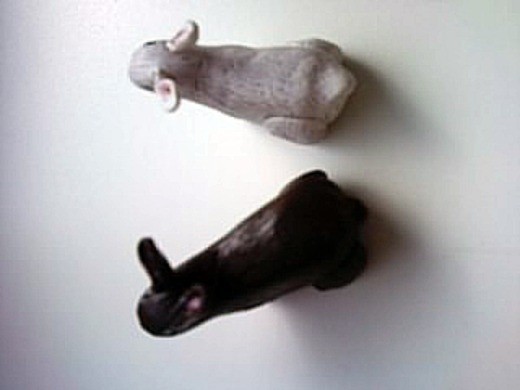
And don't forget to paint cute paws to your bunny!
-
 Step 21
Also add some light paint to nose and eyes! You can use permanent marker for eyes. ;)
-
 Step 22
When the paint has dried, you add a coat of clear nail warnish to your bunnies if you like. Or atleast put some on the eyes to make them shiny.
-
 Step 23
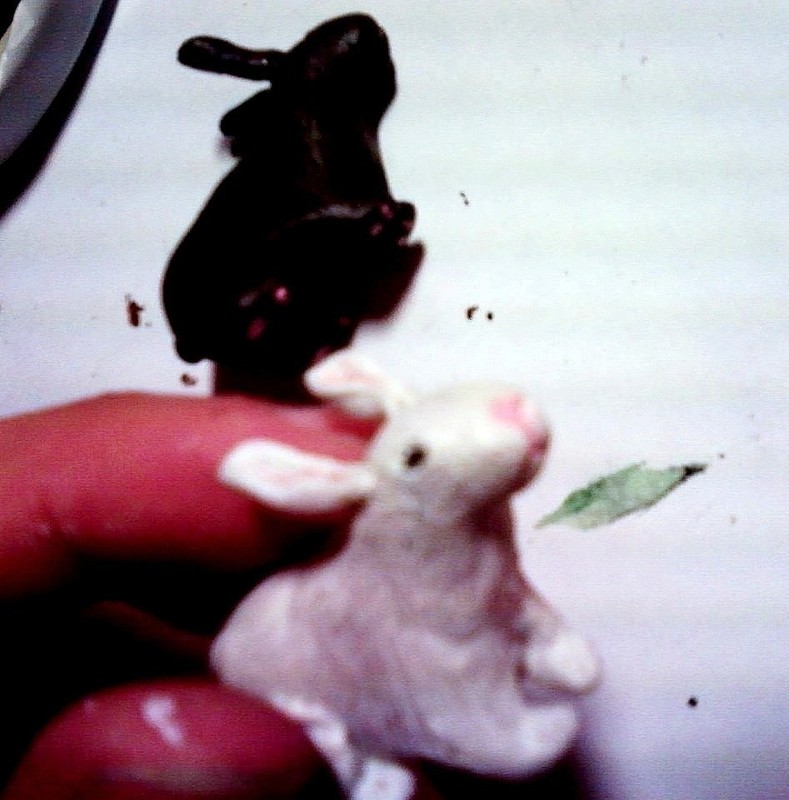
And your bunny figurine is done! You can put it for display or place in a terrarium! You can also try to make different animals based on this how to. =]


 1
Watercolor Art »
Watercolor Paints Made From Make Up
1
Watercolor Art »
Watercolor Paints Made From Make Up

love them!!!!! thanks for the tute and the sharing;-D xxxx