


About
TO MAKE A PATTERN FROM AN EXISTING GARMENT
I was browsing a discount fabric store when I found some thermal underwear fabric for $.99 a yard. Husband wears thermal shirts and this navy blue thermal fabric is a nice respite from the “white” shirts he wears all winter.
I like to sew. I like to save money. It’s extra irritating making things that could be purchased cheaper post fabrication. Another easy, useful economical project!
TO MAKE A PATTERN FROM AN EXISTING GARMENT:
-
 Sirena F. added Pattern Making to Patterns
01 Mar 23:18
Sirena F. added Pattern Making to Patterns
01 Mar 23:18
-
Sirena F. favorited Pattern Making
01 Mar 23:18
-
 robyns323 favorited Pattern Making
27 Jul 02:22
robyns323 favorited Pattern Making
27 Jul 02:22
-
 Aaron H. favorited Pattern Making
28 Apr 12:45
Aaron H. favorited Pattern Making
28 Apr 12:45
-
 psychologhost added Pattern Making to Sewing: Clothing
29 Aug 17:50
psychologhost added Pattern Making to Sewing: Clothing
29 Aug 17:50
-
 Tracy H. favorited Pattern Making
24 May 22:17
Tracy H. favorited Pattern Making
24 May 22:17
-
 marilyn.steckly favorited Pattern Making
21 Apr 02:41
marilyn.steckly favorited Pattern Making
21 Apr 02:41
-
 Zombie Babe favorited Pattern Making
22 Sep 06:34
Zombie Babe favorited Pattern Making
22 Sep 06:34
-
 Lee S. favorited Pattern Making
09 Sep 02:17
Lee S. favorited Pattern Making
09 Sep 02:17
-
notdeadredhead favorited Pattern Making
19 Jul 01:33
You Will Need
-
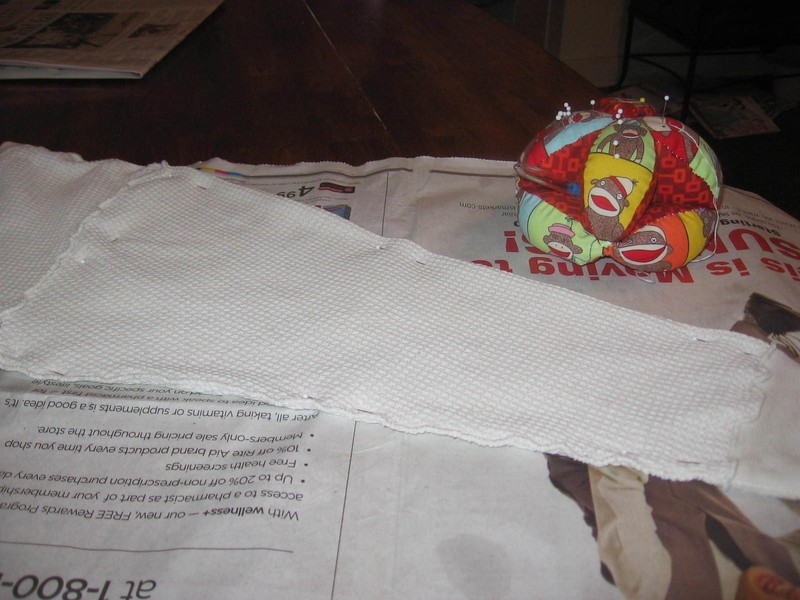
 Step 1
Lay shirt to be copied on newspaper and pin it down. Carefully draw around each part of the shirt. i.e. the sleeves, the front, the back.
-
 Step 2
For the front and back I folded the shirt in half.
-
 Step 3
That way I can lay the pattern piece on a fold later.
-
 Step 4
Trace the pattern using a marker...
-
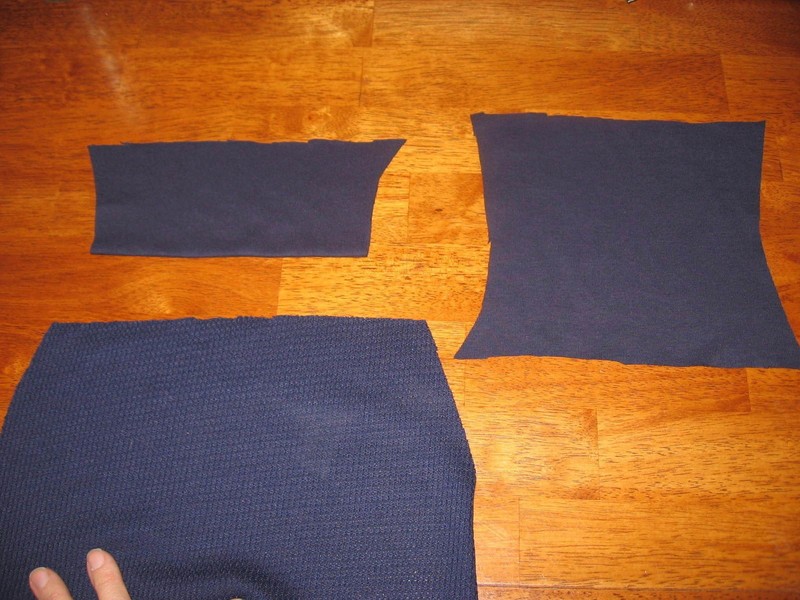
 Step 5
label and cut the pieces out.
-
 Step 6
For the ribbing that goes around the neck and at the cuffs I used this formula:
Neck circumference – 8.5% = Neck ribbing length
Cuff length – .33%= Cuff length because the cuff is folded over the finished pattern peice should have an hour glass shape. I subtracted one cm from the formula and drew my hour glass from that.
-
 Step 7
Lay out your pattern peices on the fabric and pin them down. Cut leaving a 1 cm seam allowance on all peices.
-
 Step 8
And now you are ready to sew.
Sew the front and back together at the shoulders right sides together using an interlock (zigzag) stitch.
-
 Step 9
Find the midpoint of the sleeve and the midpoint of the shoulder area...
-
 Step 10
and pin in place.
-
 Step 11
Then sew in place using an overedge stitch.
-
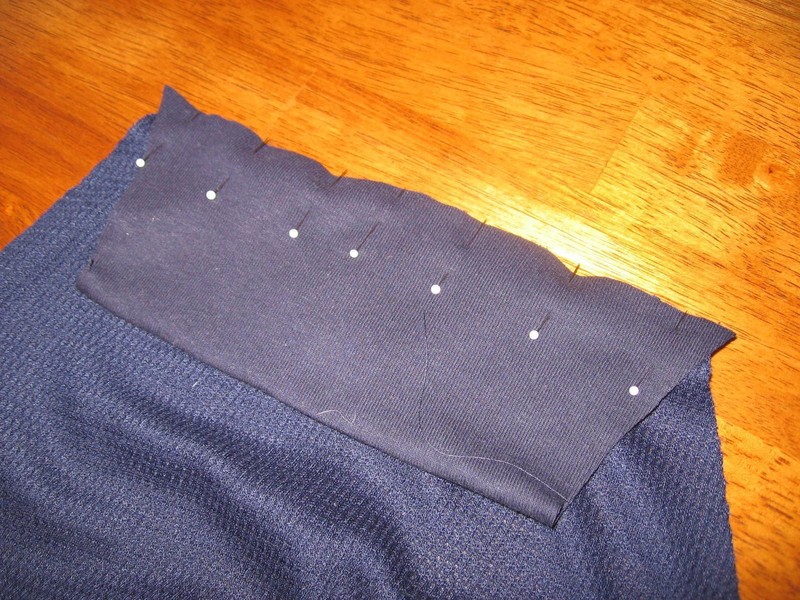
 Step 12
Fold the Cuff in half wrong sides together. Find the mid points of the cuff and the sleeve and pin.
-
 Step 13
Then stretch the ribbing to both ends and pin in place. You will need to stretch the ribbing as you sew to avoid puckers.
-
 Step 14
Pin the sleeve right sides together. Pin the body right sides together and sew them up starting at the wrist and continuing down the body to the waist.
-
 Step 15
Sew the neck ribbing together to make a contenious loop. Fold wrong sides together. Divide the neck of the garment into quarters and the neck ribbing into quarters. Pin the neck ribbing onto the right side of neck stretching the ribbing as you go to align the quarter marks.
-
 Step 16
Sew the ribbing on using overedge stitch.
-
 Step 17
Turn the ribbing and top stitch close to the join.
-
Step 18
Turn the bottom edge under 1-1.5 cm and topstitch unsing a twin needle or zigzag.
There you have it folks. You just created a garment making your own pattern. If you are wondering why I didn’t do any ironing on this project…It’s a thermal underwear shirt, not a prom dress. he he.


Comments

 1
Watercolor Art »
Watercolor Paints Made From Make Up
1
Watercolor Art »
Watercolor Paints Made From Make Up
