


About
No Knead Mug Bread
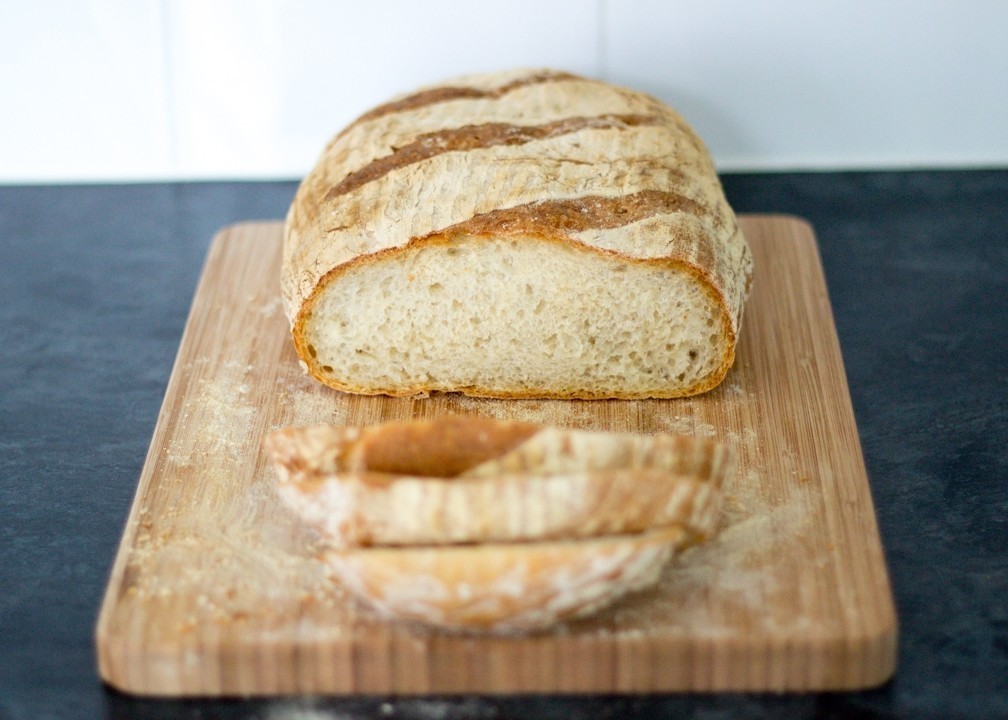
This super simple bread requires only a mug to measure out what will be the greatest bread you have ever created in your kitchen! Brucey bonus? No kneading!
-
 Mary C. favorited No Knead Mug Bread
30 Oct 18:53
Mary C. favorited No Knead Mug Bread
30 Oct 18:53
-
 CraftyCat added No Knead Mug Bread to Cooking
08 Dec 09:56
CraftyCat added No Knead Mug Bread to Cooking
08 Dec 09:56
-
CraftyCat favorited No Knead Mug Bread
08 Dec 09:56
-
 Marie B. added No Knead Mug Bread to projects a
19 Aug 05:15
Marie B. added No Knead Mug Bread to projects a
19 Aug 05:15
-
 Charlotte H. favorited No Knead Mug Bread
15 Aug 15:32
Charlotte H. favorited No Knead Mug Bread
15 Aug 15:32
-
 Katie favorited No Knead Mug Bread
03 Aug 11:33
Katie favorited No Knead Mug Bread
03 Aug 11:33
-
 Leigh C. favorited No Knead Mug Bread
17 Jul 00:40
Leigh C. favorited No Knead Mug Bread
17 Jul 00:40
-
 Kala V. favorited No Knead Mug Bread
16 Jul 19:01
Kala V. favorited No Knead Mug Bread
16 Jul 19:01
-
 Suzi T. favorited No Knead Mug Bread
16 Jul 13:14
Suzi T. favorited No Knead Mug Bread
16 Jul 13:14
-
Marie B. added No Knead Mug Bread to Cooking
13 Jul 17:55
-
Step 1
All you need to do is pick a mug. Any mug.
Fill it two and a quarter times with flour and tip it all into a bowl.
Tip salt into the same mug until the bottom is just covered. Add this into the flour and rub in with your thumb & forefingers briefly.
Add in the yeast and rub briefly again.
Fill the very same mug with tepid water. (By ‘tepid’ James means when you put a finger in, if you can’t tell whether it’s hot or cold – it’s just right.)
Pour this into the centre of the bowl and bring the mixture together using a wooden spoon.
When it’s nearly come together, get your hands in and mix until you can’t see any more flour.
It’s also worth noting, this is quite a wet dough. I have been assured by this book that ‘wetter is better’ and judging from the results I’ve had… I totally agree!
Cover with a damp tea towel or cling film and leave to rest for about 40mins. (Or until noticeably more plump.) Yep, NO KNEADING!
When it’s rested, using wet hands (keep wetting if they start to stick) slide your fingers underneath the dough then fold it in half firmly. Turn the bowl slightly and repeat the fold again. Continue to do this until there is no more air left in the dough and it’s a smooth ball.
Cover again and allow to prove for about 1 hour or until just doubled in size.
A Tip from James Morton (GBBO Finalist): If you need to go out, simply put your dough in the fridge. It will slow down that 1 hour process to about 8-12 hours.)
When your dough is proved, we need to shape it. Tip out onto a lightly floured surface.
At this point, you could shape it into a ball or divide & shape into some rolls. I opted for a simple batard loaf.
If you have a banneton, flour very generously and lay your shaped loaf in the base – bottom/seam side up. If you don’t have one, simply line a baking sheet with baking paper and sprinkle generously with a coarse flour, like corn meal or semolina. Lay your shaped bread on top. (If you don’t have a coarse flour, just generously use normal flour.)
Either way, cover with a damp tea towel and leave to prove until doubled in size again. (Approx 1 hour.)
At least half an hour before baking – Preheat your oven to about 230/240°C (regardless of electric or fan ovens.)
It’s worth mentioning your baking surface at this point. Ever noticed when you bake bread at home that you end up with a line of dense stodge at the bottom? It’s because the surface that you baked it on wasn’t as hot as the air in your oven, resulting in an uneven bake. To stop this from happening, get a baking stone and place it in the oven before you preheat it. If you don’t have a stone, turn a large baking sheet upside down – you will achieve a similar result.
If you used a proving basket, cut a large sheet of baking paper and place over the basket. Flip it over and place on a baking sheet then gently remove the basket to reveal a beautiful ‘artisan’ looking pattern!
All that remains for you to do is to ‘slash’ the top. I made 3 diagonal incisions along the top of mine.
Now to bake:
1. With the loaf still on the baking parchment, slide it off the baking tray and onto the preheated baking stone/upside down baking sheet.
2. Throw half a mug of cold water on the bottom of the oven and quickly shut the door. (Creating steam which will help it rise.)
3. Turn your oven down to about 210°C.
4. Cook for at least 40 minutes until you get a good, dark golden crust.
5. When cooked, allow to cool before you cut into it… I know it’s difficult but just trust me.
And that's it! The easiest bread you will ever make!
 1
Watercolor Art »
Watercolor Paints Made From Make Up
1
Watercolor Art »
Watercolor Paints Made From Make Up
 2
Paper Book Covers »
Shoe Inspired Spiral Notebook
2
Paper Book Covers »
Shoe Inspired Spiral Notebook


