


About
Folded Book Art
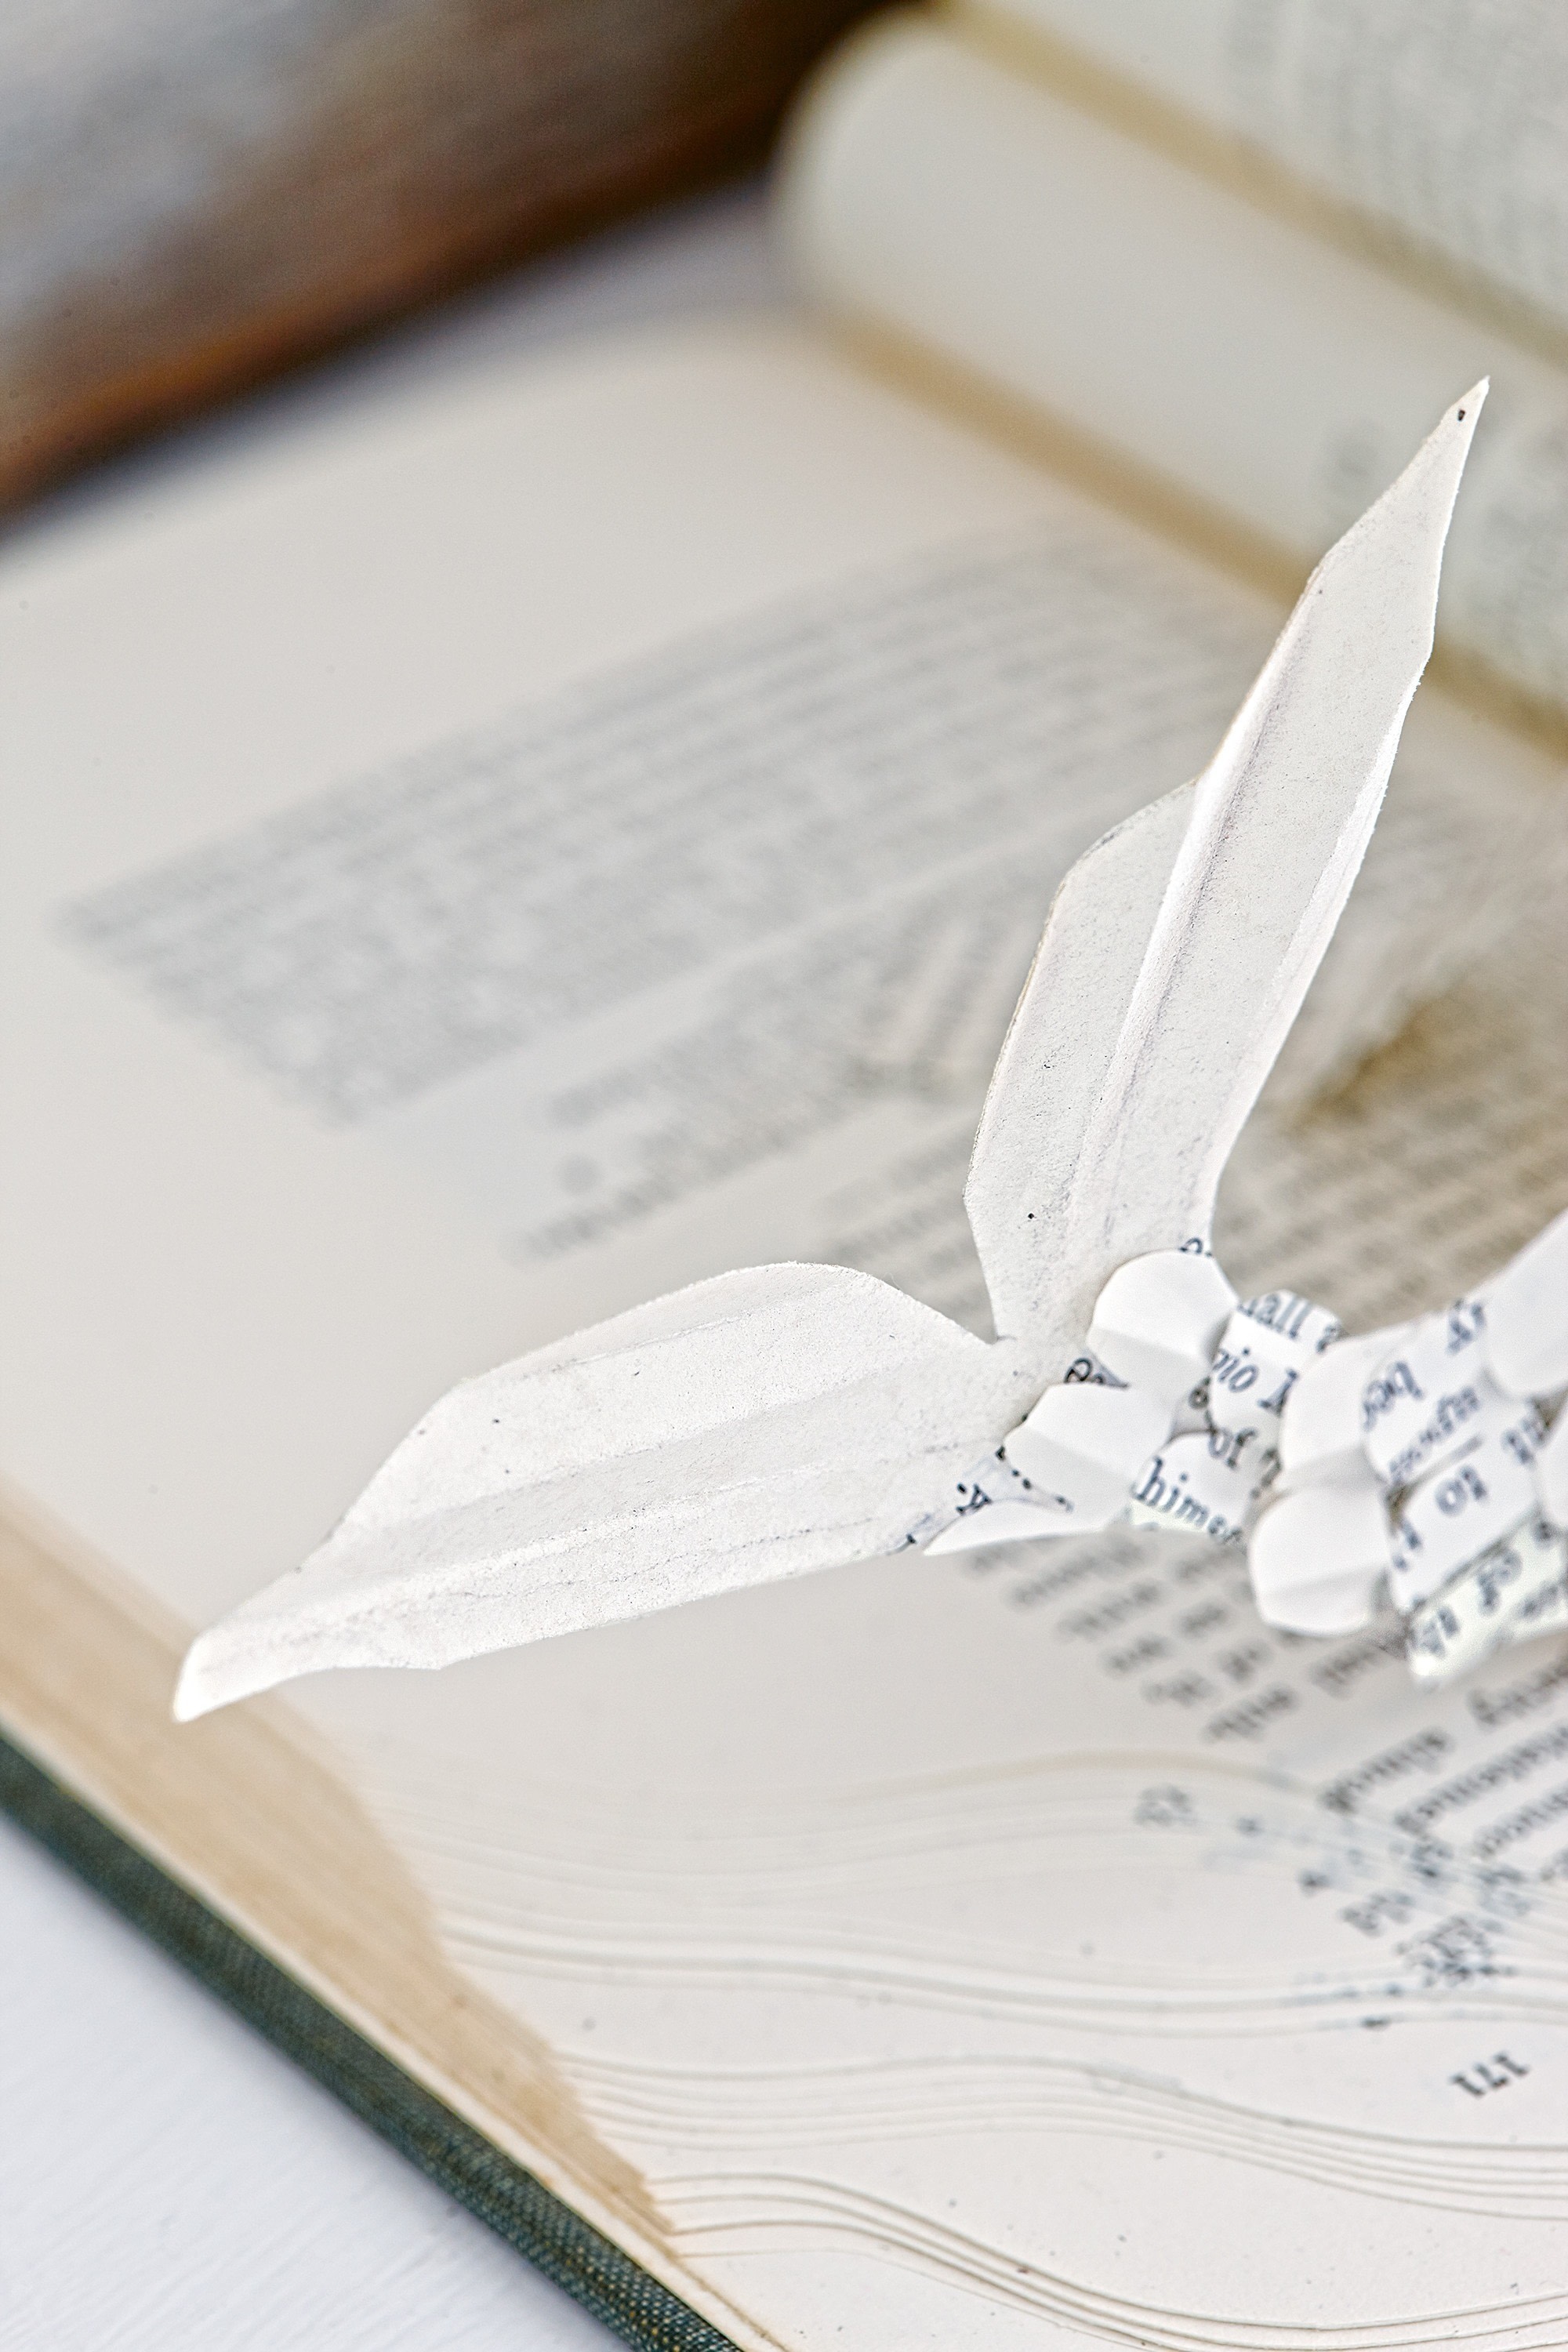
I used an entire book for this project. I removed a few pages to make the mermaid and modeled the remaining pages into a sand and sea landscape. The old book itself—with its faded cloth cover just visible around the edges and soft cream paper—adds an air of vintage charm. My little mermaid looks very much at home sitting on an old, blue-painted cupboard in my seaside home.
Tags
Downloads
- 2017-11-20-132656-Folded+Book+Art+mermaid+template.pdf 1.61 MB [ Download ]
-
 Dana H. favorited Little Mermaid Book Art
06 Jun 18:12
Dana H. favorited Little Mermaid Book Art
06 Jun 18:12
-
Lindsay H. favorited Little Mermaid Book Art
12 Mar 08:47
-
Angela A. favorited Little Mermaid Book Art
26 Feb 21:36
-
 JadeSucksAtLife favorited Little Mermaid Book Art
25 Feb 10:10
JadeSucksAtLife favorited Little Mermaid Book Art
25 Feb 10:10
-
 Ryland Peters & Small published his project Little Mermaid Book Art
17 Nov 09:00
Ryland Peters & Small published his project Little Mermaid Book Art
17 Nov 09:00
-
 Step 1
Remove four pages from the book and stick two of them together, along their long edges, using glue. Trace out the template of the mermaid and transfer it on to these pages.
Cut out the shape using a craft knife and protecting your work surface with a cutting mat. -
 Step 2
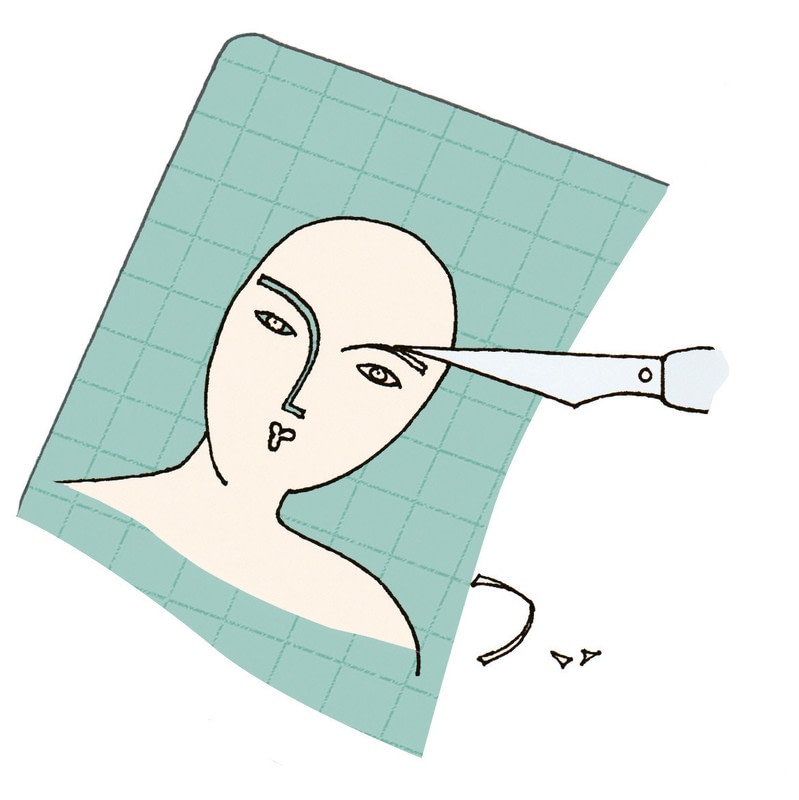
Still using the craft knife, cut out the mermaid’s eyes, nose, and mouth. Use scissors to cut a piece of colored paper (mine is dark gray) to the same size as the mermaid’s face and stick it to the reverse side of the face. You can draw in features using a fine pen if you prefer.
-
 Step 3
Make a number of concertina folds in the tail fins and open them out again.
-
 Step 4
Trace out the template for the scalloped decoration on the mermaid’s tail. Transfer the trace on to one of the pages you removed from the book in Step 1. Cut out some strips of scallops.
-
 Step 5
Starting at the mermaid’s waist, cut a length of scallop that is 1/2in. (1cm) wider than the width of the tail. Fold the length in half to pinch a crease at its center. Dab a little glue at each end of the strip and position on the tail so that the strip of scallops forms a slightly raised arch shape. Repeat for the entire length of the tail.
-
 Step 6
Now cut thin strips of paper from the final book page you removed in Step 1. They should be 1–11/2in. (3–4cm) in width.
Place one end of a strip in the slot of a quilling tool and wind the paper tightly around the tip of the tool. Allow the wound strip to spring loose a little, and repeat with a good number of paper strips. -
 Step 7
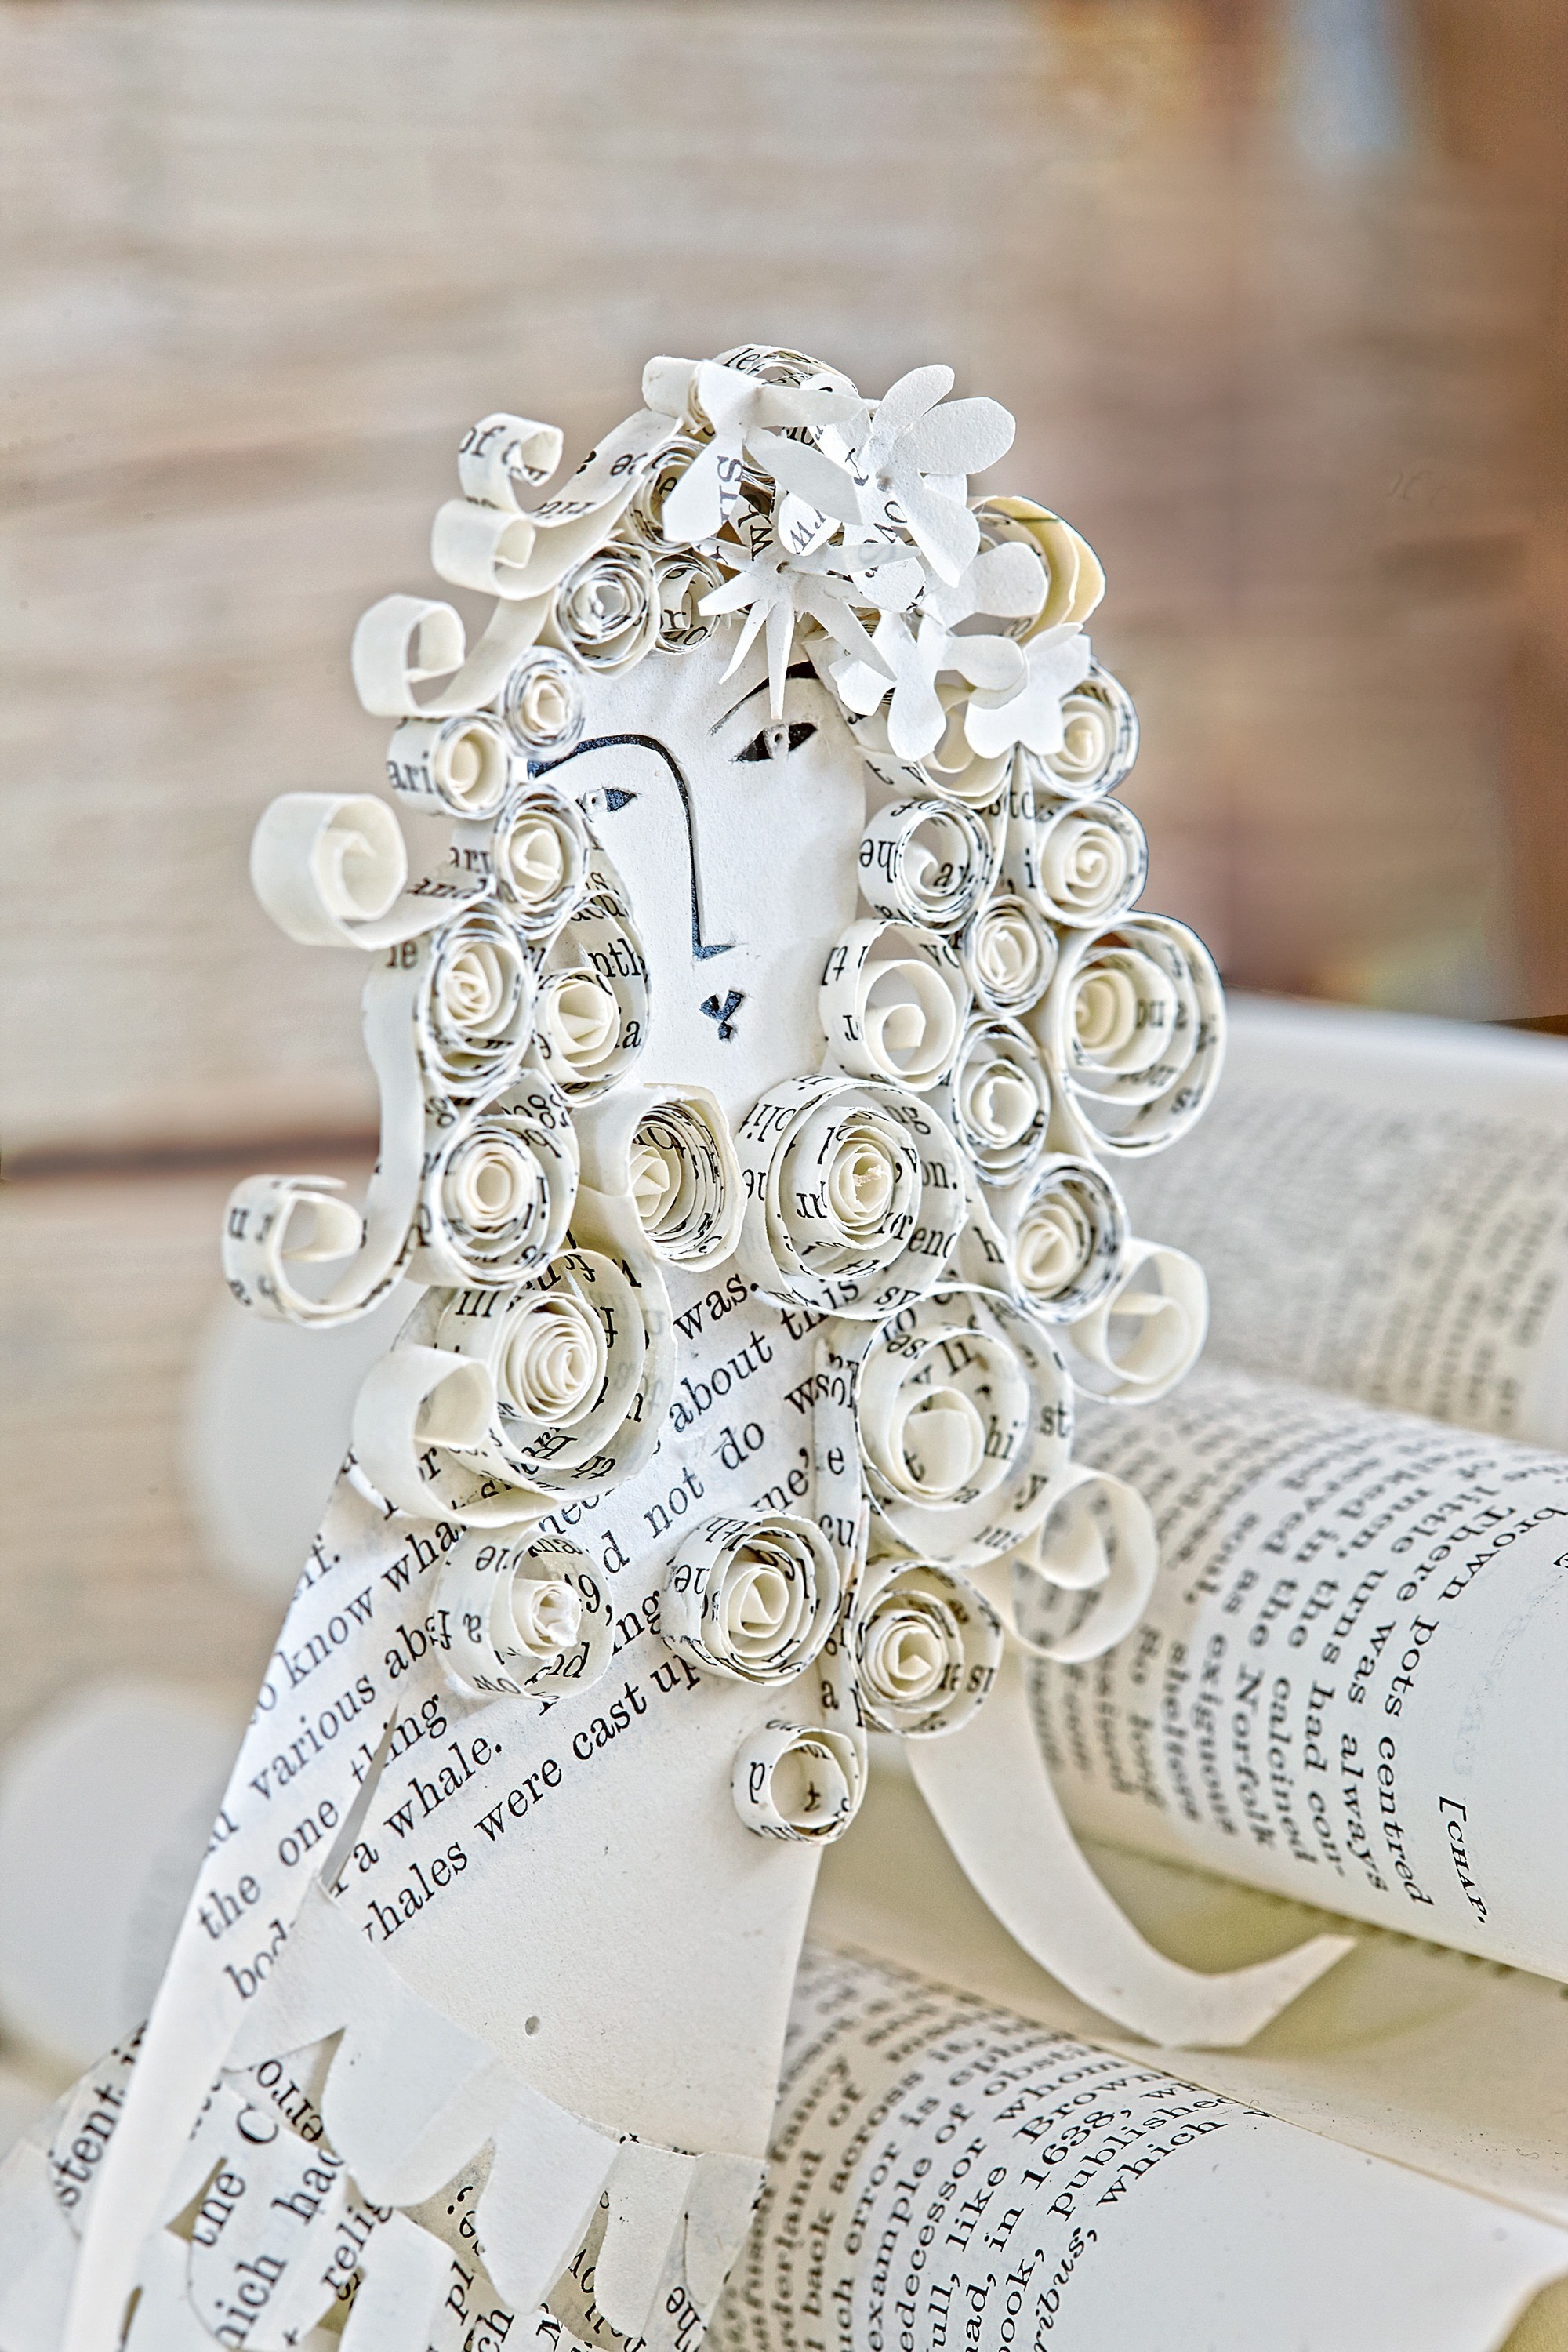
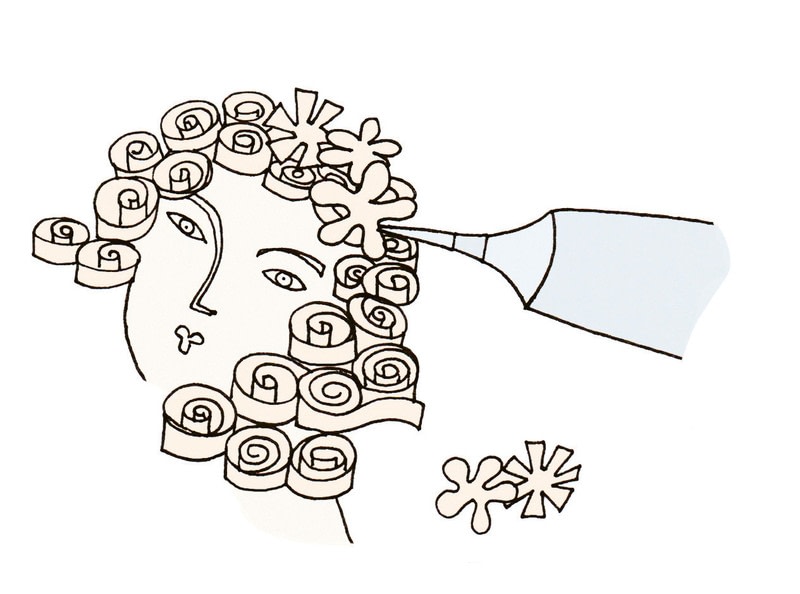
Starting at the top of the mermaid’s head, glue the wound curls around the face, making some loose and some tight for variation. Dab each curl with a little glue and stick to an adjacent curl. Continue down the body.
-
 Step 8
Cut out a few tiny paper flowers and stick them in the hair.
-
 Step 9
Remove a few more pages from the book and curl them: Wrap them tightly around a pencil and allow them to spring loose.
-
 Step 10
Open the book out flat halfway through and repeat Step 9 to curl three or four attached pages in the same way.
-
Step 11
Arrange the curls to make waves and glue each one to the next where they abut. Add the loose curled-up pages in the same way.
-
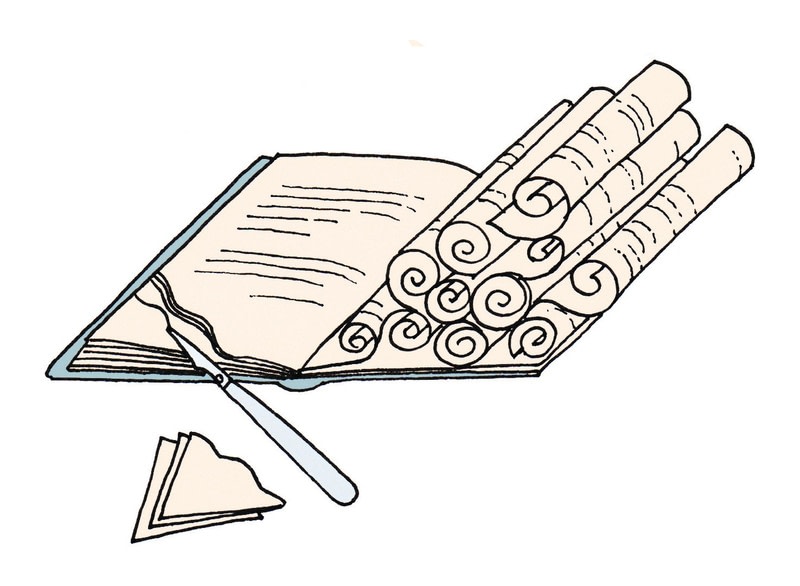
 Step 12
To make the sand—working on the opposite side of the book to the waves—select a number of pages from the top and cut a curved line across the corner of the book. Take the next group of pages and cut these following a different curve, and starting 1/2in. (1cm) closer to the corner of the book. Continue in this way until you have cut all the pages.
-
 Step 13
Spread glue along the bottom of the mermaid and stick her in position on the open book. Cut a strip of paper from any scraps left over. It should measure 43 /4 in. (12cm) in length. Bend the top and bottom sections of the strip and stick the top to the back of the mermaid at the head end, and the bottom to the open book. Make sure the mermaid is upright. Now use a second, shorter strip to support the tail end of the mermaid.


 1
Watercolor Art »
Watercolor Paints Made From Make Up
1
Watercolor Art »
Watercolor Paints Made From Make Up
