
About
A tutorial showing how I create portrait pieces using pointillism
I am absolutely obsessed with drawing portraits in the pointillism style therefore today I am putting together a step by step tutorial teaching you how I draw my pointillism pieces. I hope to inspire you to want to recreate and learn this technique for yourself.
-
 Sophia M Sketches published her project How To Draw A Pointillism Portrait
19 Apr 11:24
Sophia M Sketches published her project How To Draw A Pointillism Portrait
19 Apr 11:24
-
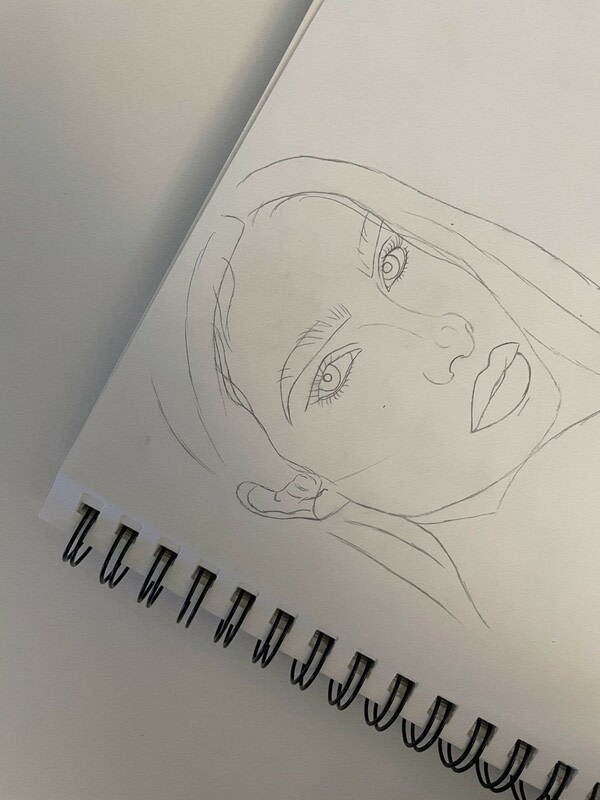
 Step 1
Firstly, you would begin by completing the initial sketch for the desired pointillism piece. I personally find that completing a rough sketch in pencil first allows for more precision when moving onto the fine liners as you are aware of the areas you will need to shade.
If you are not confident with drawing faces feel free to trace using tracing paper or a light up board.
-
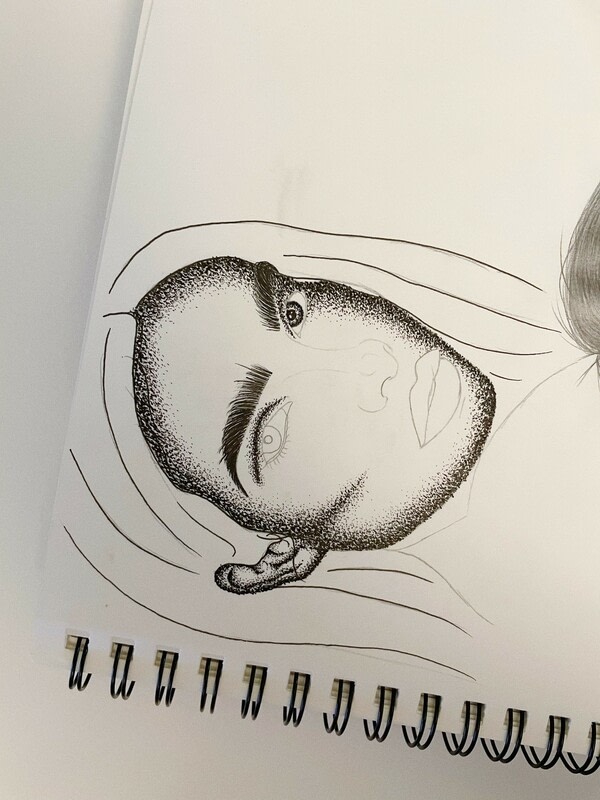
 Step 2
Once we have the initial sketch, you take the 0.8mm fine liner and outline the hair. This is something I do to all my pointillism pieces as I believe the contrast between the face and hair makes the portrait stand out a lot more.
Please ignore how the ear has been completed, I just wanted to showcase a snippet of what the final results of this pointillism piece would look like.
-
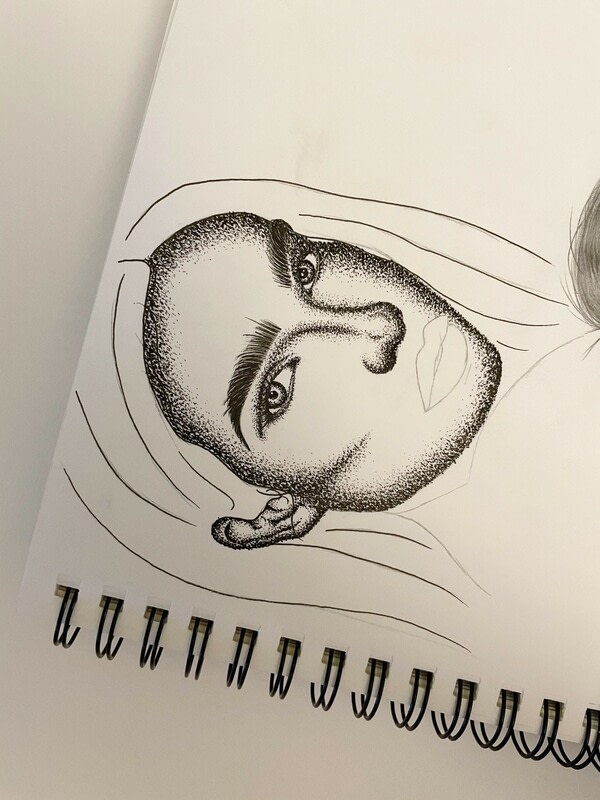
 Step 3
Pointillism is a very simple art process once you get the hang of it. They key is patience and working in sections. To begin with, you should grab your 0.5mm fine liner and start to dot only on the edge of the chosen section. This would be where the shadow and darkest contours of the face are. Then grab your 0.3mm fine liner and start dotting below this. The key is to make it look like the dots are slowly changing from biggest to smallest.
A key trick would be to start dotting with the 0.3mm fine liner in some areas of 0.5mm and slowly bring it out more. Do not panic if your dots do not look neat or in place as they will blend together once we start using the smaller sized fine liners.
-
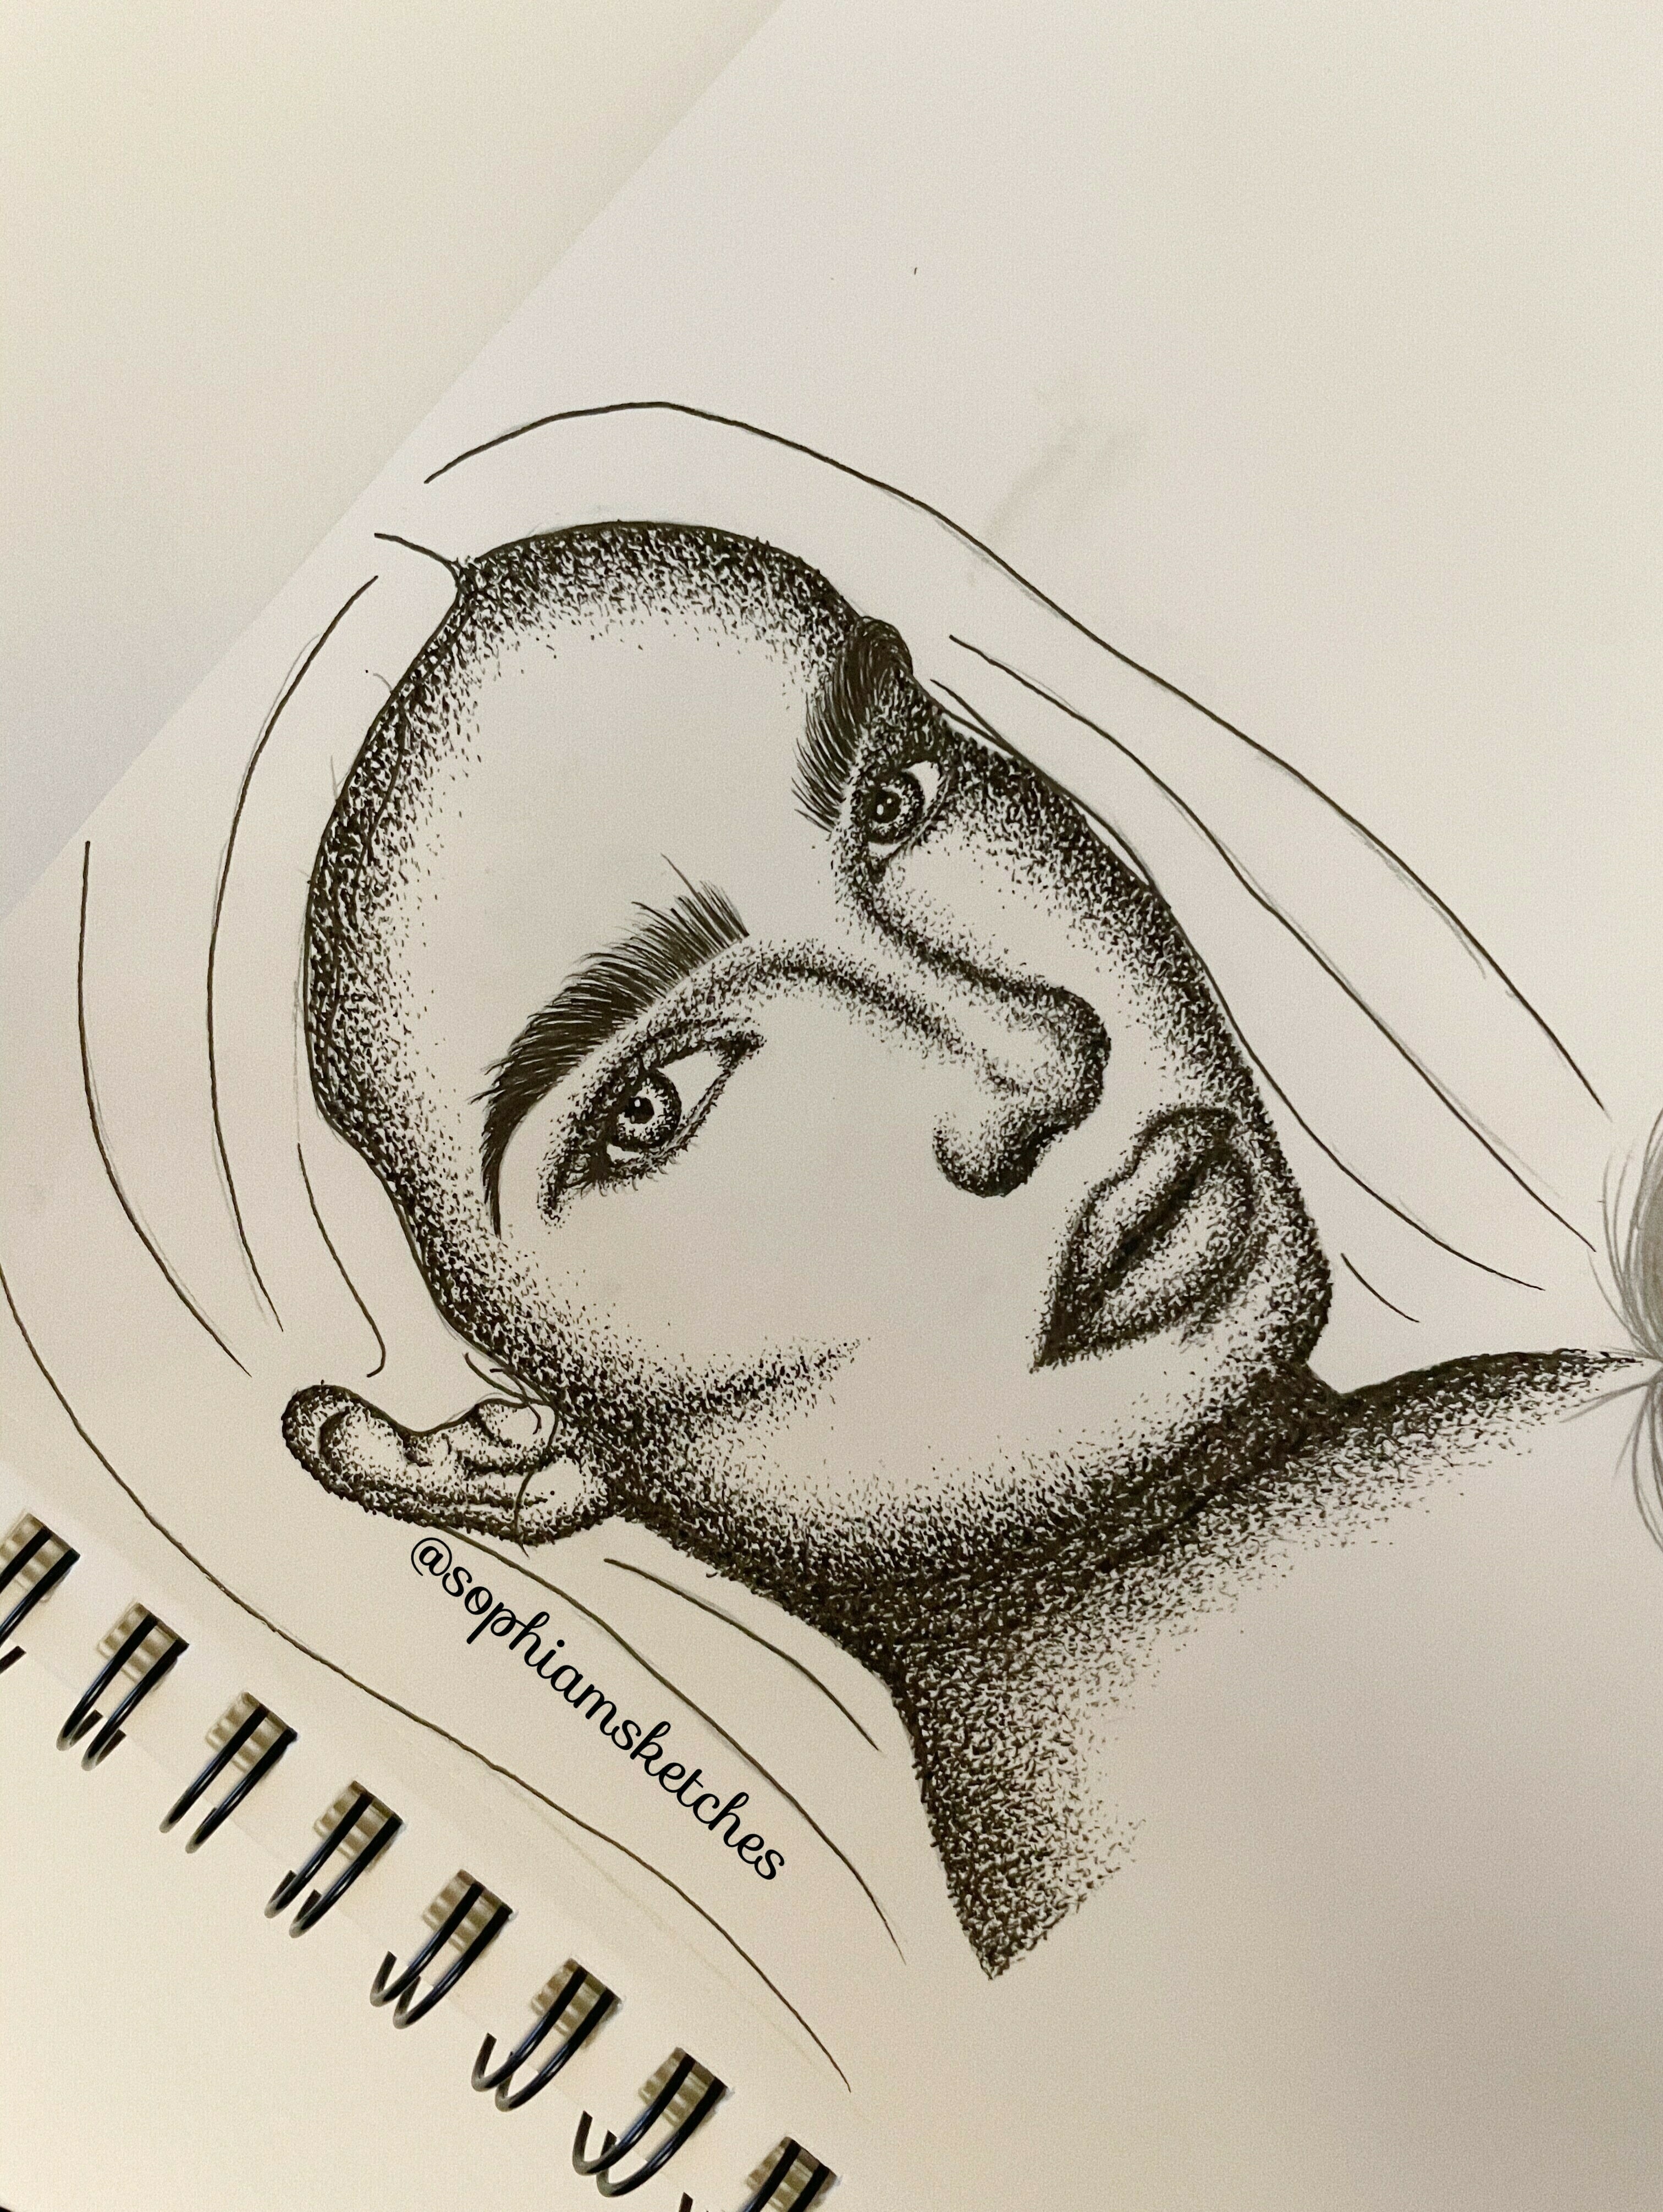
 Step 4
Now you want to repeat the process with the smaller fine liners below 0.3mm which are usually 0.2, 0.1 and 0.05mm. The reasoning for the larger finer liners starting at the edge and the smaller fine liners finishing towards the centre of the face is to create the illusion of the dots slowly fading into nothing. This is the look I like to achieve when creating my pointillism pieces!
You may then repeat these steps onto the remainder of the contours of the face.
-
 Step 5
For the eyebrows, I use the 0.5mm fine liner to get the base layer of the eyebrows and towards the ends of the eyebrows as they tend to be darker, I go over the base hair strokes with a 0.2mm and 0.3mm fine liner to add definition. The same process can be used for the eyelashes.
In regards to the eyes, I repeat the same process I did for the contours of the face. Be careful to leave white highlights in the middle of the pupil to make the eyes more realistic. As you are working on a smaller surface area, feel free to not use every fine liner - I used 0.3, 0.1 and 0.05mm.
-
 Step 6
As you continue the same process for the remaining contours of the face you should see it begin to come to life. The dots should look like they are starting in the darker areas of the face and slowly fading away when approaching the lighter areas.