

About
Who says you can't be thrifty and trendy?
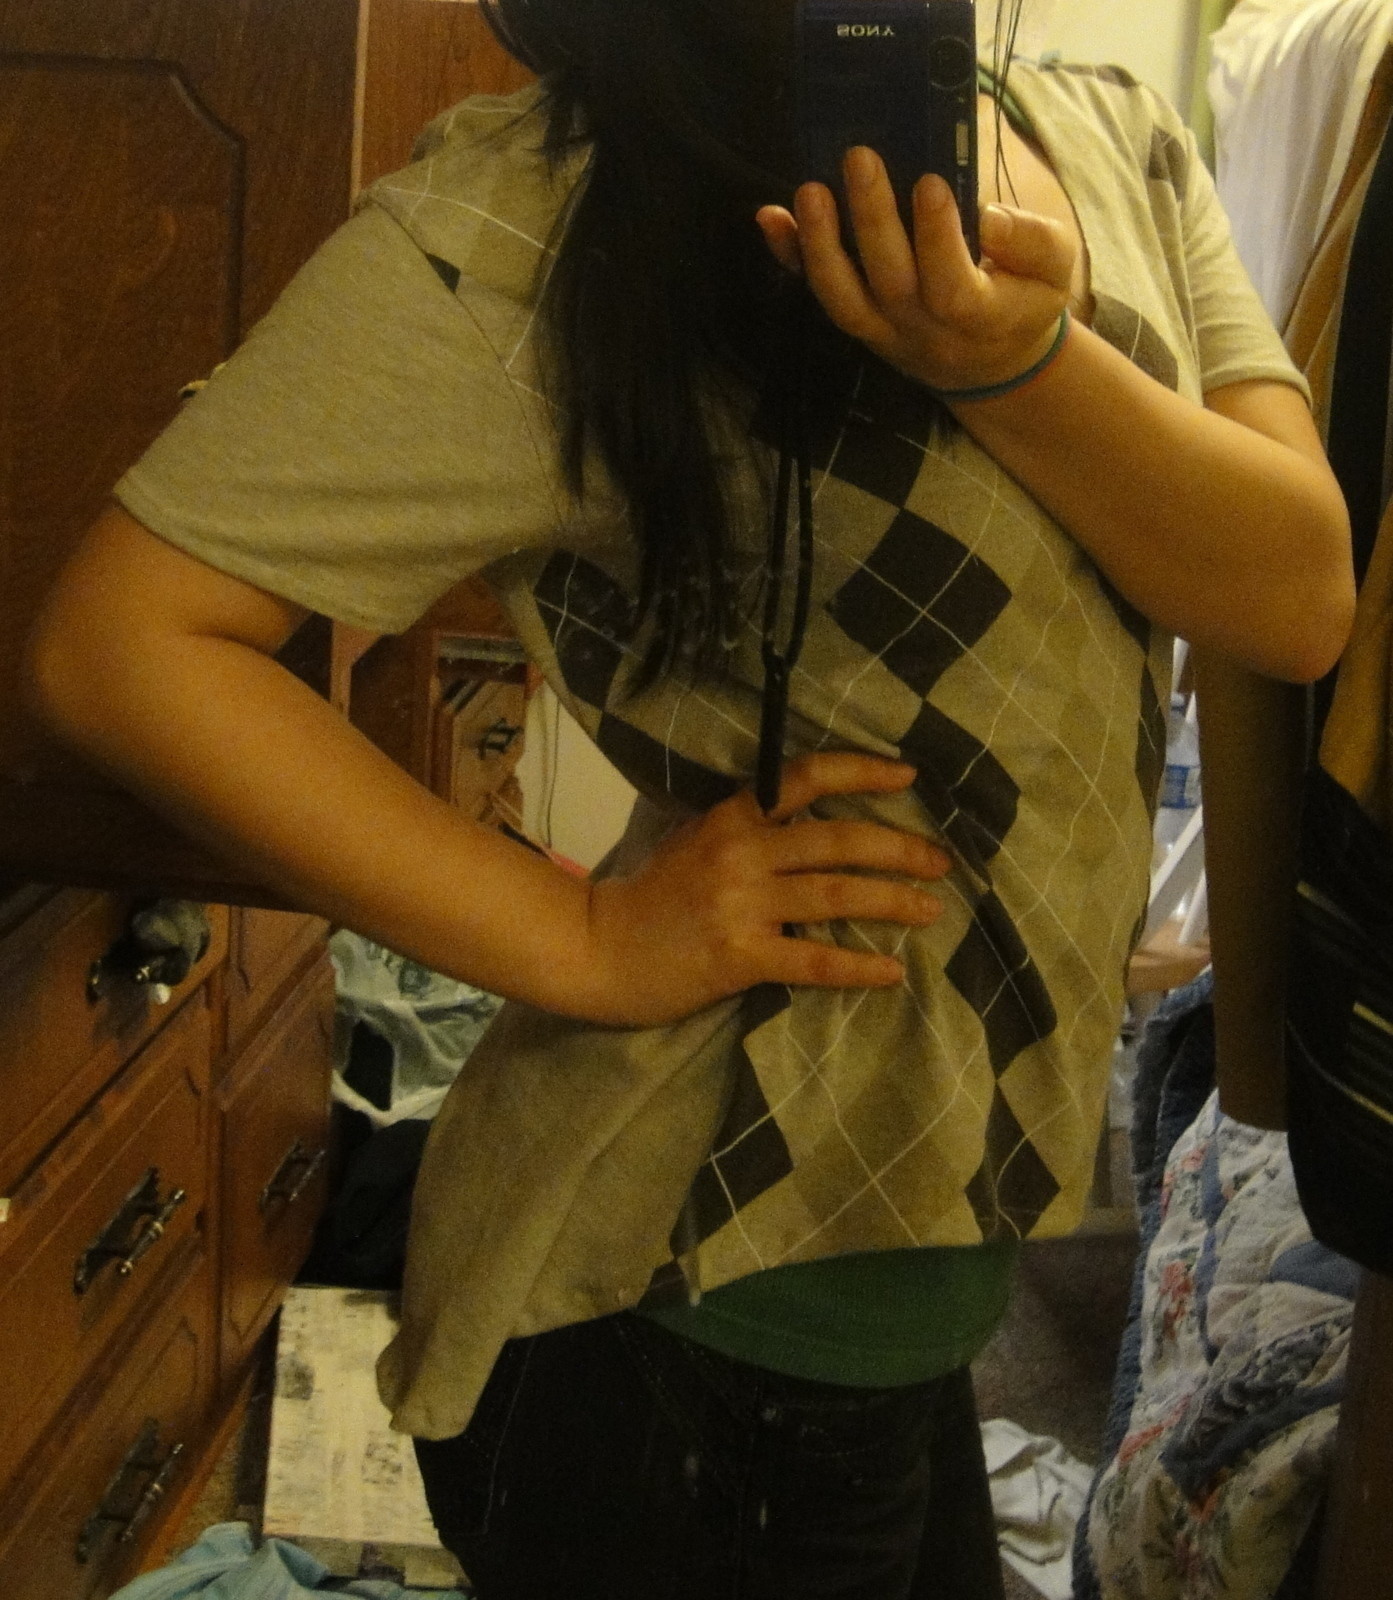
I recently bought a bunch of shirts from a thrift shop and wanted to do some t-shirt recons. I have also really been loving the hi-low/mullet/waterfall trend and wanted to incorporate it in one of my projects. So here is my take!
PS. Sorry for not taking pictures for the steps.
-
 Jane V. favorited Hi Low Cut Out Shirt
17 Sep 03:41
Jane V. favorited Hi Low Cut Out Shirt
17 Sep 03:41
-
 Devious_Insightful_Pixie favorited Hi Low Cut Out Shirt
14 Mar 05:27
Devious_Insightful_Pixie favorited Hi Low Cut Out Shirt
14 Mar 05:27
-
 11lizzie :) favorited Hi Low Cut Out Shirt
10 Mar 13:04
11lizzie :) favorited Hi Low Cut Out Shirt
10 Mar 13:04
-
Step 1
TAKE OUT THE HEM.
-
 Step 2
RESIZE YOUR SHIRT. I wanted mine to be flowy, so i didn't remove the sleeves like in most recons and just rounded the edge instead.
-
Step 3
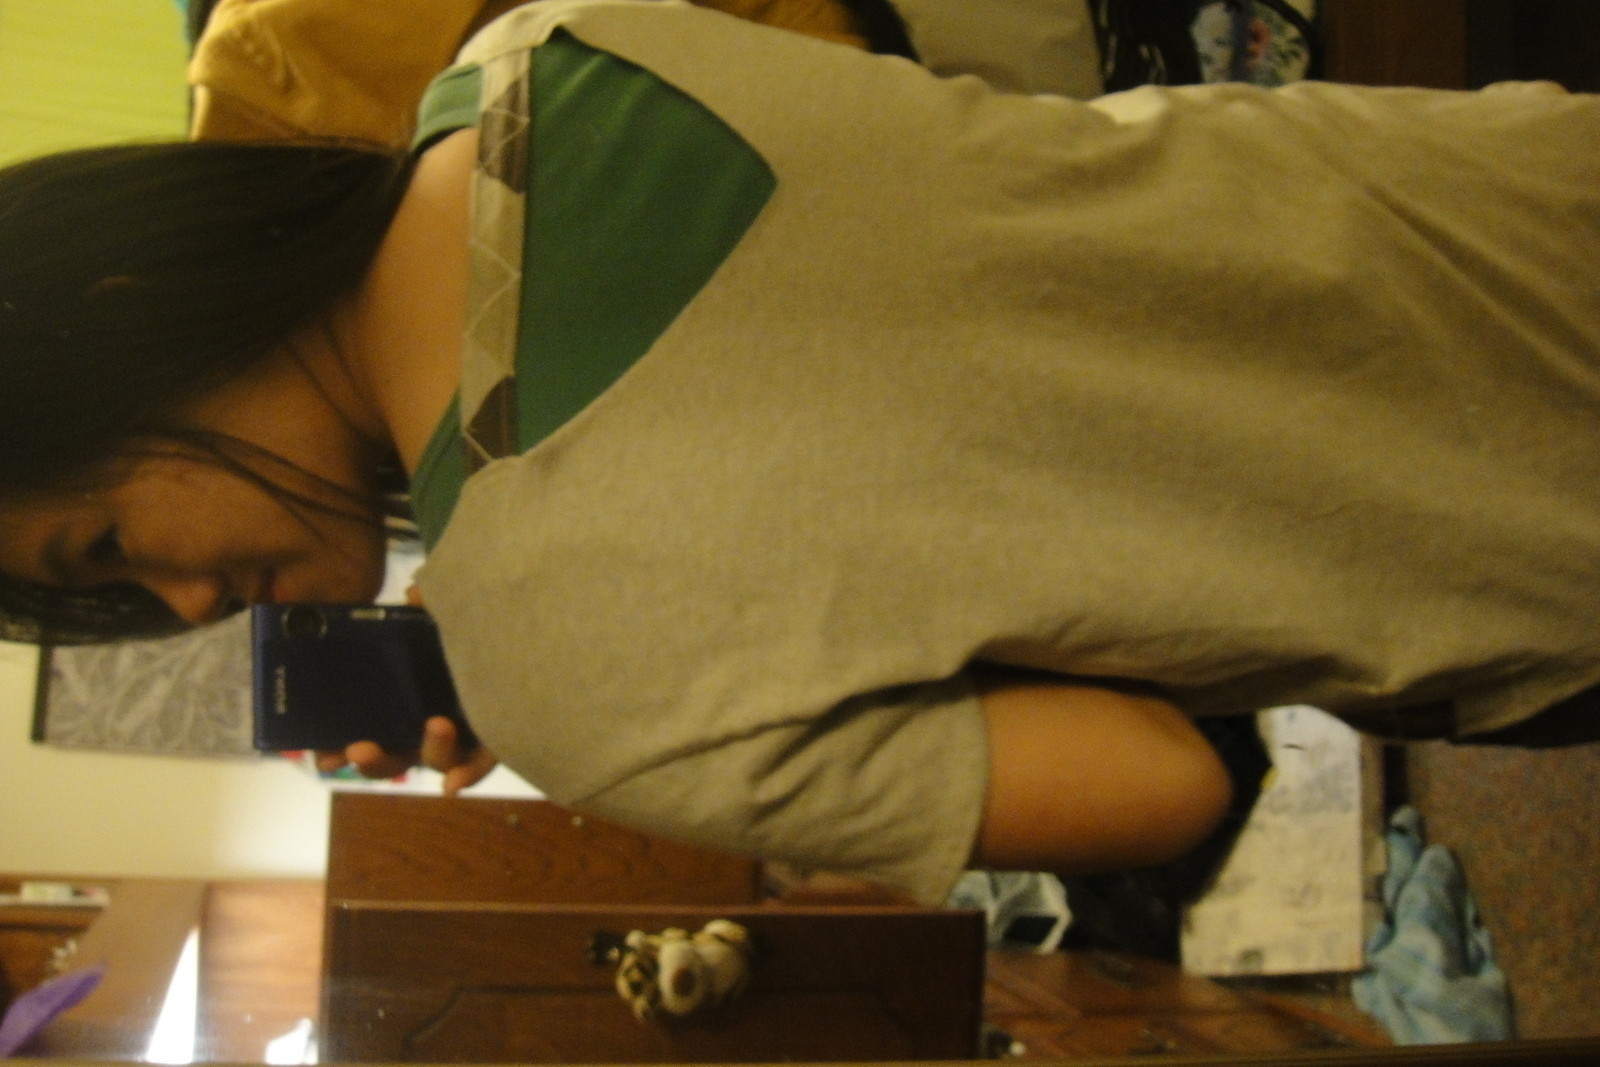
REDO THE COLLAR. My shirt was too high necked for me, so I cut a V neck. You can do any style you want. But when you cut the front, you also want to cut the back so that you have that cut out back as well. to make this easier, you can fold the back and front on half until the side seems meet. Then cut.
-
Step 4
FIND THE MIDDLE OF YOUR SHIRT AND MARK IT. This should be on both the front and back. You might want to extend the mark on the front since you will be cutting higher in the front. Or you can eyeball it.
-
Step 5
DETERMINE HOW HIGH YOU WANT IT IN THE FRONT. and if your shirt is long, how low you want it in the back.
-
 Step 6
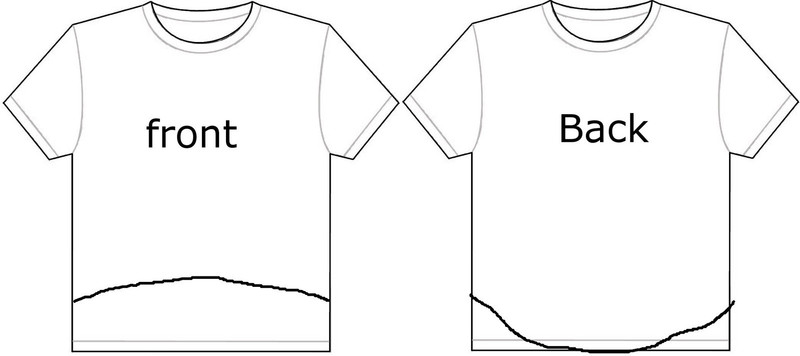
DRAW BACK ARC. starting on the back, draw an upside down arc until you hit the side seems. this is where you will determine where you want the dip to hit and how severe you want it.
-
 Step 7
DRAW AN FRONT ARC. starting from the end of your upside down arc on the back, draw an arc until you reach the point the you decided in step 4.
-
Step 8
CUT. like in step 3, fold the front and back in half so that you just have to cut one side of both the front and back arcs.
-
Step 9
HEM. Using a machine or a needle and thread, hem your new high low shirt.
-
Step 10
ADJUST SLEEVES. My sleeves were a little long, so I cut them and rehemmed them.
-
Step 11
MAKE AND ATTACH BACK PIECE. take some of your extra fabric and make a strip about 4 and 1/2 inches wide, fold it in half, and sew along the edges making sure that you leave one end open to turn right-side out. Turn it right-side out, measure it against the back opening, and cut to size. Then sew it onto the two sides of your back opening.
-
Step 12
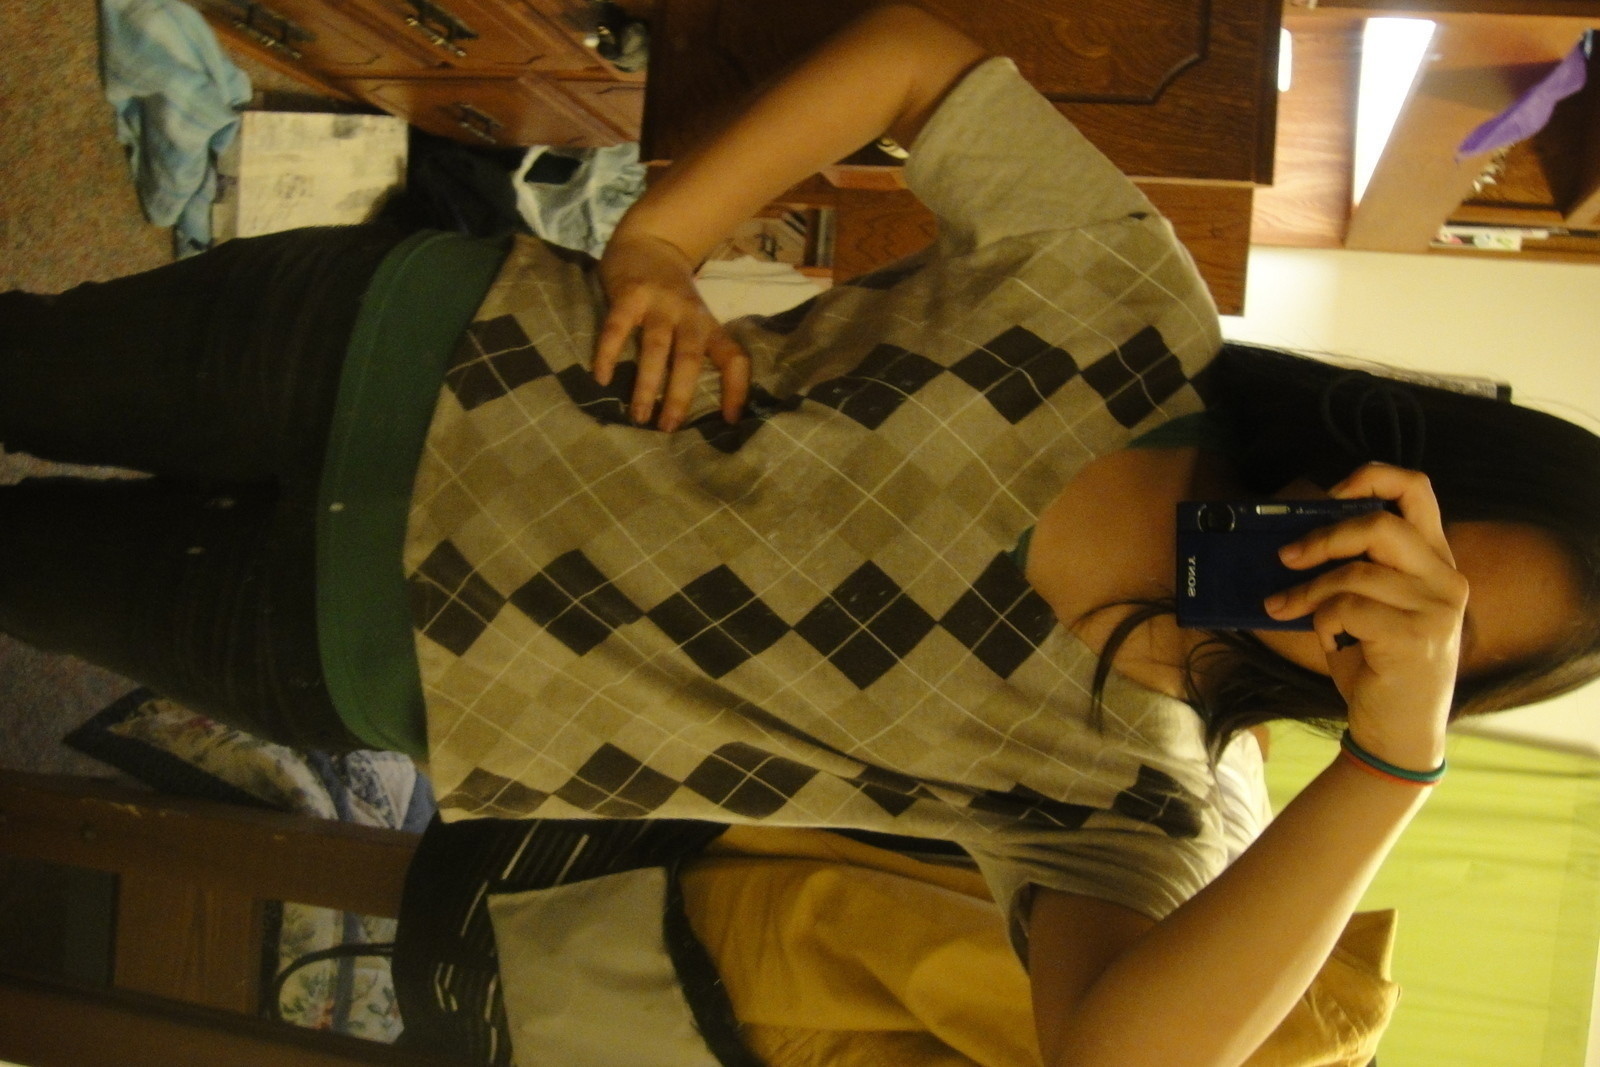
TA-DA. You now have an on-trend hi-lo/mullet/waterfall shirt!


 1
Paper Book Covers »
Shoe Inspired Spiral Notebook
1
Paper Book Covers »
Shoe Inspired Spiral Notebook

