


About
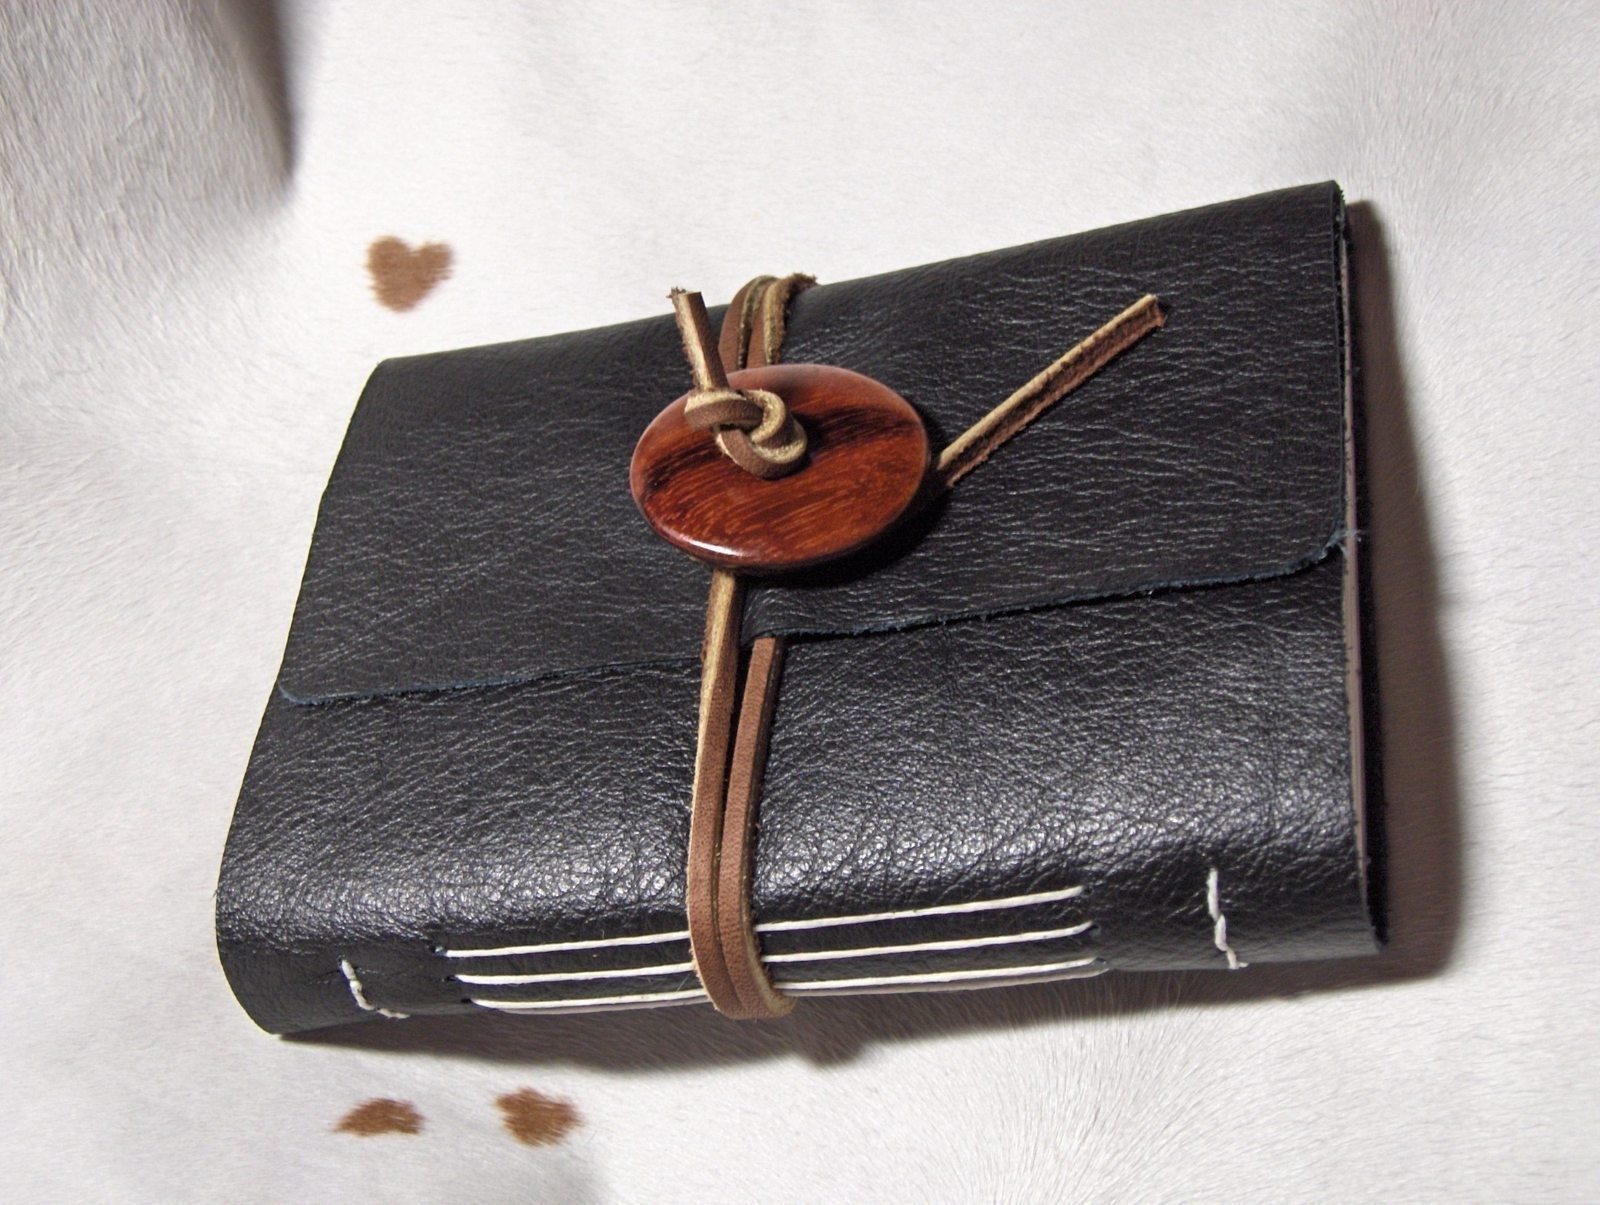
Handstitched Leather Journal
The leather came from a furniture leather sample (free). The thread came from Wal-Mart in the beading section. The leather cord came from Michaels. The donut my husband made on the lathe, but you can buy stone ones in bead stores and jewelry departments.
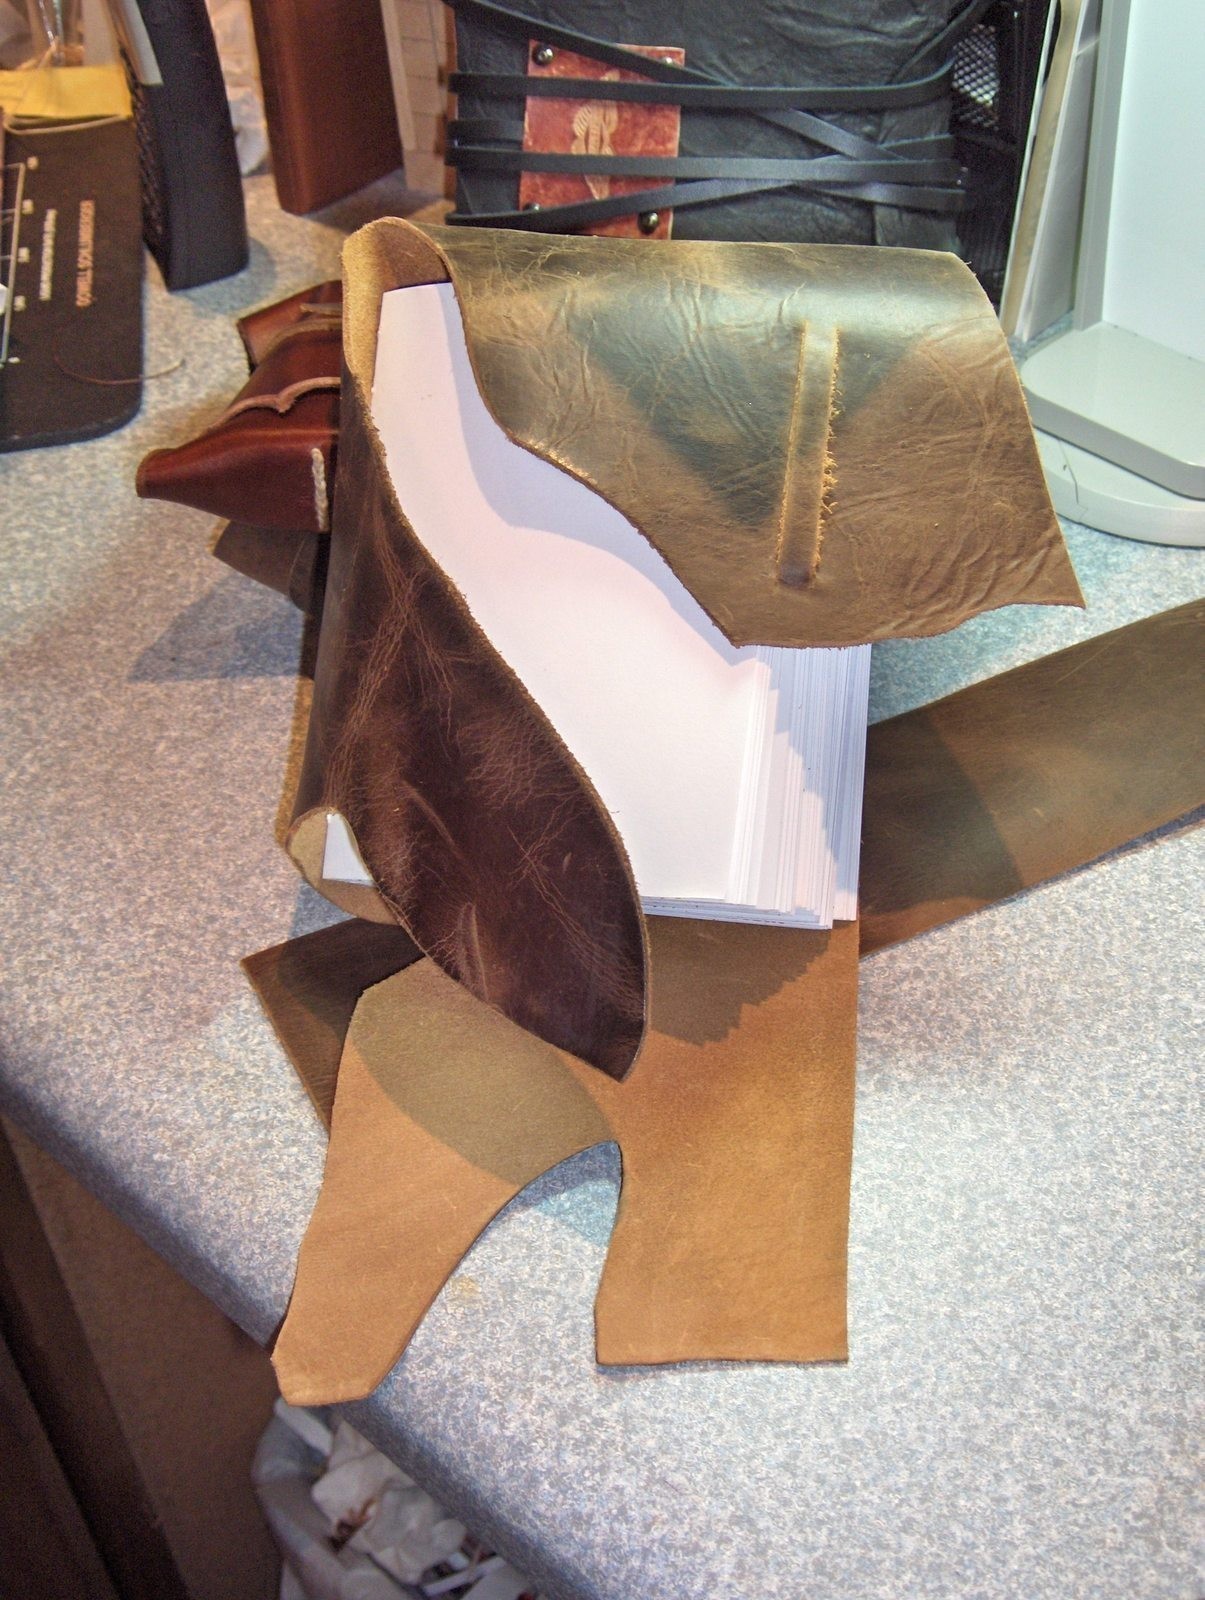
I like to put nice paper in my journals so that most any media can be used in them.
Update; I've been asked for a little tutorial... I'll try.
As with most things I make, I just wing it.
First decide how large you want your journal (sorry for being so obvious), cut your paper a little smaller than height of your leather. You can choose as many signatures as you would like. FYI, a signature is a group of folded papers. So, cut and fold maybe 5 groups of 5 sheets each. This will mean you have 5 signatures and you want an odd number. You can use more or less. I poke 4 holes down the center of the fold in each sig. For this use an awl, or ice pick on a mouse pad or something softish. You might make yourself one master sheet to lay inside as a guide so all the holes line up on each sig.
The holes need to be marked on the leather next. This is where it gets kind of tricky. I use graph paper (cut to same height as leather) because it has lines on it already, but you could mark off your own. Put the master down on the graph paper and mark holes. Put one set of holes for each signature. Try to line them up as best as you can. You can poke the holes in the paper with your awl or ice pick where you marked.
Next transfer those marks onto the leather and poke those holes as well unless you have a leather punch available.
Whew! Hope this is making sense. Now for the lacing. Just let me say that I have no idea what I am doing. I think I made this up and it works for me, so I've kept doing it.
I measure out a length of the binding thread by generously measuring out the height of the journal as many times as I have signatures, in this case 5 times and one to grow on :).
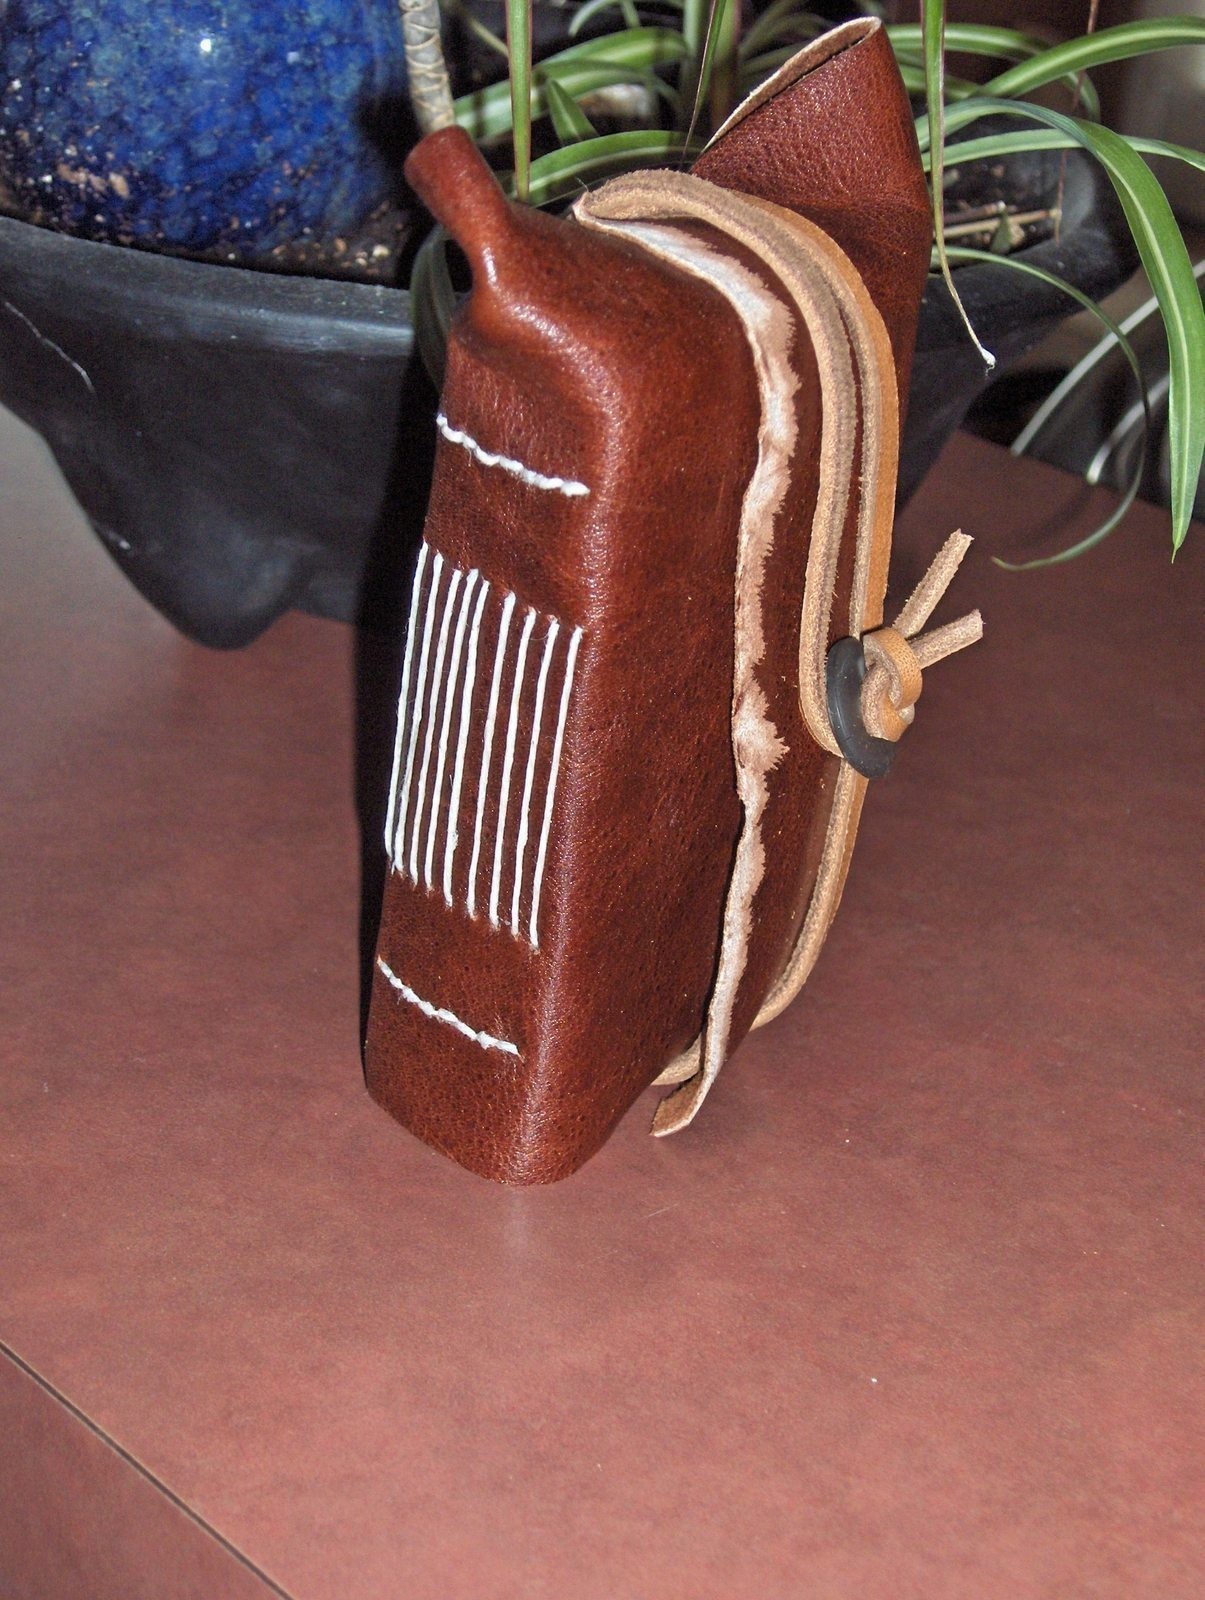
Thread your needle (no knot needed), lay the first signature inside the cover, start from the outside and go in the first hole at the top leaving a 4"+ tail. Now the needle should be on the inside, go into the next hole in the signature and out the cover. When you get to the bottom hole, the stitch will move over to row number two. Just keep going in this manner until you have all the signatures stitched in. Some people do "kettle stitches" on the signatures, you can google that for instruction and decide if you want to include that.
Now when everything is stitched, I go back in the holes across the top and bottom leaving a stitched look. This also brings the loose ends back to the inside where you tie off carefully and tightly then cut the thread.
I just punch a hole for the leather thong to go through and wrap it up!
Wow, I hope these instructions are clear enough. I'm sure you will find variations. One of these days I'm going to remember to string a few beads onto my thread and put a bead on the outside stitching maybe between each hole. If you have questions, just ask. I'll do my best to answer them.
Thank you for your interest!
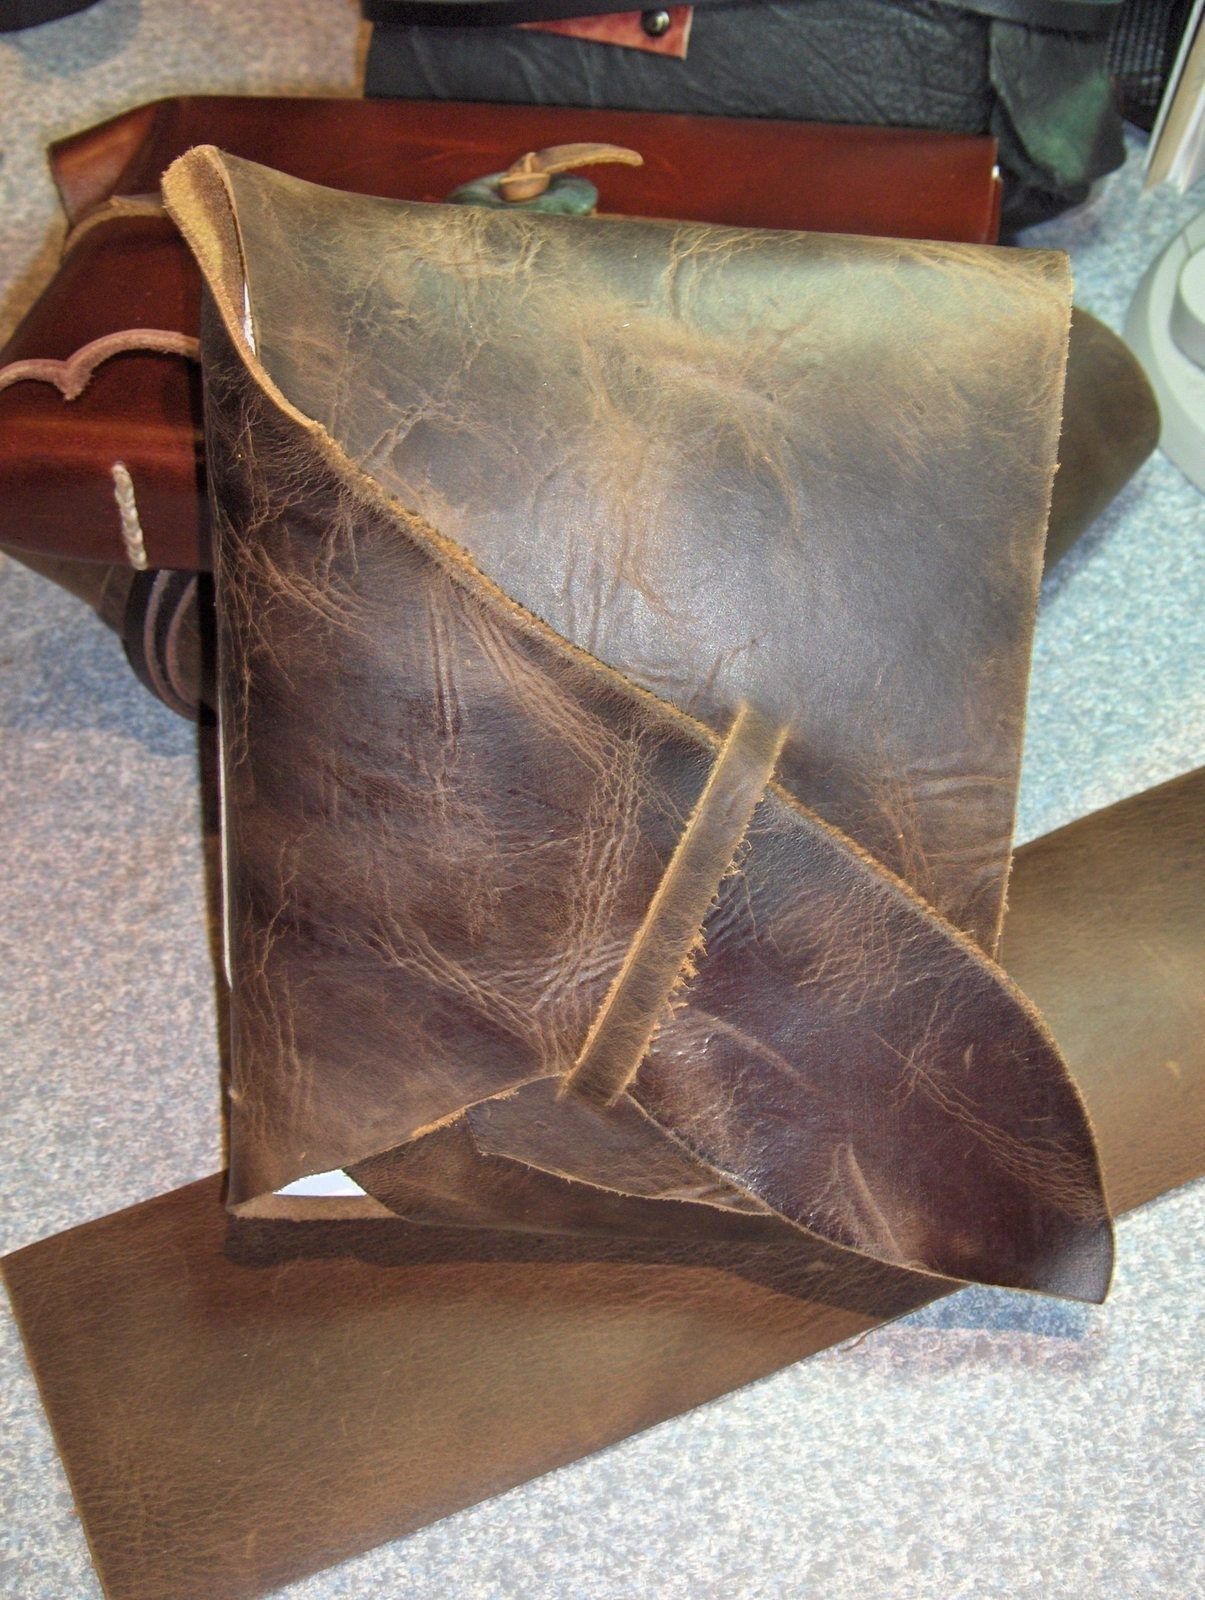
I'm including photos of variations.
-
 Miss_Fit added Handmade Leather Journal to Covers
29 Mar 13:37
Miss_Fit added Handmade Leather Journal to Covers
29 Mar 13:37
Vee F. posted this project as a creation without steps
Here are some similar tutorials to help you make this one!


 1
Watercolor Art »
Watercolor Paints Made From Make Up
1
Watercolor Art »
Watercolor Paints Made From Make Up
 2
Paper Book Covers »
Shoe Inspired Spiral Notebook
2
Paper Book Covers »
Shoe Inspired Spiral Notebook

