


About
Gloomy, the naughty grizzly. Now around your finger!
In my shrinky dink ring obsession, I have made yet another ring; this time it features Mori Chack's Gloomy Bear!
Gloomy is Pity's pet bear. He's a little over 6 feet and weighs as much as 2000 pomegranates. He's well trained for the most part, but he can never remember that he's not supposed to attack humans. Still, a pet owner must take ultimate responsibility for his pets. Recalling the warm memories of Gloomy as a cute bear cub. Pity tries to lead a life of peacful co-existence with his pet bear.
Gloomy Bear & Pity (c) Mori Chack
Ring design (c) GURESU ;)
For the most part, this ring is made almost the same as the other Shrinky Dink Ring, but I put in the repetitive steps just in case.
If you have trouble, don't hesitate to message me; I will help in any way I can! :3
I'm not too fond of how the some of the colors came out. The pink is fabulous; I love how it turned out, but the blood is way too dark. I'll probably remake it when I have time. :/
Tags
-
 Barbara M. favorited Gloomy Bear Ring
25 Oct 08:07
Barbara M. favorited Gloomy Bear Ring
25 Oct 08:07
-
Holly J. added Gloomy Bear Ring to Jewelry
09 Jul 21:57
-
 Mythiko Ino favorited Gloomy Bear Ring
21 Mar 17:12
Mythiko Ino favorited Gloomy Bear Ring
21 Mar 17:12
-
 Sveta favorited Gloomy Bear Ring
24 Aug 07:20
Sveta favorited Gloomy Bear Ring
24 Aug 07:20
-
 Sandra C. added Gloomy Bear Ring to Anells
07 Sep 21:06
Sandra C. added Gloomy Bear Ring to Anells
07 Sep 21:06
-
patricia m. favorited Gloomy Bear Ring
29 Mar 14:39
-
 japheel.ledguies favorited Gloomy Bear Ring
20 Aug 20:16
japheel.ledguies favorited Gloomy Bear Ring
20 Aug 20:16
-
 arcadethumbs favorited Gloomy Bear Ring
02 Jan 08:49
arcadethumbs favorited Gloomy Bear Ring
02 Jan 08:49
-
 Kendell V. favorited Gloomy Bear Ring
01 Dec 07:13
Kendell V. favorited Gloomy Bear Ring
01 Dec 07:13
-
 jennfer c. favorited Gloomy Bear Ring
15 Nov 03:31
jennfer c. favorited Gloomy Bear Ring
15 Nov 03:31
-
 Step 1
Figure out the circumference of your finger using a strip of paper.
For this ring, we need the paper to overlap to make it look like Gloomy's deadly paws are hugging your finger ^^
<< Use picture for reference.
-
 Step 2
Now that you know the circumference of your finger, you can use the strip of paper to estimate how much shrink plastic you need.
You can use the paper to find a round object that is about the size of your finger.
**TIP**
Different brands of plastic shrink to different sizes. Most plastics shrink to either 1/2 and some may shrink to 1/3 of the original size. You should bake a piece of plastic to check it's shrink rate.If it shrinks to 1/2 its size, then use twice the length of the strip of paper. If it shrinks to to 1/3 of its size then use three lengths.
You can decide how wide it is, but keep in mind that the thicker it is, the chunkier it will be; it could be uncomfortable to wear. Also, the thinner it is, the easier it will be to accidentally break the plastic.
<< I have no idea why the strip of paper looks pink...I'm pretty sure I used blue. -3-
-
 Step 3
Now, draw out the paw design on paper.
Remember to keep in mind the size of the finished ring. You don't want the paws to be too big.
-
 Step 4
Decide on any other possible designs, blood splotches, and/or words.
***IMPORTANT***
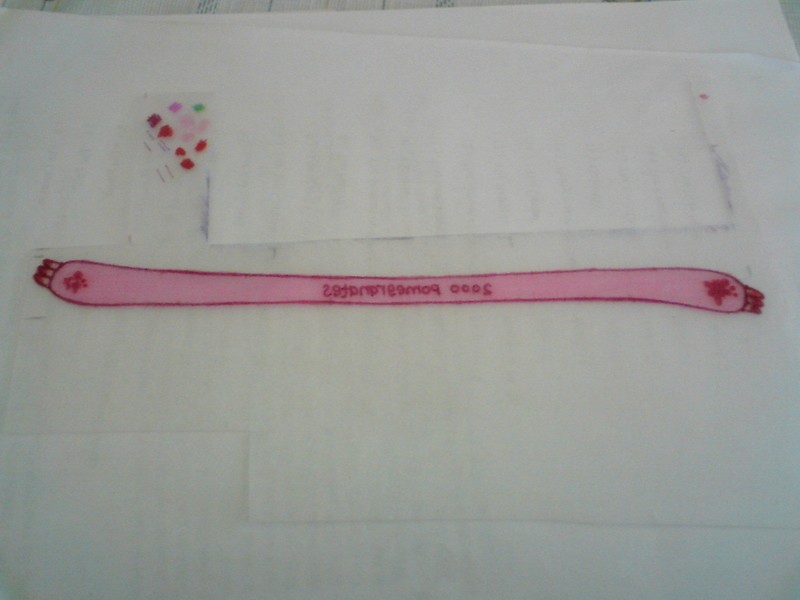
If you do have writing on your ring, remember that you have to write the words and lets backwards on the frosted side of the plastic so that the words are the right way on the finished ring.*What I did*
For my ring, the paws at the end are different. On the left side, the claws face up and on the right the claws face down. On the finished ring, the claws will face each other.Also in the middle, I wrote "2000 Pomegranates," cus Gloomy weighs that much and I think its cool. XD
-
 Step 5
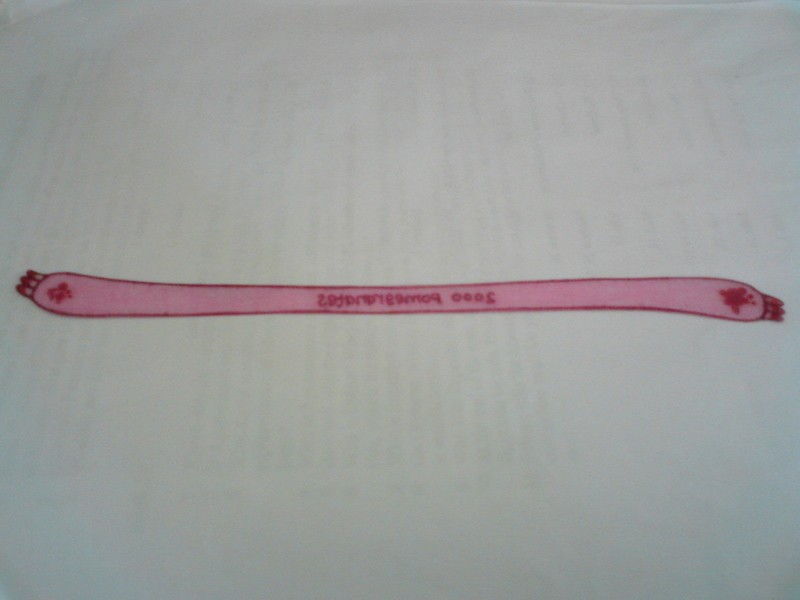
Draw your design onto the frosted side of the shrink plastic. Color it in.
***IMPORTANT***
Don't use oil-based paints or crayons; they will catch fire in the oven. D: Colored pencils, sharpies, and acrylic paints are OK! :)**TIP**
The colors will become more saturated after baking. -
 Step 6
Carefully cut out the plastic. Take your time, but don't worry too much about mistakes; they shrink down to nothing!
***IMPORTANT***
make sure all the edges are rounded. If you leave any side pointy, after baking it will become extremely sharp and could hurt you! D: -
 Step 7
Time to bake! Set your oven to about 350 F/177 C. Remember to watch the oven the whole time; I will not be responsible for fires! D:
**TIP**
I suggest that you bake on a napkin of sorts. It will help in later steps. ;) -
 Step 8
For this step, WORK QUICKLY!
Once the plastic flattens in the oven, QUICKLY take it out and QUICKLY wrap it around the round object. Wrap it so that the shiny side is facing up AKA facing you.
If you used a napkin, then you can use it to help you wrap the plastic; it will help keep your fingers from getting burned
**TIP**
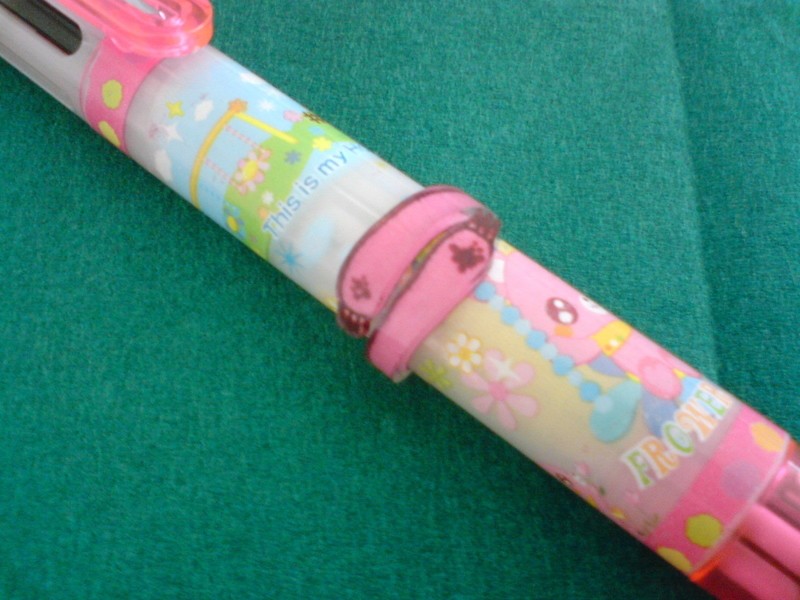
If you mess up, you can always put it back into the oven, wait for it to flatten and re-wrap it. ;)<< Like the intense kawaii-ness on my pen? Hey, look! My ring matches! XD
-
 Step 9
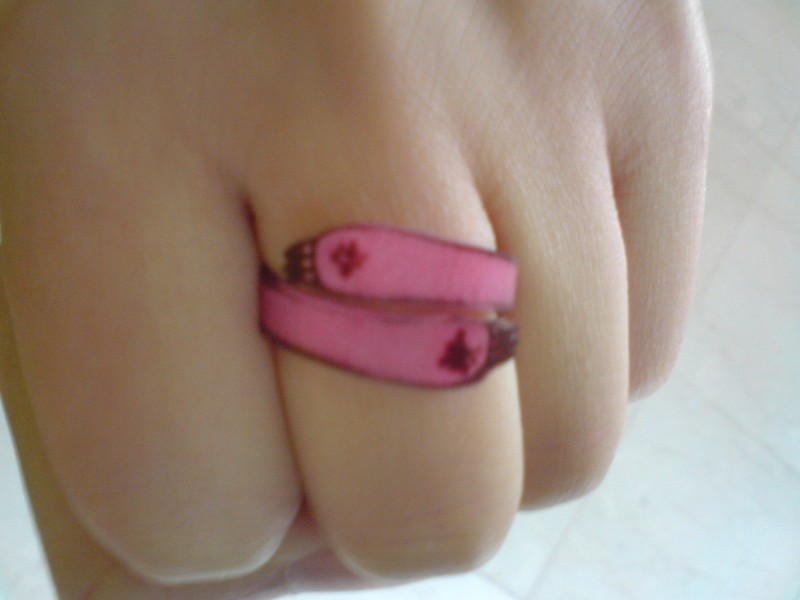
Once it cools down, you have Gloomy Bear hugging your finger!
Good Luck!


 1
Paper Art »
How To Fix A Smoking Toilet
1
Paper Art »
How To Fix A Smoking Toilet
 2
Bracelets »
Gifts From The Village Of Shadows Bracelet
2
Bracelets »
Gifts From The Village Of Shadows Bracelet
 3
Charms »
Akuma No Otto Pendant
3
Charms »
Akuma No Otto Pendant
 4
Gadgets »
Kitchen Hook
4
Gadgets »
Kitchen Hook
 5
Trays »
Trays For Breakfast
5
Trays »
Trays For Breakfast

so i have faved this twice.LOL but you desiverd it.
still awesome your design and the great tute.
thank you of it again;-D !!!!!
I want to find my shrinkydinks badly now.
<3