

About
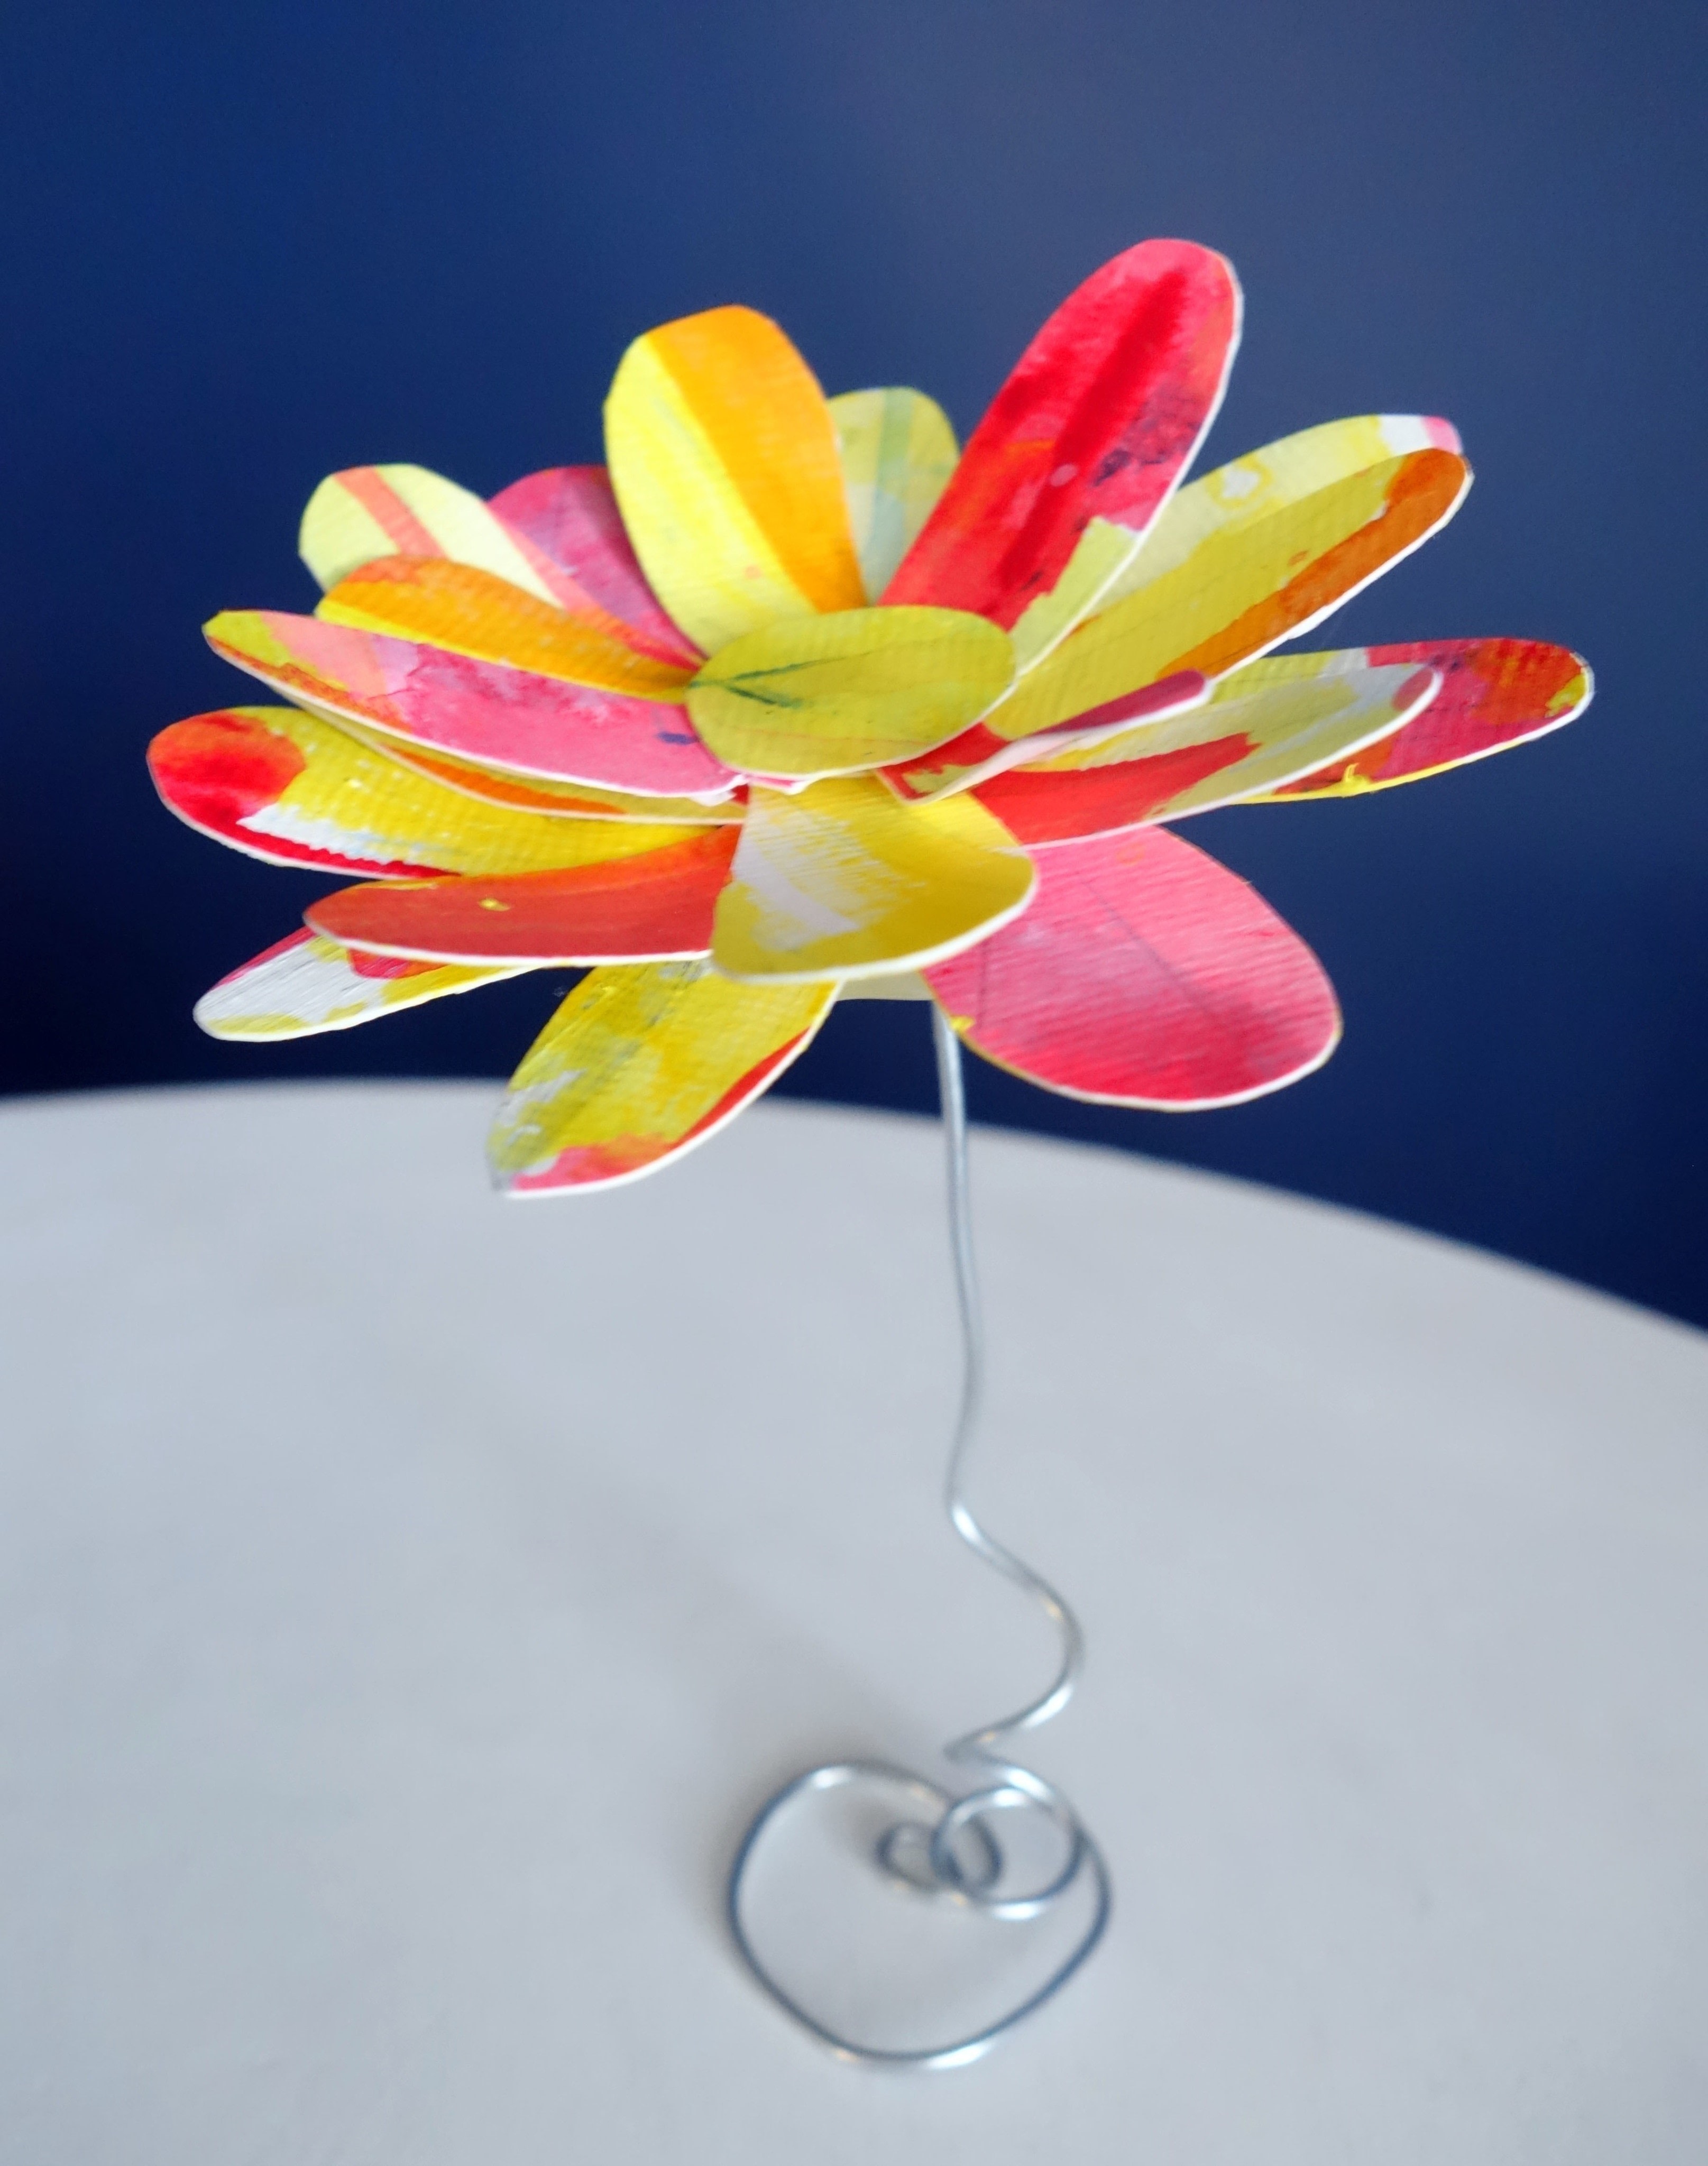
Freestanding Watercolor Flower
These little freestanding watercolor flowers make great gifts for teachers, seniors, friends, family - the list is endless! They are so easy to make and so easy to give....you could even make a bunch/bouquet of them and wrap them in tissue paper instead of making them freestanding. You choose! Even putting them in a mini vase can work too...just don't curl the ends of the wire and simply place them in a mini vase.
Tags
-
 Annelie S. favorited Freestanding Watercolor Flower
07 May 17:59
Annelie S. favorited Freestanding Watercolor Flower
07 May 17:59
-
 Jennifer McCully published her project Freestanding Watercolor Flower
09 Apr 09:00
Jennifer McCully published her project Freestanding Watercolor Flower
09 Apr 09:00
-
 Step 1
Bold, bright, vibrant...think of all the things flowers can be!
Start off using some watercolor paper (paper that is not too thick) , use complimentary colors and get painting! No need for rhyme and reason....go abstract all the way! The more unique the flower, the better!
Let your watercolor paint dry completely before moving on to the next step.
-
 Step 2
Once your painted sheet is dry, cut out flower petals to make a paper flower. There is no set number of petals here. Simply build and build until you are happy with the shape of the flower.
Don't forget to cut out a circle to be used in the center of the flower!
-
 Step 3
Build, construct, bring together....you get the idea...the petals of the flower by adding permanent glue dots between the layers of the petals. The flower should be built from BEHIND, not in the front. Start with a single petal, add a glue dot to the BACK BOTTOM AREA, and then connect/add another petal to the glue dot. Continue this pattern until your flower is built. You should not see any glue dots in the front or the back of your flower as they are sandwiched between the layers of paper.
Do not forget to add the center dot of the flower in the end!
-
 Step 4
Once the flower is "built", I flipped it over and added a quick coat of paint to the back of the flower. Since it is a freestanding flower, I wanted the back to have some color to it.
I then formed a wire "base" for the flower out of jewelry making wire. You do not want the wire to be too thin. Maybe 18 gauge wire. You want to be able to bend it with your hands some, but mostly with jewelry pliers. No need for this wire base to be perfect! Make it unique with twists and curls, etc.
In the end, the wire base/stem really needs to have two must haves!
1. The top of the wire base that will connect to the flower should be flat, so that it can be hot glued to the back of the flower.
2. The bottom of the wire stem/base should also be somewhat flat so that it can be able to stand on its own.
Once you have the wire stem/base created, hot glue the top of the stem/base to the back of the flower.
-
 Step 5
You're done! Work with the wire as needed to get the flower to "stand" however you would like!
Alternate options would be:
1. Not to curl/twist the bottom of the wire base/stem and put in a mini vase instead.
2. Make a bouquet of these flowers, do not bend the wire stems but rather keep them straight and wrap in fancy tissue paper and tie off with ribbon and yarn.


 1
Watercolor Art »
Watercolor Paints Made From Make Up
1
Watercolor Art »
Watercolor Paints Made From Make Up

