

About
DIY Planters
1. Cut strips of scrapbook paper about 2" wide and X" high to cover the bottom 2/3 of the container. Note: cutting the paper into 2" wide strips will help it lie flat.
2. Working on one strip at a time, apply Mod Podge to container and back of paper. Place strip of paper on container. A wee bit of overlap is fine! Repeat until you've covered the desired area.
3. Using contrasting paper, follow Steps 1 & 2 above to cover the top 1/3 of the container and the rim.
4. Using another contrasting paper, cut a narrow strip (no more than 1" wide) to cover the area where the papers on the top and bottom parts of the container meet. Optional: use 1 or 2 narrow strips of ribbon. Note: whether using the strip of paper or ribbon, the purpose is to hide the uneven edges of paper from the top and bottom portions of the container (and add a little detailing!).
5. Punch a few holes into the bottom of the container (scissors will do the trick) to allow for drainage.
6. Cut paper and apply to rim of lid and inside of lid.
7. Spray sealer (Mod Podge or other brand designed for sealing paper projects) over the papered container.
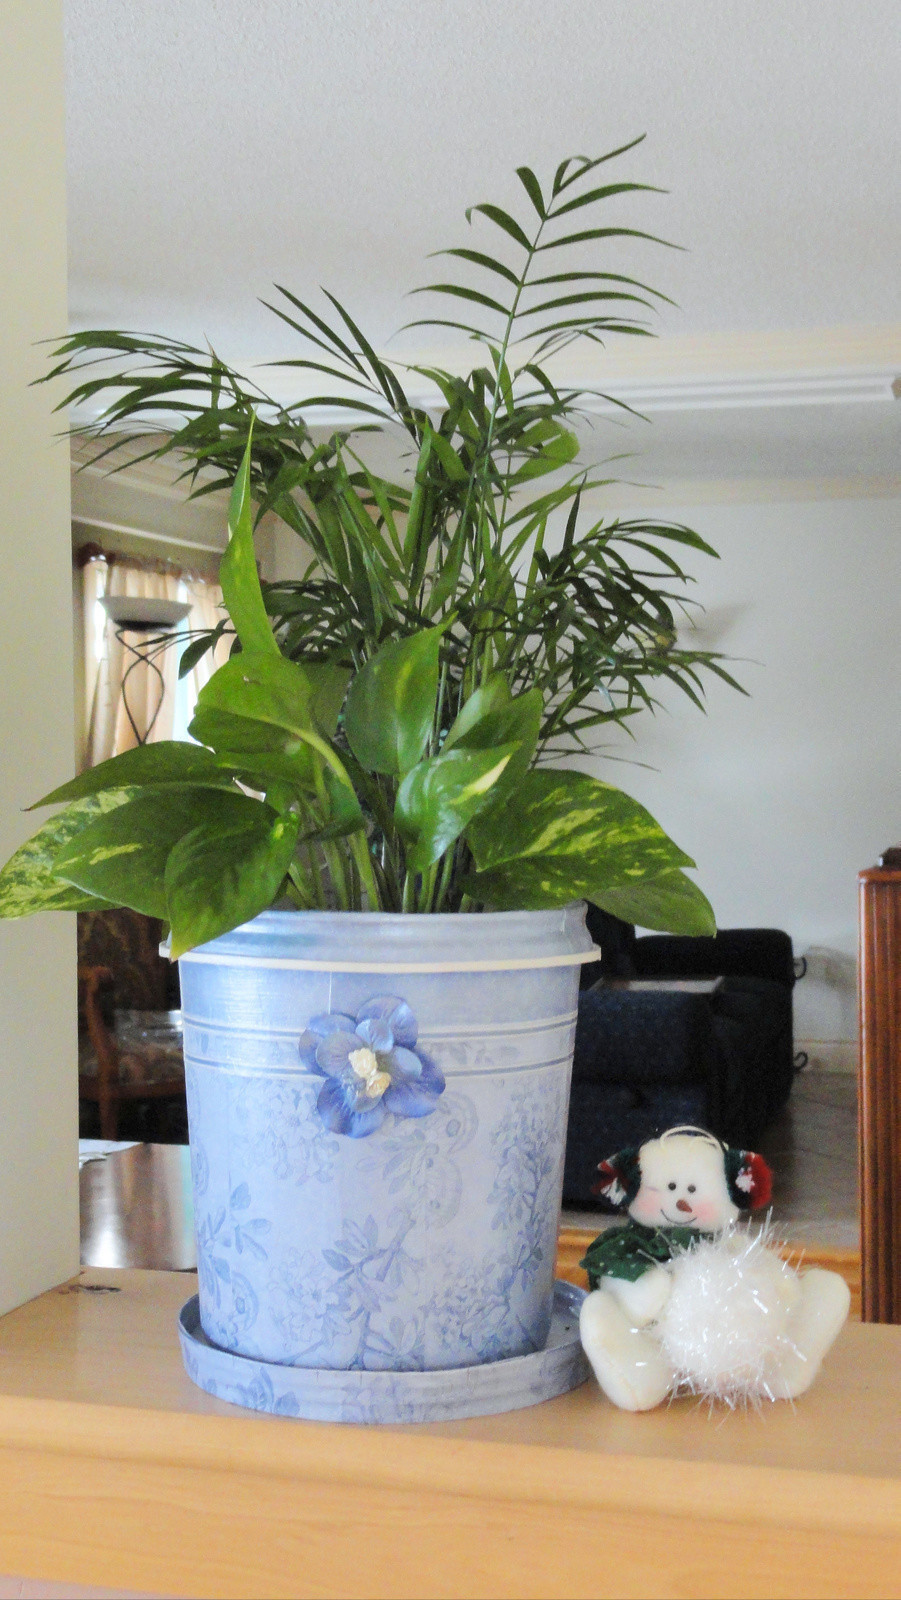
8. Paste desired bling to finished project.
This project costs pennies to make and takes less than 30 minutes from start to finish...and...it's one less container to be recycled!
-
 Sarah Sylvia S. favorited Flower/Plant Pots From Re Purposed Frozen Yogurt/Ice Cream Containers
20 Jul 23:06
Sarah Sylvia S. favorited Flower/Plant Pots From Re Purposed Frozen Yogurt/Ice Cream Containers
20 Jul 23:06
-
 Valerie R. favorited Flower/Plant Pots From Re Purposed Frozen Yogurt/Ice Cream Containers
18 Jun 20:28
Valerie R. favorited Flower/Plant Pots From Re Purposed Frozen Yogurt/Ice Cream Containers
18 Jun 20:28
BeautifullyPractical posted this project as a creation without steps
Here are some similar tutorials to help you make this one!


 1
Watercolor Art »
Watercolor Paints Made From Make Up
1
Watercolor Art »
Watercolor Paints Made From Make Up

