

About
Super Fun & Customizable Paper-craft Project!
This is such a simple project that you can either embellish or leave plain! No matter what you choose, both look great & are totally functional too!
Tags
-
 Crafterella featured Easy Vintage Ticket Paperclip
21 Apr 23:00
Crafterella featured Easy Vintage Ticket Paperclip
21 Apr 23:00
-
 Lisa H. published their project Easy Vintage Ticket Paperclip
20 Apr 11:55
Lisa H. published their project Easy Vintage Ticket Paperclip
20 Apr 11:55
-
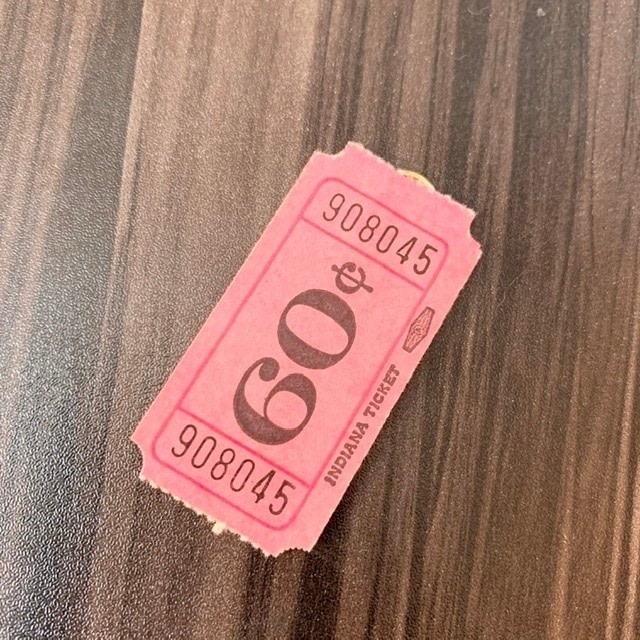
 Step 1
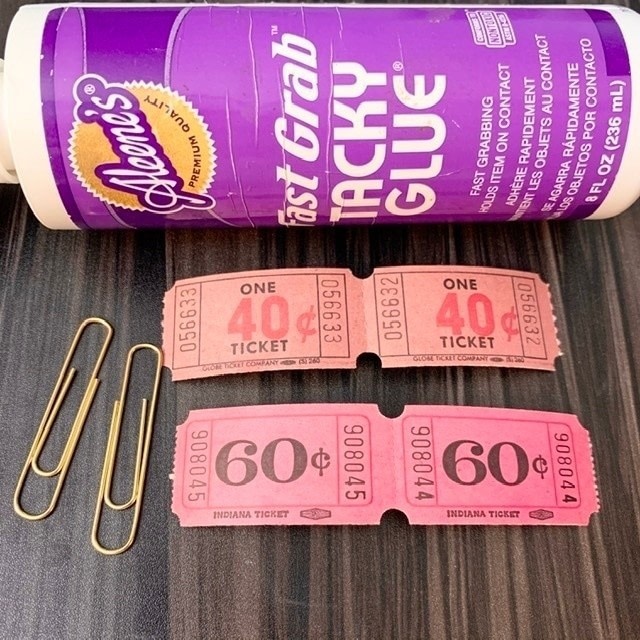
Gather your supplies.
Be sure you use the correct size paperclip. It should be just slightly smaller than your tickets. -
 Step 2
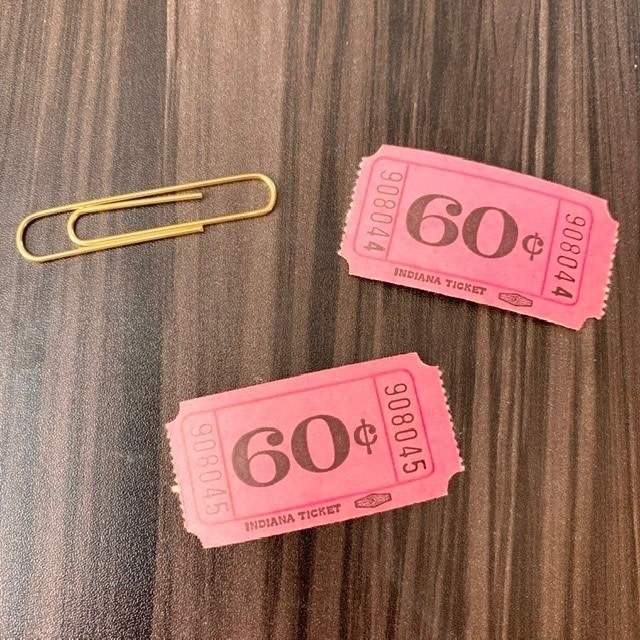
Separate tickets and grab your paperclip.
-
 Step 3
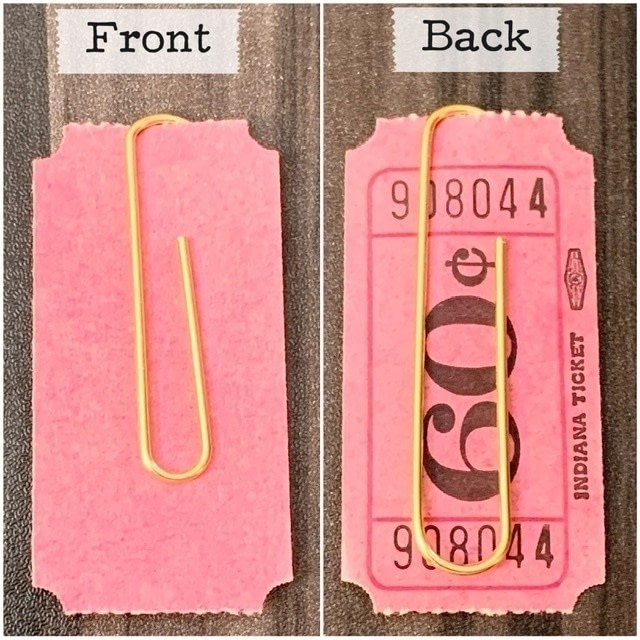
Slide the paperclip onto one of the tickets. You’ll want the shorter side to be on the blank side of the ticket and the longer one to be on the number side of the ticket.
-
 Step 4
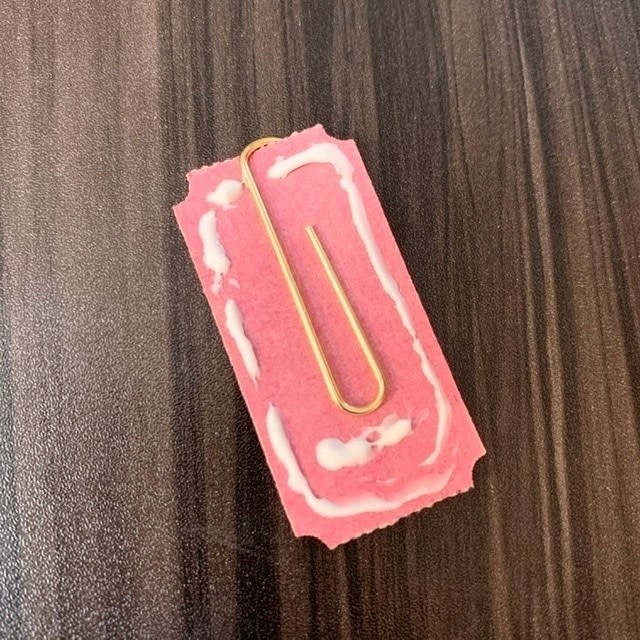
Add tacky glue around the edges and towards the bottom of the blank side of the ticket, as shown here.
-
 Step 5
Attach the second ticket so the number side faces up and the blank side is glued down.
-
 Step 6
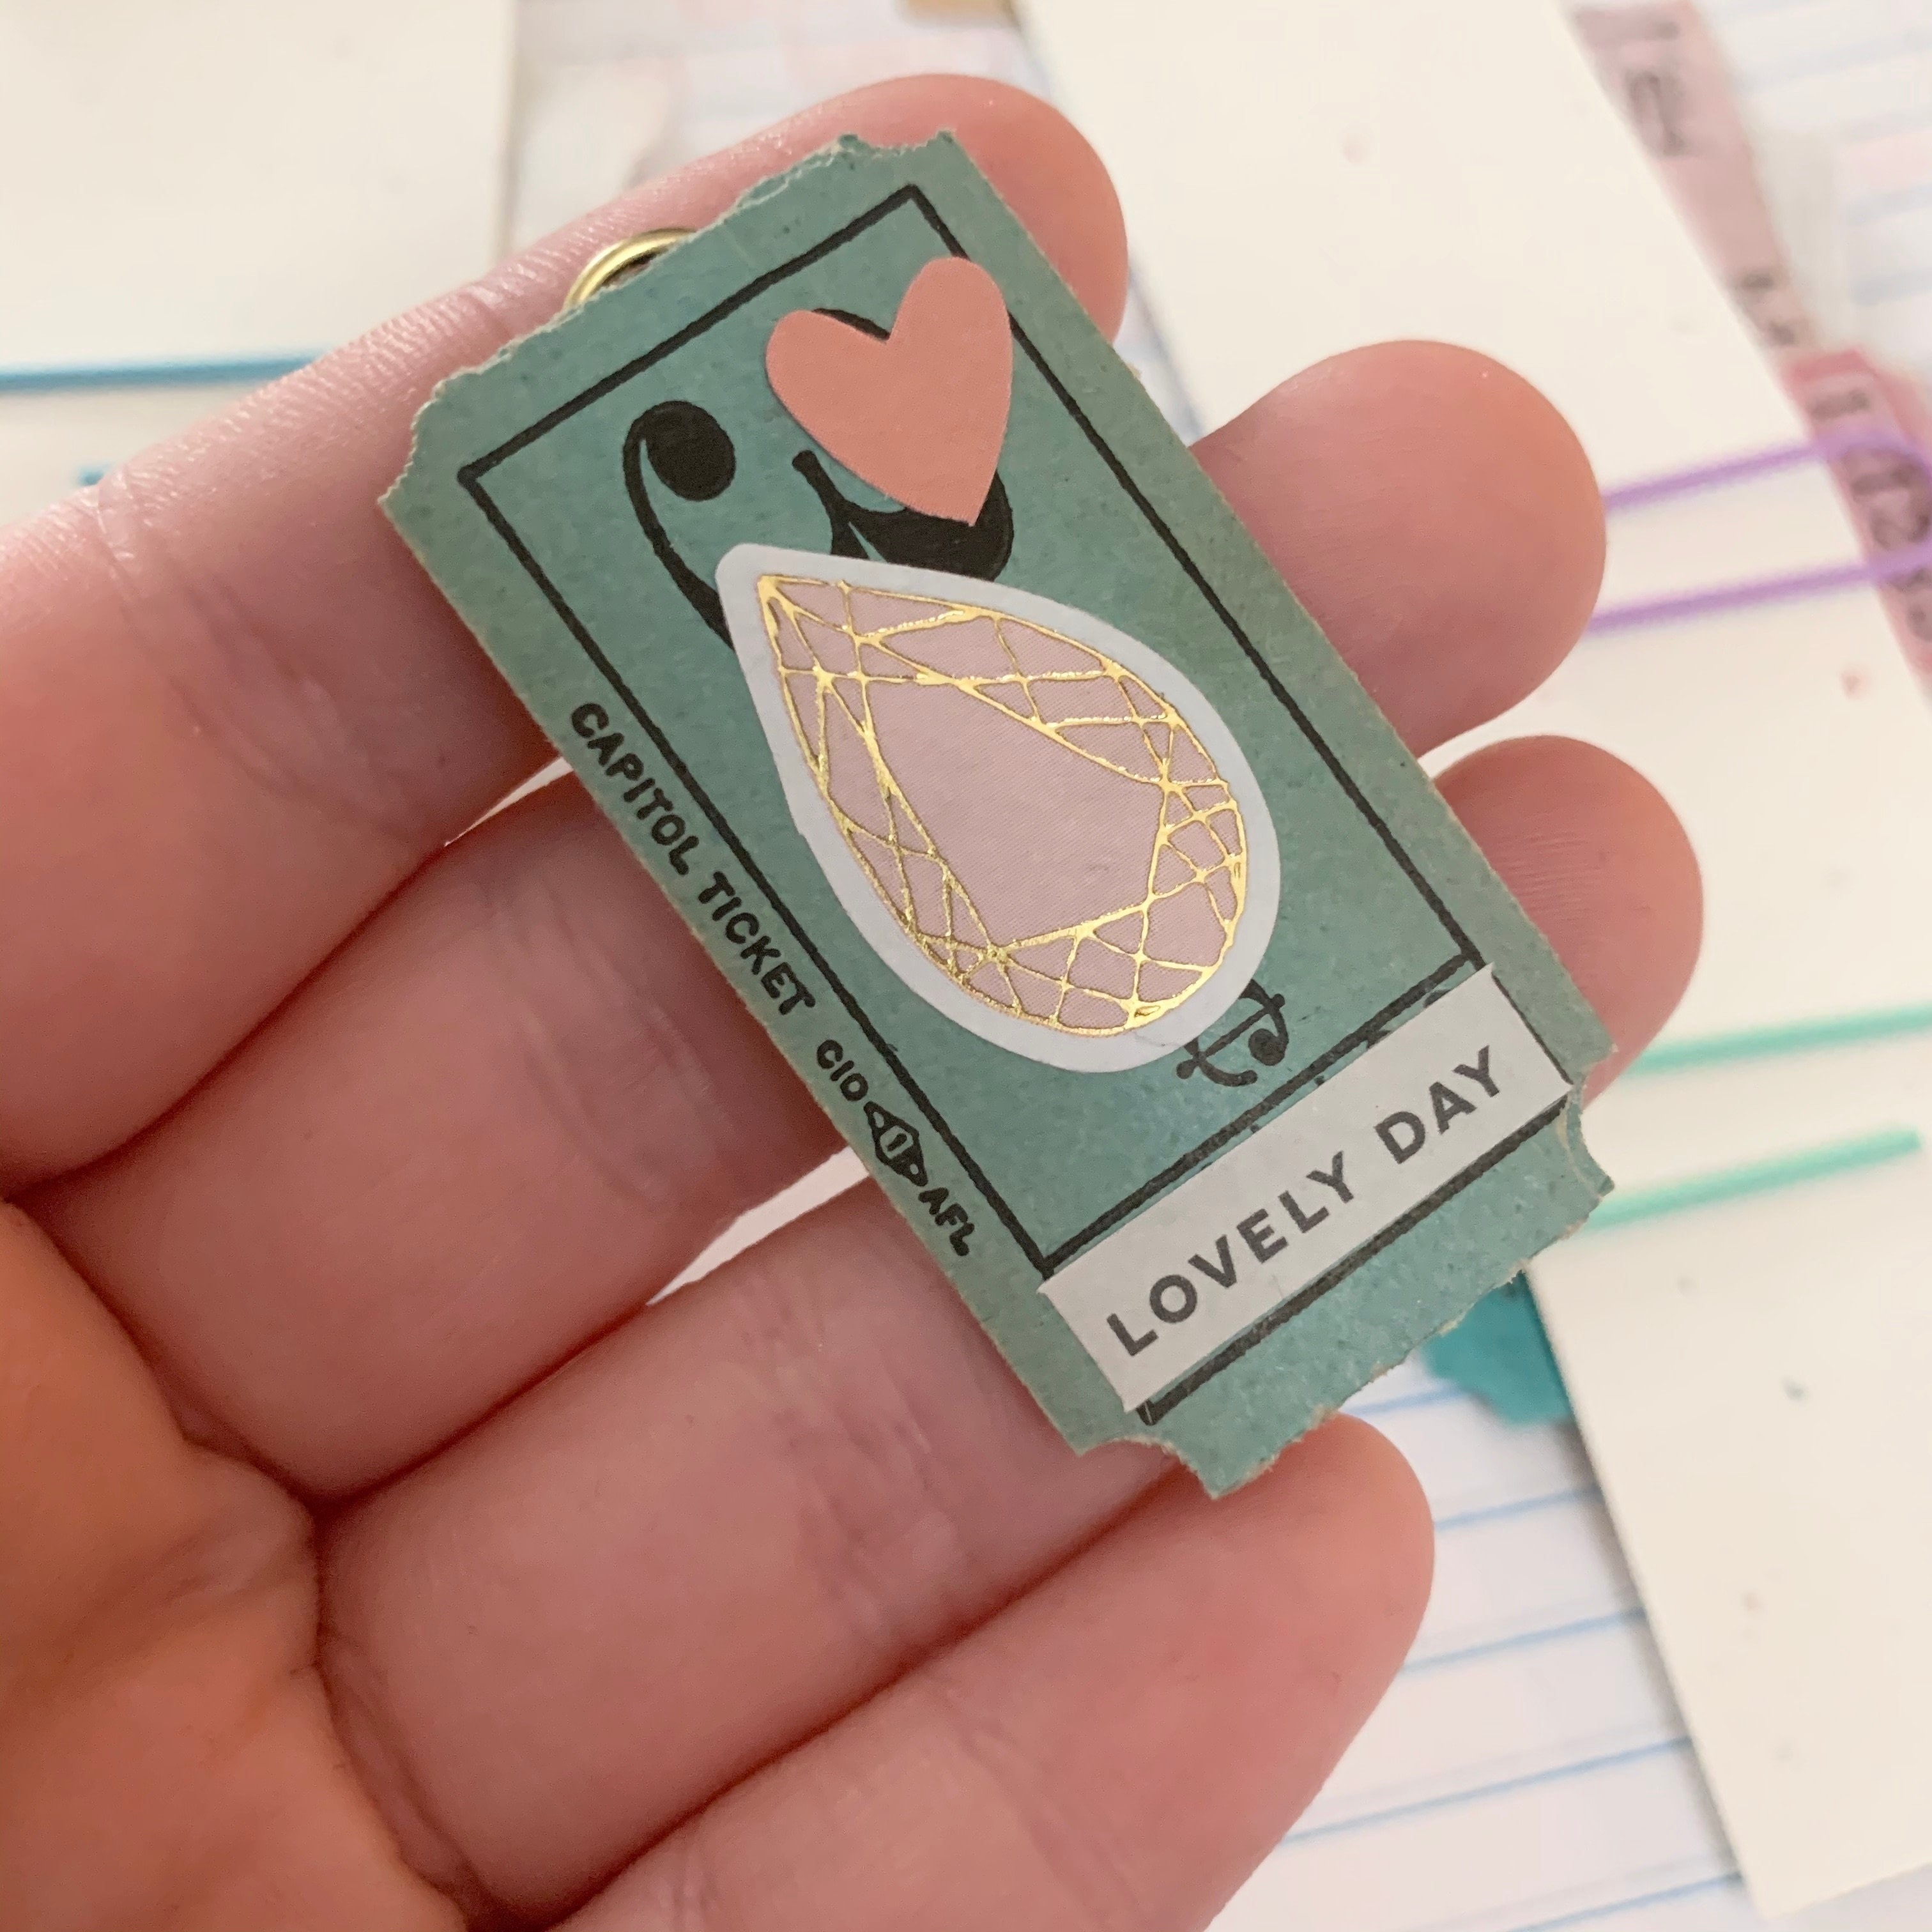
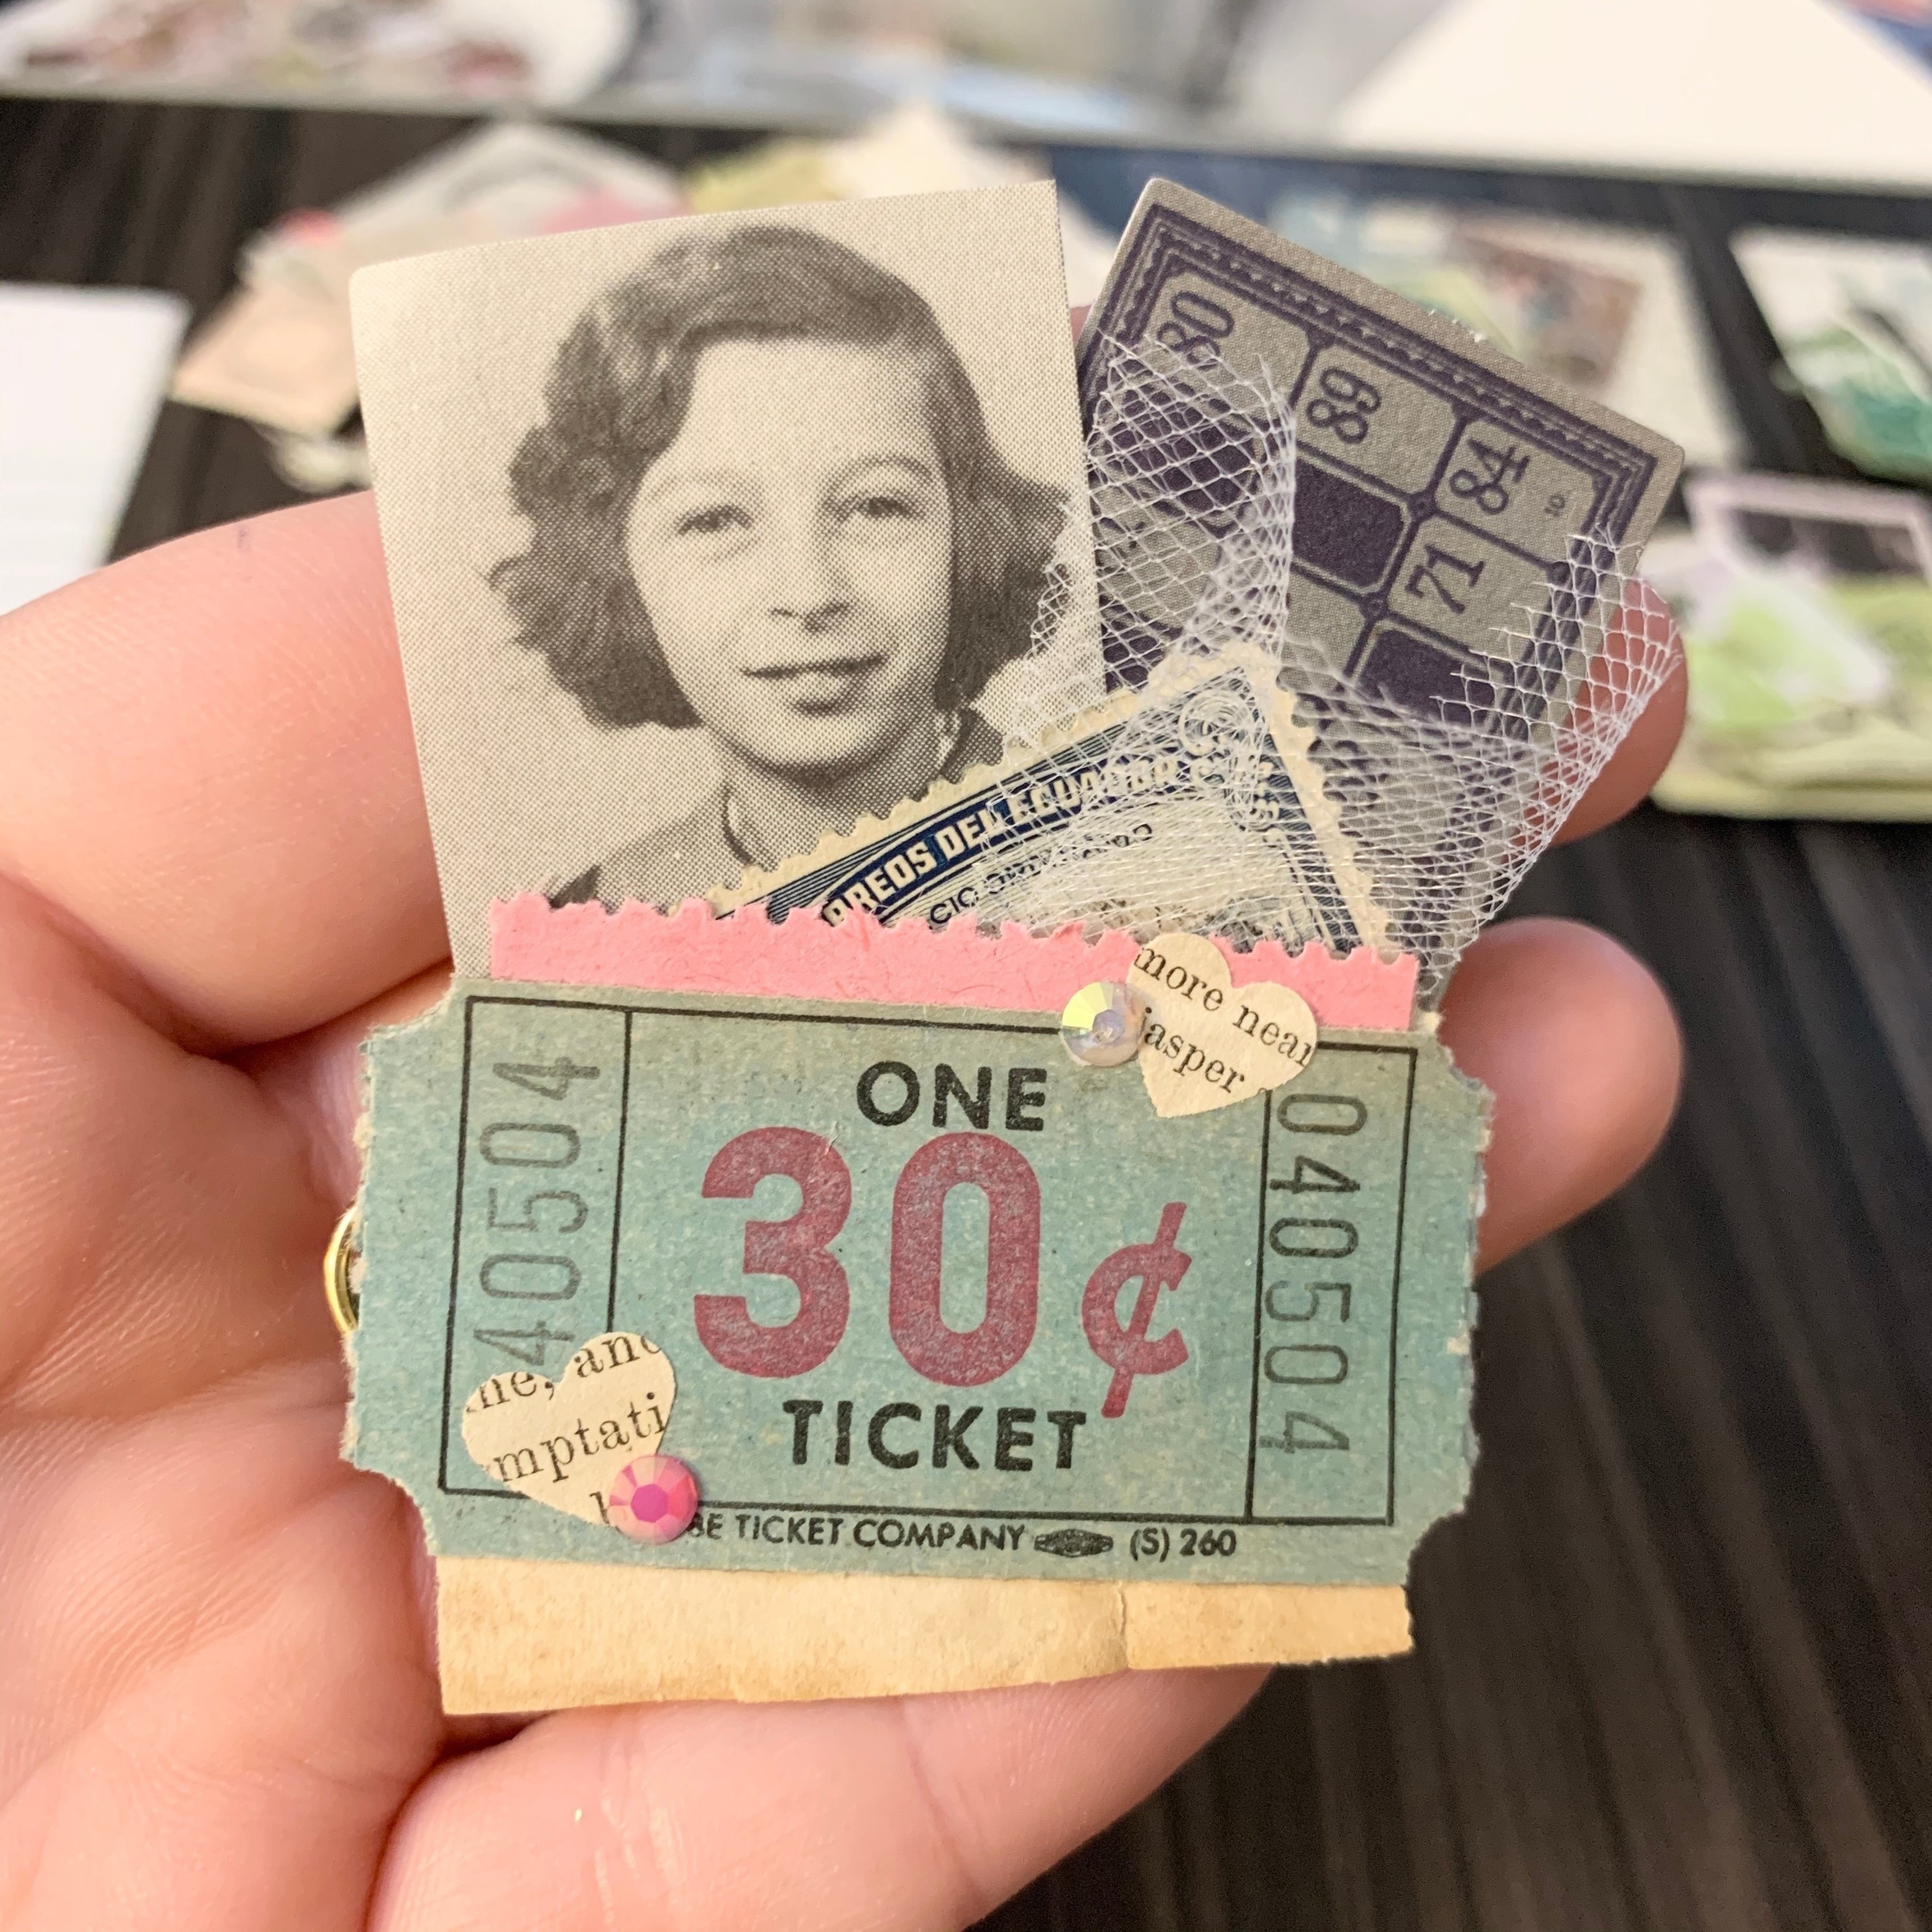
FINISHED! You now have a cute & functional Ticket Paperclip for your journal or project!
-
 Step 7
OPTIONAL: Embellish your Ticket Paperclip using any of the following items:
- Vintage Ephemera
- Postage Stamps
- Stickers
- Bits of Book Pages
- Flat Back Cabochons or Gems
- Small Pieces of Tulle
- Die-Cut Ephemera (Like from Tim Holtz)
- and whatever else you can think of!