


About
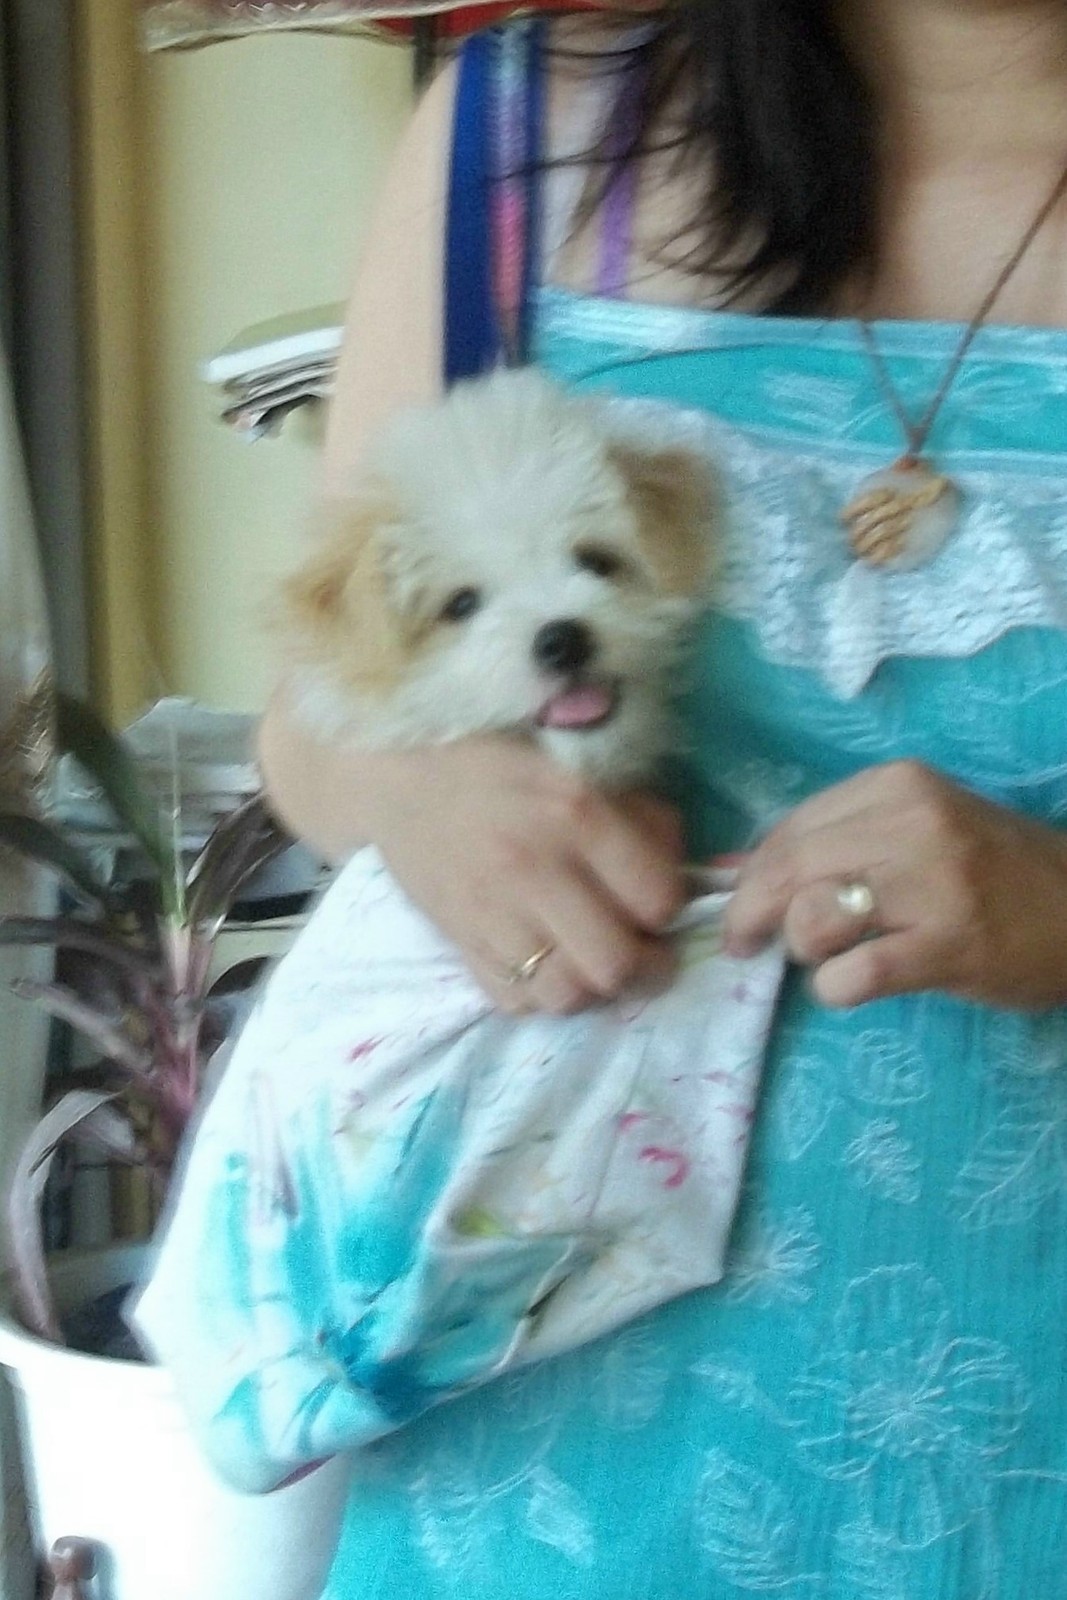
Turn a favorite pair of jeans into a tote for your small pet.
I made this doggie-tote specifically to fit the size and could carry the weight of Vanilla Bean, my 3-month old Shih-Poo. I want her to ride in ease and comfort while I carry her with me on short walks. I used my old pair of jeans as material for this tote because its very strong, and durable. I didn't spend a dime either on other materials for I used leftover ones from previous projects. Moreover, I opt to use a printed denim so as to refrain from putting embellishments such as studs or trinkets because my puppy is teething.
Making this bag from scratch is easy. It took me less than an hour to finish it than writing this step-by-step tutorial...Hope your pet likes it too.
P.S. The challenging part is to get the pet into the bag:)
Tags
-
 Teresa I. favorited Doggie Tote
07 Jan 09:36
Teresa I. favorited Doggie Tote
07 Jan 09:36
-
 jo y. favorited Doggie Tote
23 Mar 10:54
jo y. favorited Doggie Tote
23 Mar 10:54
-
 KirbyBella added Doggie Tote to Bags
03 Oct 07:44
KirbyBella added Doggie Tote to Bags
03 Oct 07:44
-
 monika.deleeuwtanchyk favorited Doggie Tote
02 Mar 19:21
monika.deleeuwtanchyk favorited Doggie Tote
02 Mar 19:21
-
 Lady Grim favorited Doggie Tote
26 Jun 07:36
Lady Grim favorited Doggie Tote
26 Jun 07:36
-
 Step 1
Prepare an old pair of jeans and lie it flat on a table.
-
 Step 2
On both legs of the jeans, measure 14 inches from the hemline. Mark it with tailor's chalk and then cut along the marked line.
-
 Step 3
You now have 2 pieces. Cut along the seam on just one side of each piece. Open and measure the width. (Mine is 14 inches x 16 inches.)
Note: The hemline of your former jeans will be the opening of the tote bag. On the wrong side, find the center of the opening. From that point, measure 3 1/2 inches on both sides. Also, measure 1 inch down from the edge of the opening. This will be the marker for your straps. -
 Step 4
Pin the pieces with right sides facing each other. At the left hand corner, measure 6 inches downwards and 4 inches sidewards. Connect the 2 points to make a curve line. (I used a mini french-curve to draw the curve faster.) Cut along the curve line.
-
 Step 5
Machine stitch 3 sides - the side seams and the bottom seam.
-
 Step 6
Zigzag the edges for a clean finish. If your sewing machine has no zigzag stitch, use another edging stitch or a straight stitch near the edge of the fabric would also do.
-
 Step 7
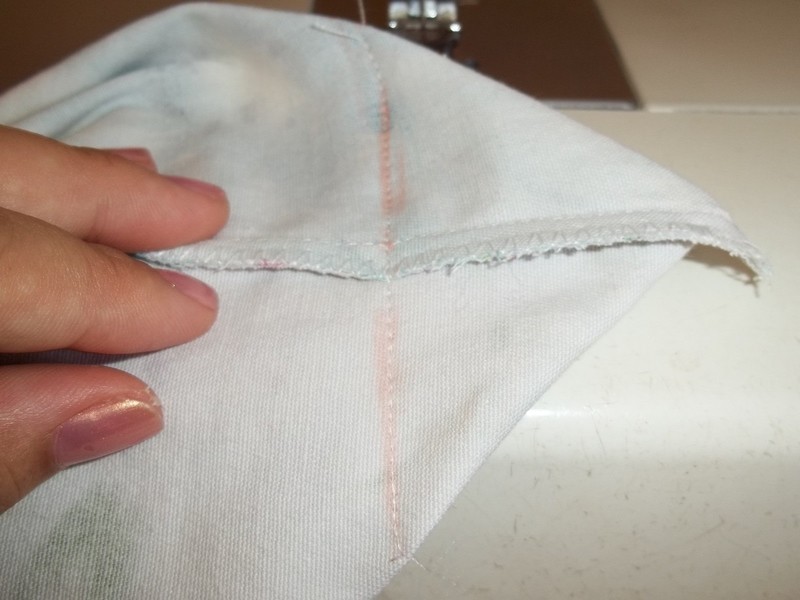
Miter the corner at each side. Measure 2 inches x 2 inches to the side and bottom seams. Tip: align the side and bottom seams to get a good corner for your miter. Pin if you must and then stitch.
-
 Step 8
Turn the bag right side out. Your half-finished tote would look like this.
-
 Step 9
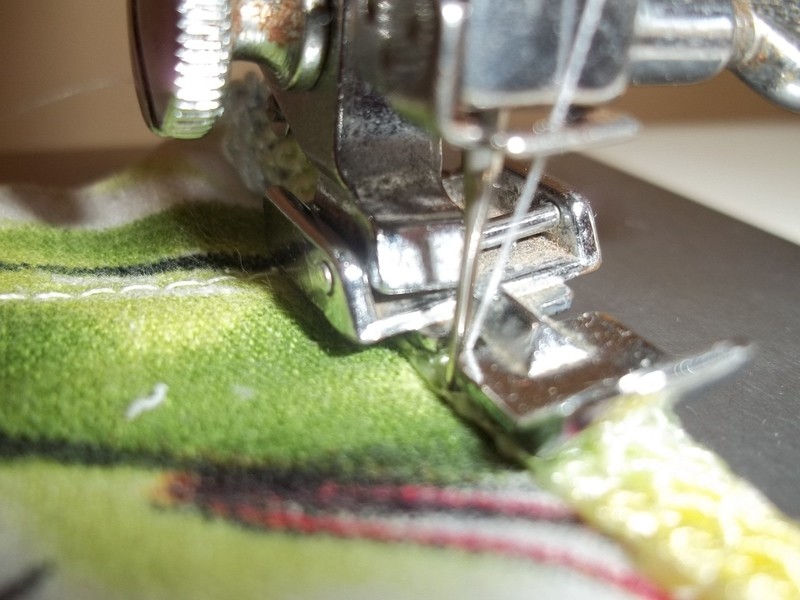
Along the curved-opening of the tote, stitch one side of a decorative ribbon 1/4 inch near the edge on the wrong side. (I use a 1cm wide rainbow-colored ribbon for my tote.)
-
 Step 10
Then, flip the ribbon to the right side and stitch it.
-
 Step 11
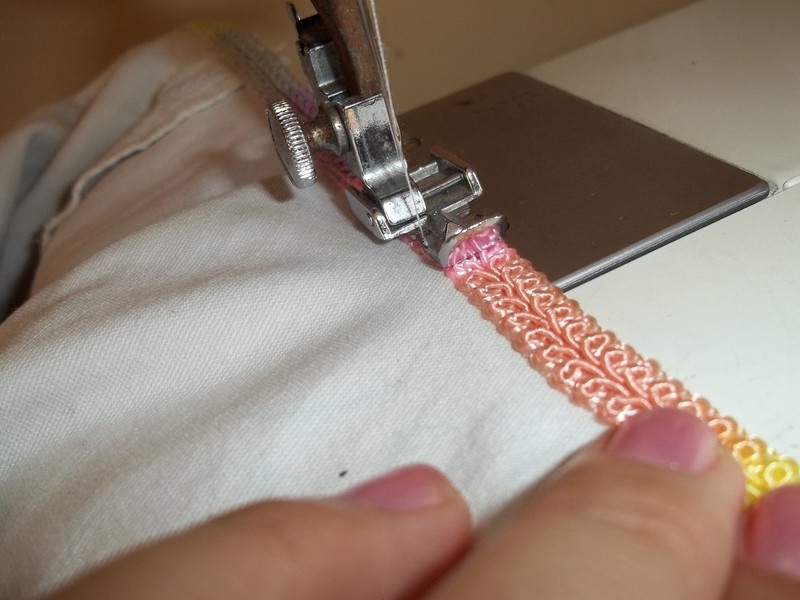
Prepare 2 straps, each about 21 inches long. You can use strips of fabric with your desired length and width.
Optional: I stitched a decorative ribbon to a meter of 1-inch nylon strapping. Then, I cut it into 2 pieces.
-
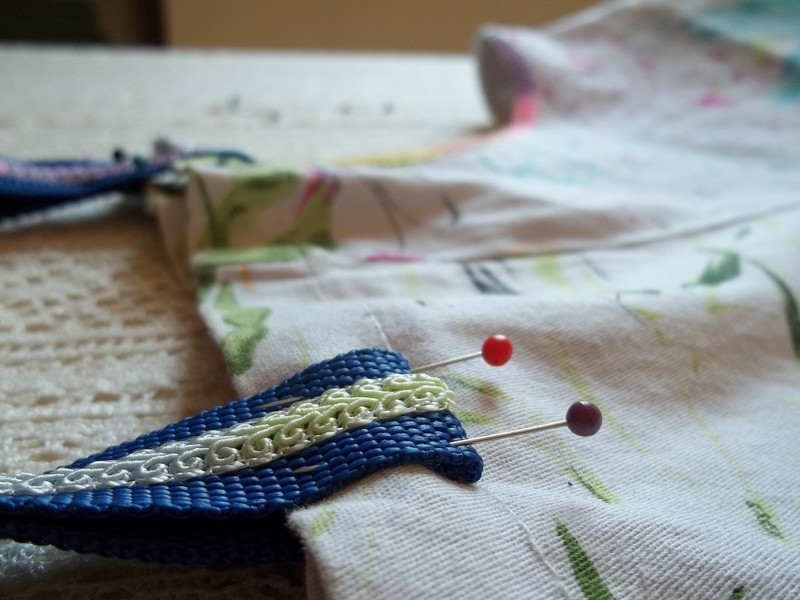
 Step 12
Pin the straps on the pre-marked area. Then, stitch in place.
-
 Step 13
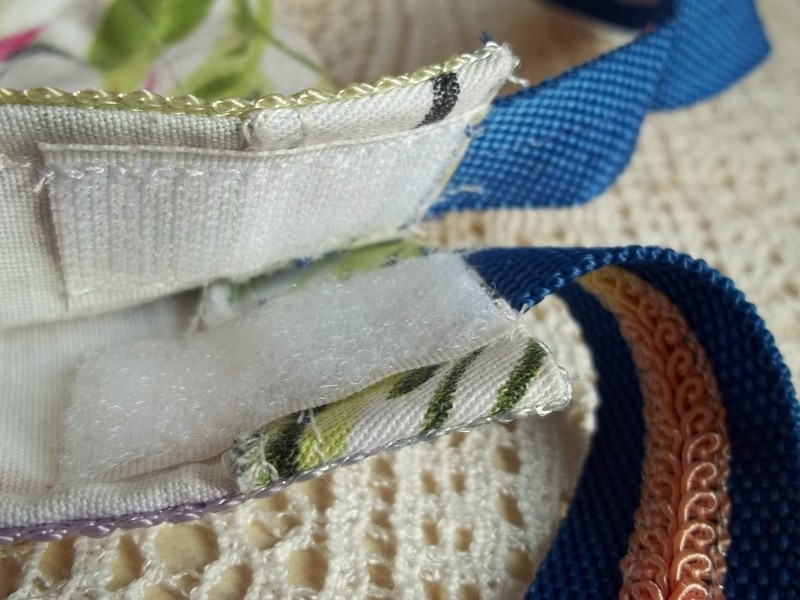
Optional: Attach fasteners at the opening. I put Velcro at the top of the curve opening near the straps.
-
 Step 14
Optional: Sew Velcro on each of the mitered corners.
-
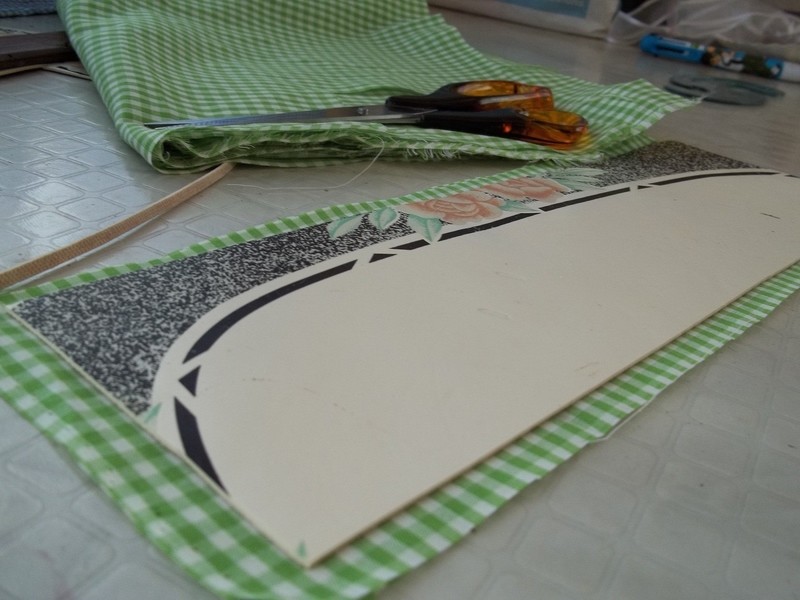
 Step 15
Optional: The tote covered-base. I made a 4 inches x 15 1/2 inches covered base for the tote. I used an old stiff nylon place-mat as base, and 5 inches x 16 1/2 inches checkered fabric as cover.
-
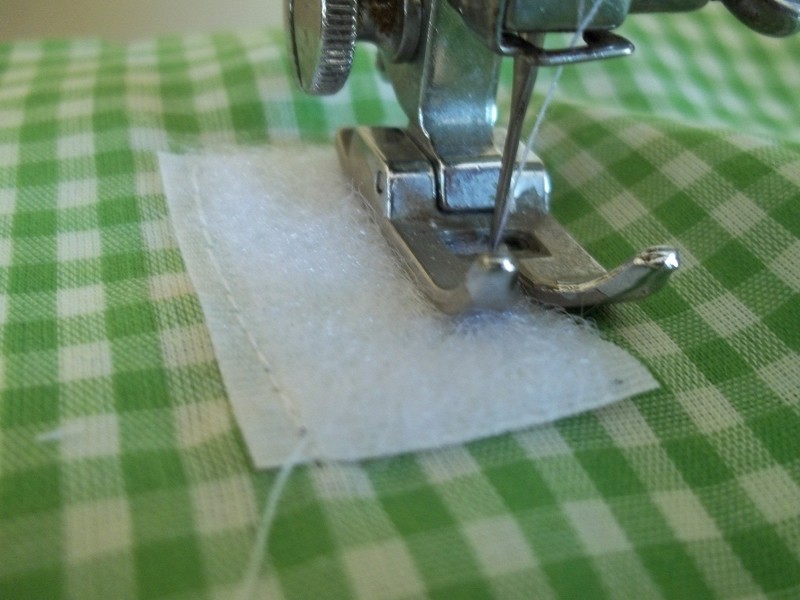
 Step 16
Align, mark and stitch the other part of Velcro on one side of the base cover.
-
 Step 17
Stitch 3 sides of the checkered fabric. Turn it out, insert in the placemat-rectangle, and stitch it close. The finished covered-base would look like this.
-
 Step 18
Attach the covered-base to the bottom of the bag.


 1
Watercolor Art »
Watercolor Paints Made From Make Up
1
Watercolor Art »
Watercolor Paints Made From Make Up
 2
Paper Book Covers »
Shoe Inspired Spiral Notebook
2
Paper Book Covers »
Shoe Inspired Spiral Notebook
