About
A 3 Dimensional Greeting Card with a Hanging Butterfly
Wow your friends and family with a card which looks beautiful but is quite easy to make. The card folds flat for posting. The printables and the step by step tutorial are all in the attachment.
©Sheila Rodgers 2014.
Tags
Downloads
- 114306_2F2016-05-18-100256-BASE+OF+CARD+AND+TOPPER+-+BUTTERFLIES+1.jpg 156 KB [ Download ]
- 114306_2F2016-05-18-101350-BUTTERFLIES+AND+STAY+-+BUTTERFLIES+1.jpg 170 KB [ Download ]
- 114306_2F2016-05-18-102631-INSERT+-+BUTTERFLIES+1.jpg 49 KB [ Download ]
- 114306_2F2016-05-18-102635-MAIN+EASEL+-+BUTTERFLIES+1.jpg 193 KB [ Download ]
-
 Rhonda K. favorited Butterfly Hanging Easel Card
18 Aug 00:15
Rhonda K. favorited Butterfly Hanging Easel Card
18 Aug 00:15


-
 Step 1
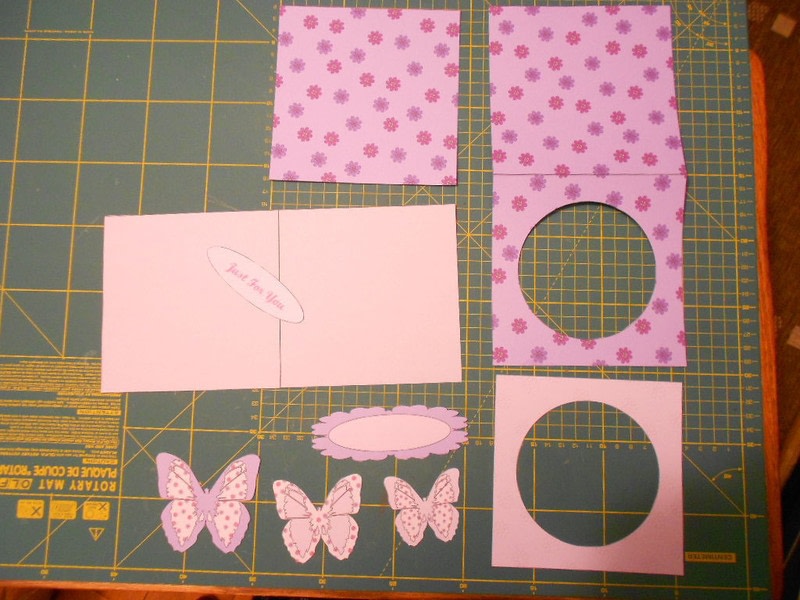
Print out all sheets onto good quality card and then cut them out.
-
Step 2
Turn the main card piece face down and score along the centre fold line.
-
 Step 3
Take the patterned square of card and turn it face
up. Stick it to the end of the main card - see photo. It doesn’t matter if you can see the tape because this will be hidden behind the insert BUT make sure you do not put the tape too near the edges because the insert is smaller than the main card and the edges will show. -
 Step 4
Stick in your insert, lining up the centre with the edges you have just stuck together. You now have a triple length of card.
-
Step 5
Put foam pads onto the backs of your stay and the sentiment of your choice.
-
 Step 6
Carefully fold each butterfly along the edges of it’s body. Layer the butterflies with the largest on the bottom and the smallest on the top. Cut a piece of invisible thread which is long enough to be stuck
between these two bodies and to hang the butterfly from the card. Stick the largest and middle sized butterflies together, making sure you only stick the body - not the wings; and sandwiching the thread in between the bodies. Then stick the smallest butterfly on top of the middle sized butterfly. You will want to fold the wings up once the glue is dry. -
 Step 7
(This is how I stopped the wings from sticking together whilst the glue dried!)
-
 Step 8
Now, with your card facing up, you will stick your topper onto the card and sandwich the hanging thread in between it and the main card.
-
 Step 9
Once the glue is dry, stick on your stay and finish off your card
using peel-offs and embellishments of your choice.