


About
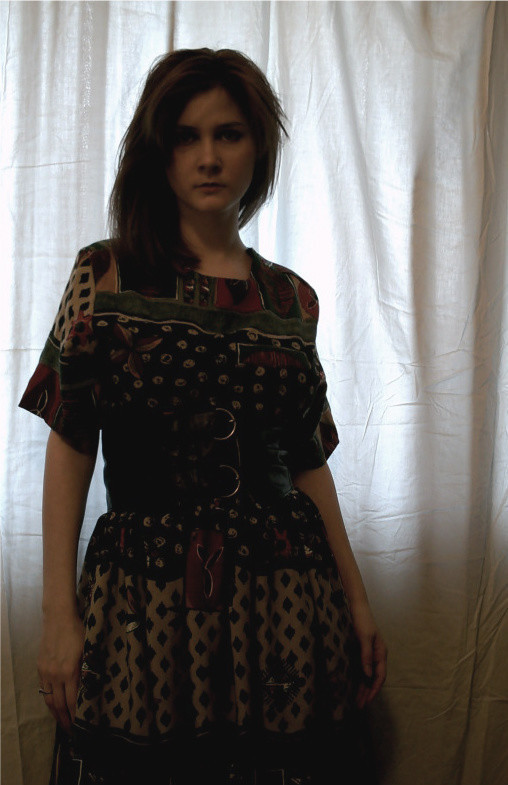
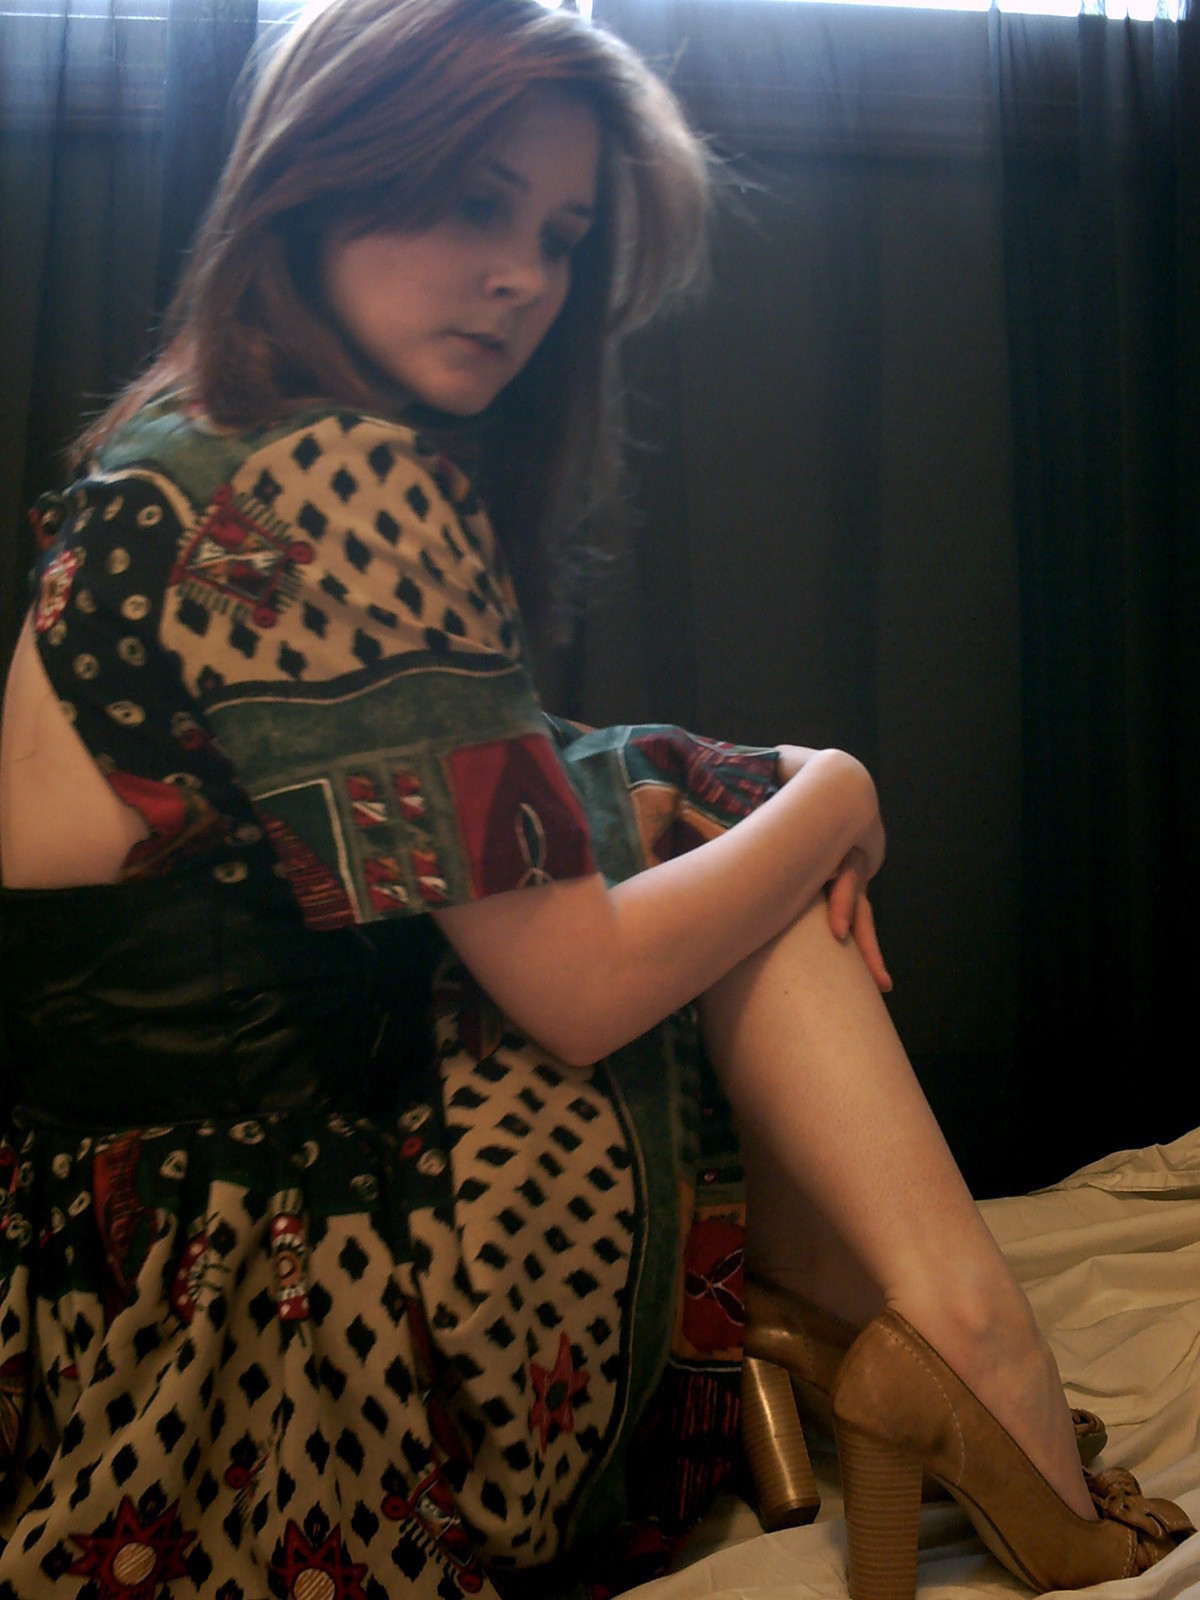
Sexy open back dress for summer.
I've been wanting to do this dress for a long time and I finally got around to doing it this past week. It's taken a lot of my time and energy and there are still a few things on it I'd like to fix. In all I am super proud of it and love thid dress. I took tons of pictures of the constrution and not all of them ended up here, I will post them to my blog so check back there too!
Tags
-
 Key West Witch favorited Open Back Dress
26 Jun 08:23
Key West Witch favorited Open Back Dress
26 Jun 08:23
-
 vermilia c. favorited Open Back Dress
17 May 12:25
vermilia c. favorited Open Back Dress
17 May 12:25
-
 Debi added Open Back Dress to Dress Ideas
27 Oct 21:05
Debi added Open Back Dress to Dress Ideas
27 Oct 21:05
-
Shantelle t. added Open Back Dress to how to clothing
23 Oct 18:17
-
Shantelle t. added Open Back Dress to something i'd like to try
02 Oct 02:59
-
 zoegirl221 favorited Open Back Dress
17 Sep 23:44
zoegirl221 favorited Open Back Dress
17 Sep 23:44
-
 LastKoalaBear favorited Open Back Dress
14 Aug 16:49
LastKoalaBear favorited Open Back Dress
14 Aug 16:49
-
 Reginula added Open Back Dress to Feist
26 Jul 05:26
Reginula added Open Back Dress to Feist
26 Jul 05:26
-
 flor.delgadorizzi favorited Open Back Dress
08 Jun 16:11
flor.delgadorizzi favorited Open Back Dress
08 Jun 16:11
-
Laura P. favorited Open Back Dress
13 Apr 04:15
You Will Need
-
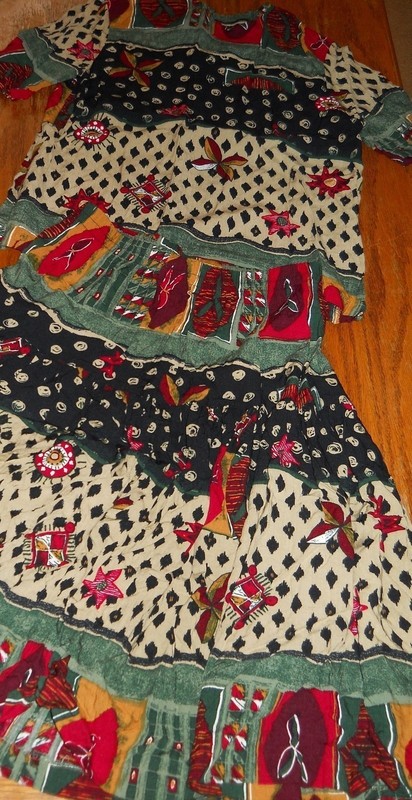
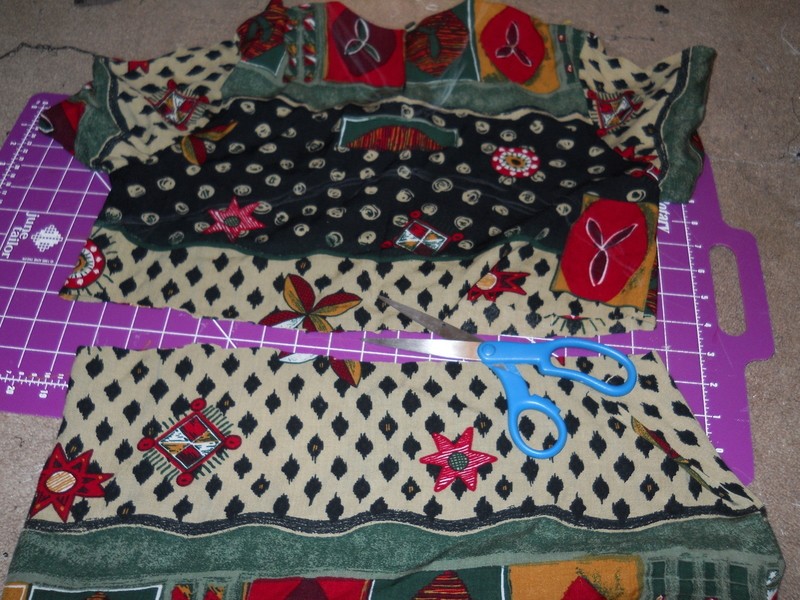
 Step 1
Start with a matching top and bottom set.
-
 Step 2
Begin by deconstructing the skirt- for me this meant removing the elastic band.
-
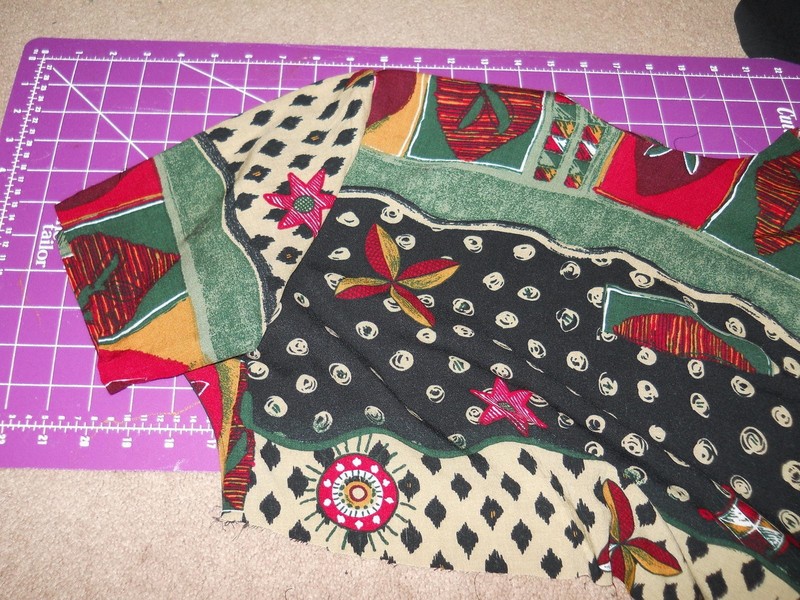
 Step 3
Remove the first tier of your skirt to use as your waist band.
-
 Step 4
Press press press! (you're basically going to be going back and pressing open everything so keep your iron up and ready)
-
 Step 5
Measure about 3-4 inches above your navel and measure around yourself there. That will be your waist measurment. Cut your fabric inculding your seam allowances (for me this was an extra 2 inches)
-
 Step 6
You're going to need a front and a back for your waist band- for me this just meant cutting my original waist band in half.
-
 Step 7
To make it possible for you to get into your dress, cut open the center back of both your waist bands.
Serge the open ends or overlock using the zig-zag stitch on your machine.
-
 Step 8
I pressed my seams down with stitch witchery and then sewed down to secure.
-
 Step 9
Remove the gathering stitch from your origional skirt and press.
-
 Step 10
Cut open the center back of your skirt, serge the open end or overlock with your zig-zag stitch.
Press your seam down with stitch-witchery and sew as you did before with your waist band.
Then set your stitch length on your machine to the longest length and your tension to the hightest. Sew a straight line along the top of your skirt and you should get a gather.
Fit your skirt to your waist band by pulling on the gather string until it is the right size.
-
 Step 11
Pin and sew the front and back of your waist band to the skirt of your dress.
-
 Step 12
It should look something like this when finished.
-
 Step 13
Next take out your top and mark out on the back. (note your shirt should be loose fitting on you).
-
 Step 14
Cut the excess off of your shirt.
-
 Step 15
Next cut out along the marks you made before (be sure to only do this on the back and to leave seam allowance)
-
 Step 16
Cut your back open.
-
 Step 17
Next, using your seam ripper take apart the pieces of your top.
-
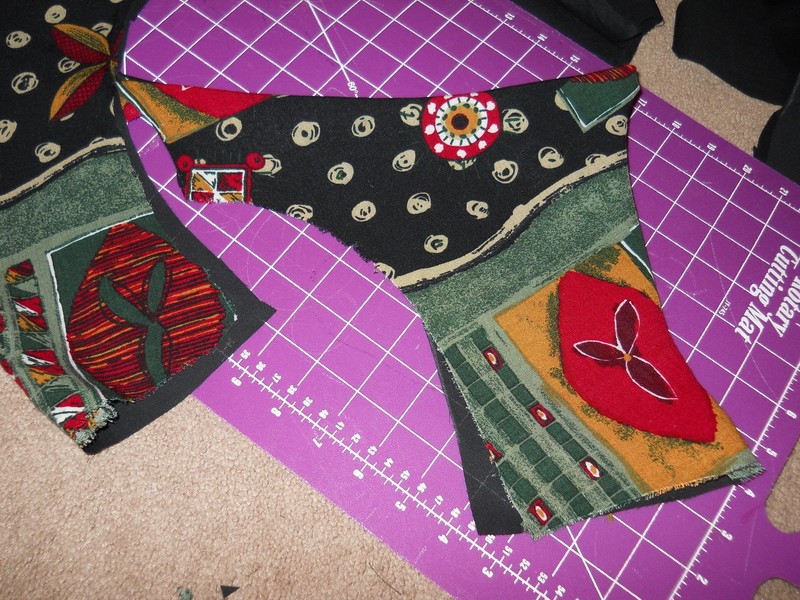
 Step 18
Make sure that the two back pieces are the same and then using your scrap fabric and tailors chalk trace out two new pieces for the inside lining of your back.
-
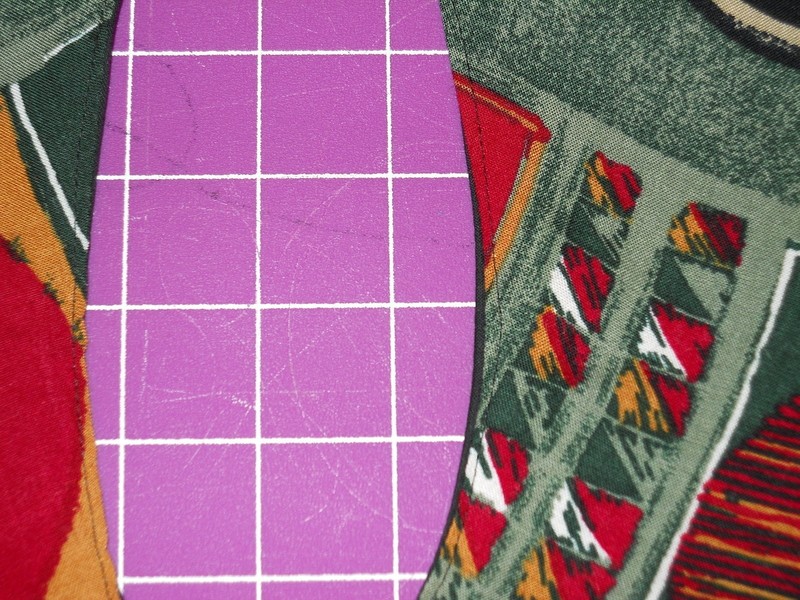
 Step 19
cut your pieces out. Pin the right sides of your fabric together and sew along the outside curves.
-
 Step 20
Turn right side out and press.
-
 Step 21
Top stitch.
-
 Step 22
Sew the shoulder seams back together.
-
 Step 23
...and the side seams.
-
 Step 24
Re-attach your sleeves.
-
 Step 25
Going back to your skirt, press down and in the top seam of your waist band.
-
 Step 26
Mark the center front of both your skirt and bodice and align them together.
-
 Step 27
Pin your bodice between the two pieces of your waist band.
-
 Step 28
also pin shut the side seam of your waist band and sew shut.
-
 Step 29
The last thing you will do will be to add buttons and button holes along the seam you created before with your stitch witchery and on the back of your bodice.
-
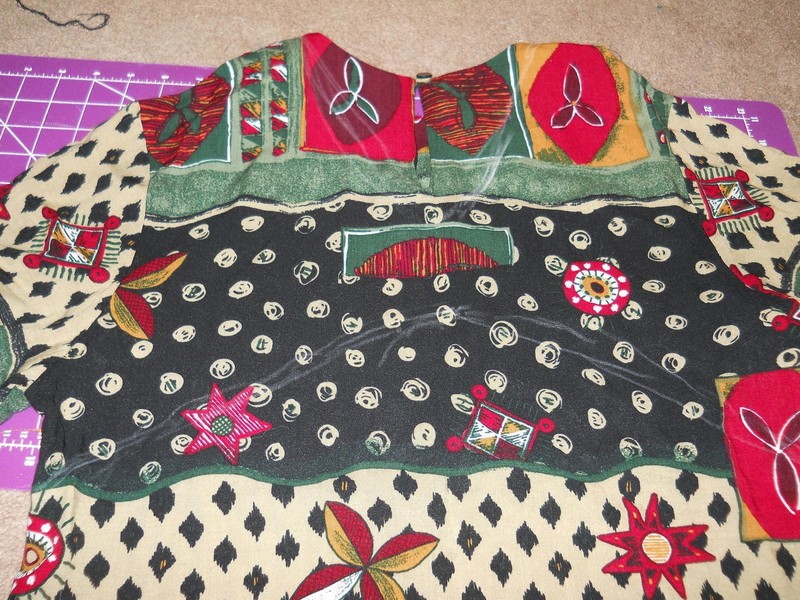
 Step 30
back
-
 Step 31
before it was all sewn back together.


Comments

 1
Watercolor Art »
Watercolor Paints Made From Make Up
1
Watercolor Art »
Watercolor Paints Made From Make Up
 2
Paper Book Covers »
Shoe Inspired Spiral Notebook
2
Paper Book Covers »
Shoe Inspired Spiral Notebook
