


About
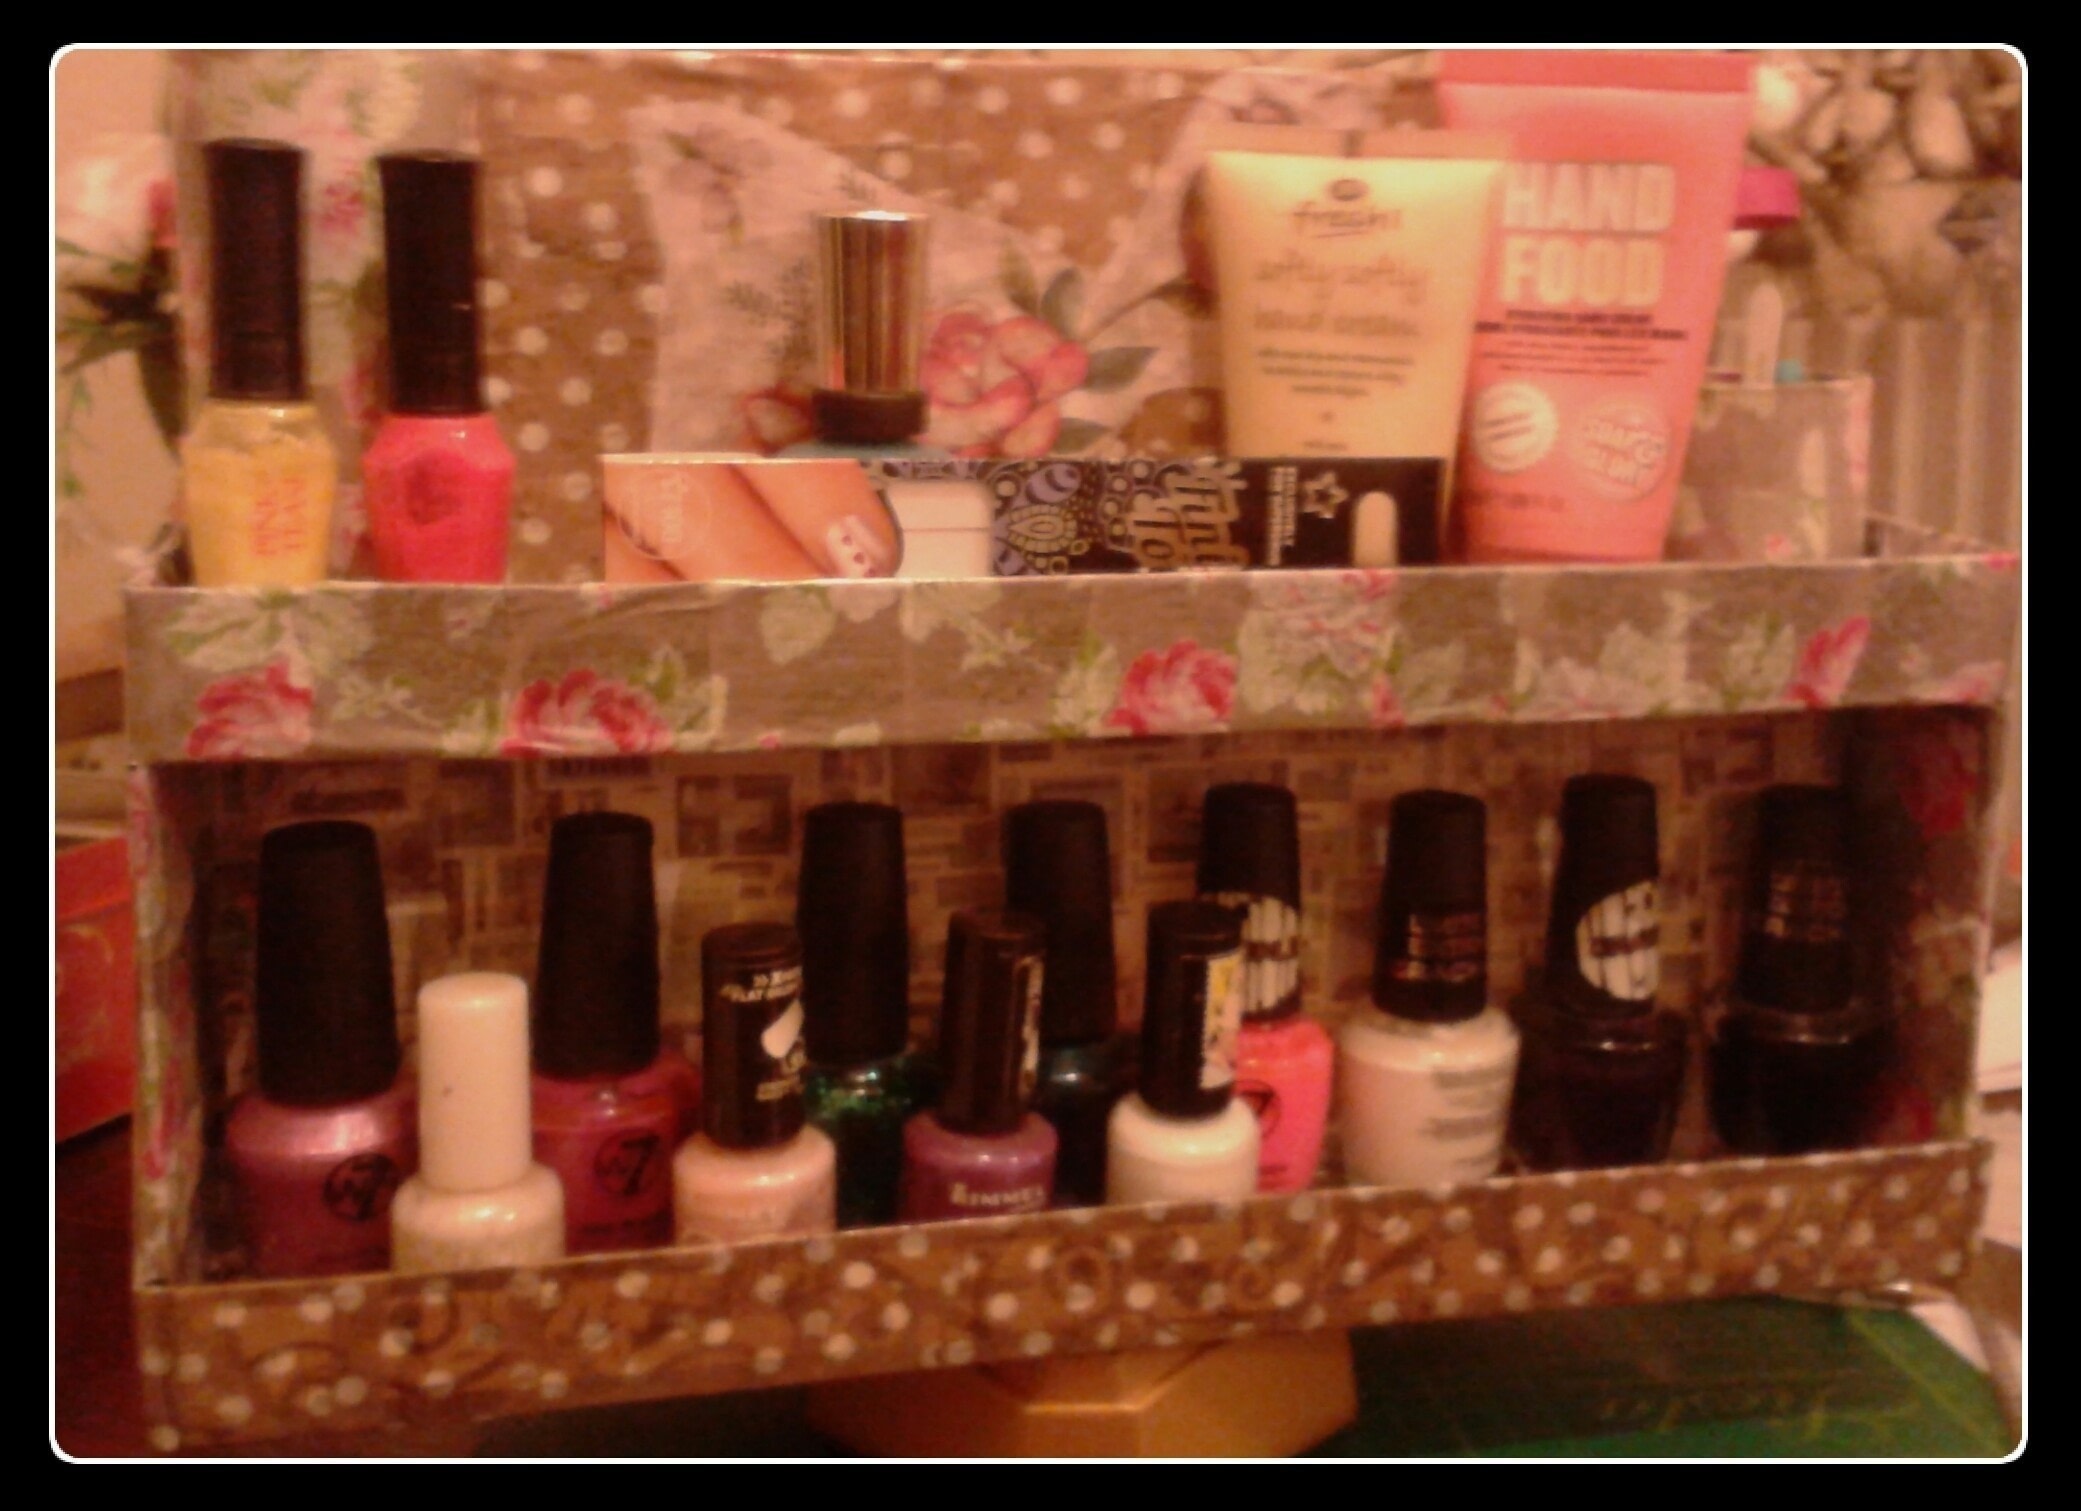
A creative way to store your nail varnish - with handmade swivel action!
A lovely double sided storage idea to display all of your nail decoration and hand care stuff, with a simple carousel base.
I used First Edition Craft Deco Maché range of 4 decoupage papers, Brushes and Gloss Decoupage Glue (Adhesive & Varnish) from Trimcraft for this project (together with some stuff I had around the house)
When making the swively base - you need to find a small plastic lid that fits on the end of a cardboard tube with only just enough room to spin smoothly. I found that the top from the nail varnish remover pads I had was perfect. Play around with different tubes and lids you may have until you are happy with the spin.
Most of the time stated for this project is spent waiting for the glue to dry.
-
 Nalani R. favorited Decoupage Carousel Display for Nail Varnishes
25 Jun 17:26
Nalani R. favorited Decoupage Carousel Display for Nail Varnishes
25 Jun 17:26
-
 Alex Z. added Decoupage Carousel Display for Nail Varnishes to Интересное
04 Mar 11:53
Alex Z. added Decoupage Carousel Display for Nail Varnishes to Интересное
04 Mar 11:53
-
 artiTan published her project Decoupage Carousel Display for Nail Varnishes
28 Feb 09:00
artiTan published her project Decoupage Carousel Display for Nail Varnishes
28 Feb 09:00
You Will Need
-
 Step 1
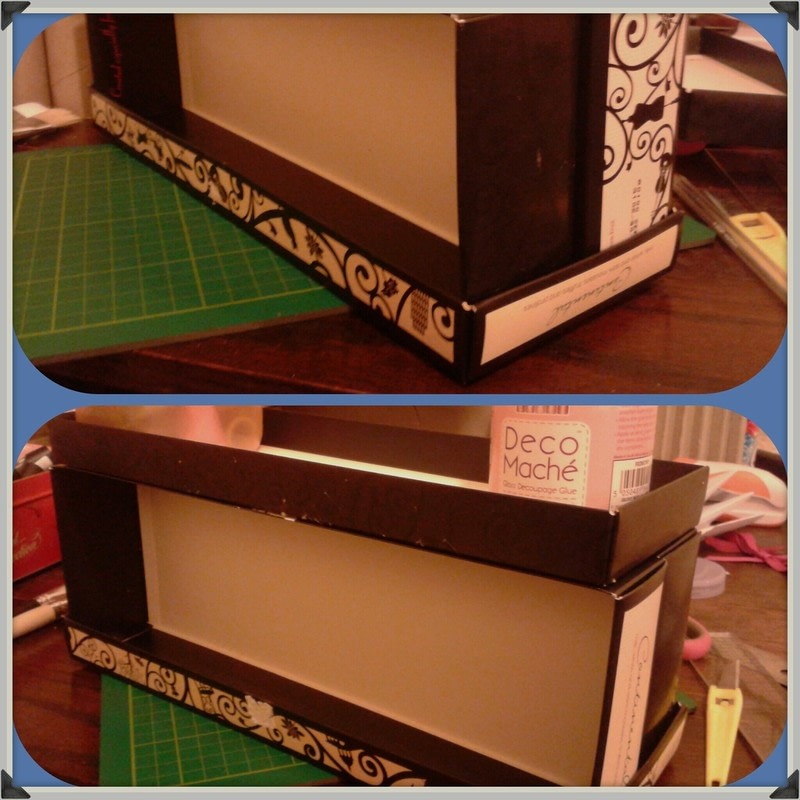
**I used chocolate boxes that were from the same brand and collection - only one came with 14 chocs in and the other had 26. The boxes are the exact same length and width as each other though, one is just twice as deep as the other. If you can't get these boxes - find some with the same description.**
Start with the deeper box, (take off the bows and any leftover tape) and glue the top of the lid to the bottom of the base.
-
 Step 2
When the glue is dry, take the thinner box and glue the lid to the bottom (they should slot in nice and snug) and glue the base to the top like a tray. Put some weight on the top whilst the glue dries to keep it as flat as possible.
-
 Step 3
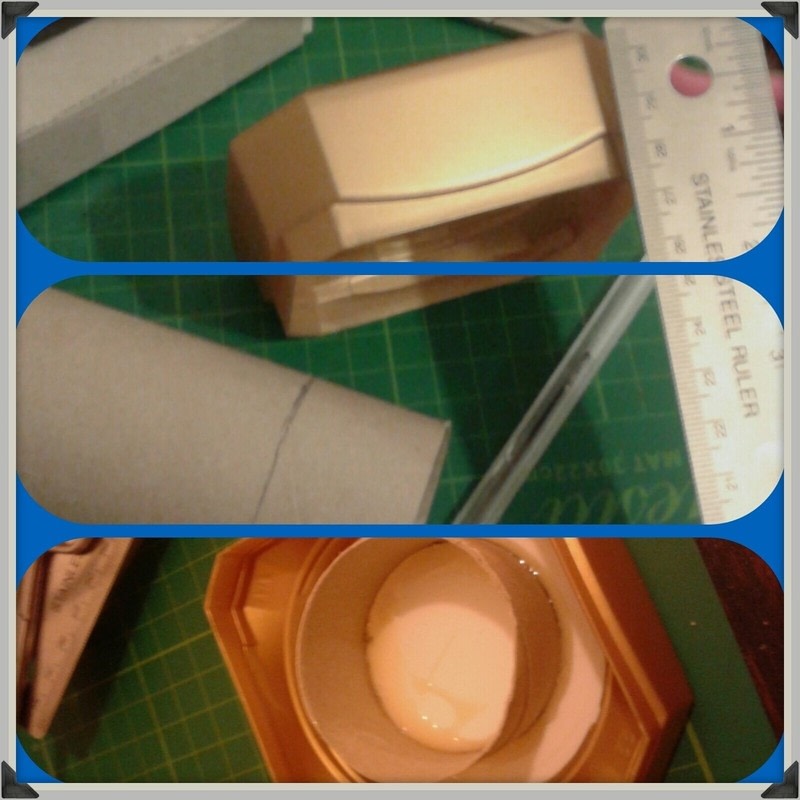
Find the very middle of what is now the base of your display, and glue on the little plastic lid.
It is vital that it it firmly secured and in the very centre, or your display will not rotate well and could end up unstable or wonky.
**I moved this step up, as when I made mine I attached this bit at the very end of doing everything else and struggled to keep it central after I put the glue on. As long as you get it in the middle - it doesn't really matter when you choose to stick it down!**
-
 Step 4
Measure how deep your large lid is, and mark the measurement onto one of the cardboard tubes. Cut the tube as neatly as possible with a craft knife or sharp snip scissors. Glue the smaller part of the tube into the centre of the large lid, ensuring the rougher cut edge is in the glue. (if this tube is not straight, not round or not in the middle, it could affect how well your display will swivel)
Set aside to dry while you complete the rest, This is your base.
-
 Step 5
Measure the height of the full sized cardboard tube you are using (average bog roll tube = 10.5cm) to mark out and cut from an A4 sheet of really thick card. The width of the A4 card is unaltered.
Tape your full tube to one end of the card, and the rest of the tube you cut before onto the other end. Then tape them into the middle of top tray, you should put tape on both sides to help keep it sturdy.Construction Complete!
-
 Step 6
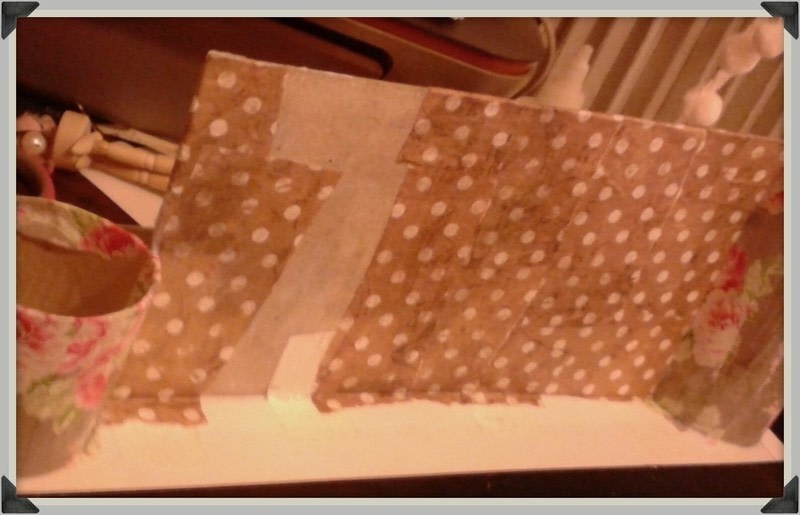
Next you need to prep your mini unit for decoration. As decoupage papers are quite thin, cover anything that you don't want showing through. It is usually suggested to basecoat everything in white paint, but white paper and / or masking tape can work just as well. I covered the ends with paper. Any writing that was showing and the use by dates were covered with tape.
-
 Step 7
Now it's time for the decorating!
Using the thick bristled brush (brown handle) paint a thin layer of decoupage glue onto an inside wall. Tear the first decoupage paper (I used Silver Rose from the Bella Rose Collection) into small strips, and place onto the glued area using the same brush to remove wrinkles and smooth down the edges. Make sure the paper overlaps each other and wraps round every edge and corner for a better finish.
-
 Step 8
Work around in sections, adding glue then paper. After the insides, carry on up and round the outside of the top tray section and also cover both tubes. When doing the tubes, put glue around the bases and use the strips of paper to help secure them to the tray all the way around. Also put a bit of glue on the insides of the tubes and wrap the paper over.
-
 Step 9
With the second paper (I used Distressed Polka from the Rose Garden Collection) still working in sections, glue and paper the outside of the lower tray and both sides of cardboard at the top. Wrap the paper around all of the edges and corners so you are not left with any exposed cardboard.
-
 Step 10
Next move onto the third paper (I don't know the name of the one I used sorry, but it had stamps and postage marks from around the world on it) Glue and paper the back of the shelves in three or four sections. Also use this on the bottom of the top tray. Don't wrap this one round any of the corners, keep it just on the flat surfaces to help neaten the edges.
-
 Step 11
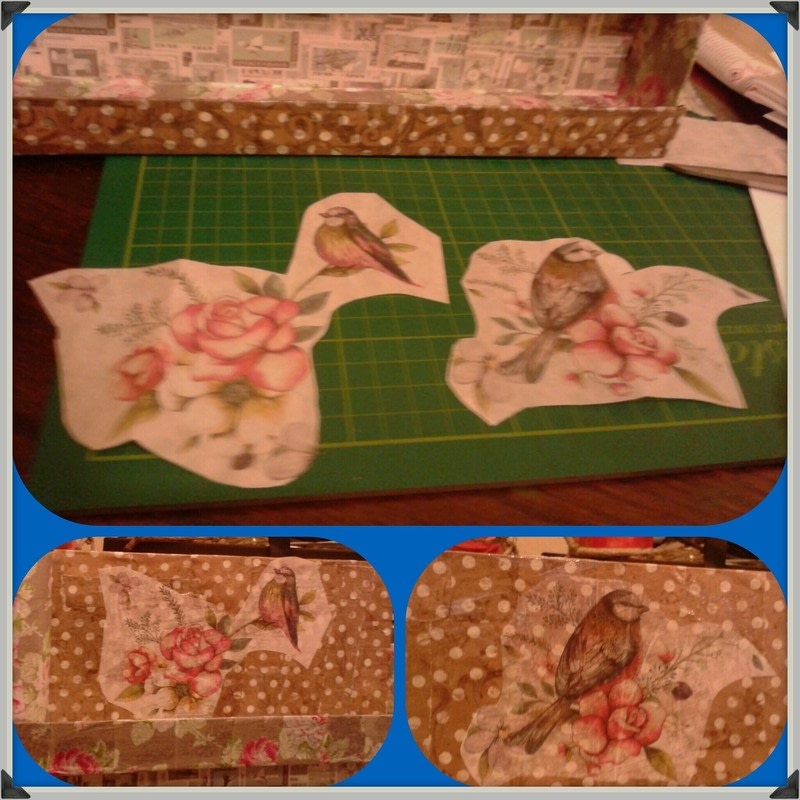
The Final paper I used (from the Bohemian Collection) has lovely large pictures, so instead of tearing little pieces from it, measure the uncovered bits you have left at either end, and use single panels. Glue the whole area, then stick the paper on from the bottom, using the brush to help keep the wrinkles out as you work up and fold it over the top
-
 Step 12
From the same paper cut around 2 of the pictures, paint a little glue onto the now spotty cardboard at the top - right in the middle and stick the pictures down, one on each side.
-
 Step 13
When all the glue is dry, Take the fine haired brush (Black handle) and apply a coat of decoupage glue over the entire thing - everywhere you have paper.
Apply 3 - 4 coats in total allowing time to dry completely between each one, and using the brush to keep it smooth and even.
-
 Step 14
Once everything is dry and smooth and glossy, Place the display onto the base ensuring the small lid is sitting flat and snug onto the tube. If everything was central and flat when glued - it now swivels!
You are now free to fill your new display with all your nail and hand care stuff.


 1
Watercolor Art »
Watercolor Paints Made From Make Up
1
Watercolor Art »
Watercolor Paints Made From Make Up
 2
Paper Book Covers »
Shoe Inspired Spiral Notebook
2
Paper Book Covers »
Shoe Inspired Spiral Notebook
